

Circular saws are firmly established in the arsenal of the masters. Mainly due to the cutting accuracy (it is much higher than that of electric jigsaws and chainsaws) and versatility (it can perform both longitudinal and transverse cuts of wood, as well as cut slate, plexiglass and plastic). If you have an electric motor on your farm, it's time to think about this tool. In our article we will tell you how to make a circular saw with your own hands from improvised means.
Content:
 Read also: Do-it-yourself furniture and other wood products: drawings of benches, tables, swings, birdhouses and other household items (85+ Photos & Videos)
Materials for manufacturing
For saw making, you will need:
- powerful 220 V electric motor with pulley and belt;
- disk from a circular saw;
- rod from a car shock absorber;
- two bearings 6004;
- two 5/8" retaining rings;
- metal pipes;
- pulley ø90 mm;
- Bulgarian;
- welding machine;
- hammer;
- roulette;
- wooden beam;
- vise;
- nuts, washers, screws;
- paint can.
Step 1: Making the Circular Saw Shaft
We put the bearings on the shock absorber rod. If the bearings are tight, we knock them out with a nozzle from the pipe.
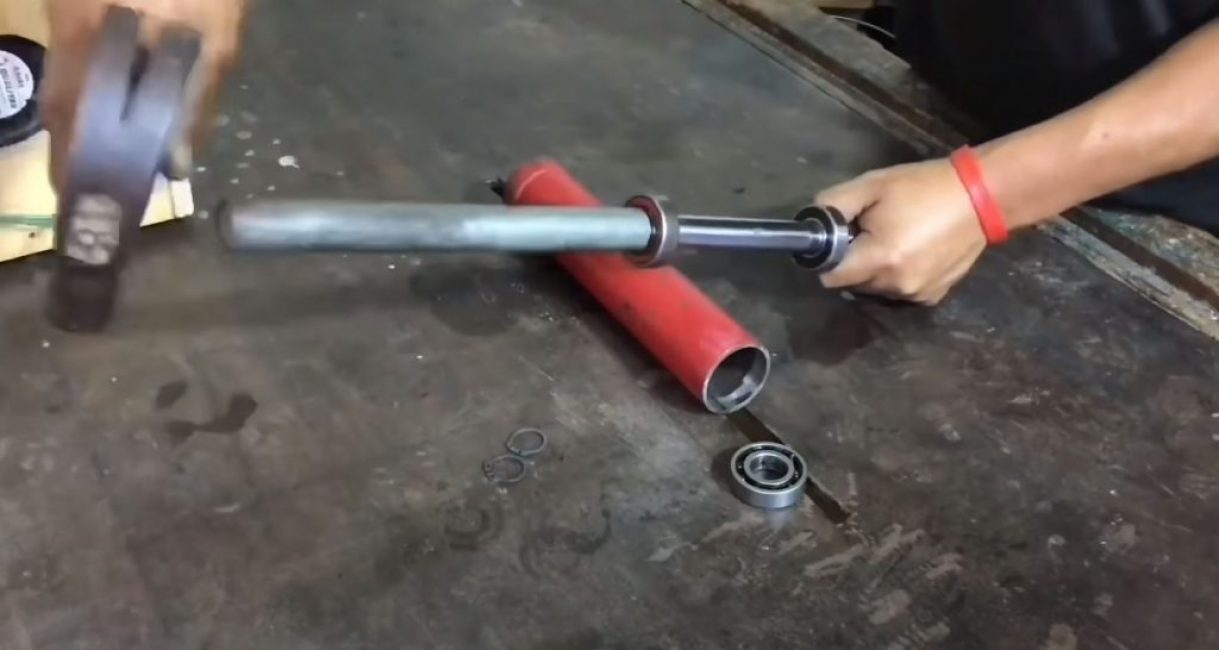
We clamp the bearings together with the rod in a vice. We insert the end of the rod without thread into the drill chuck.
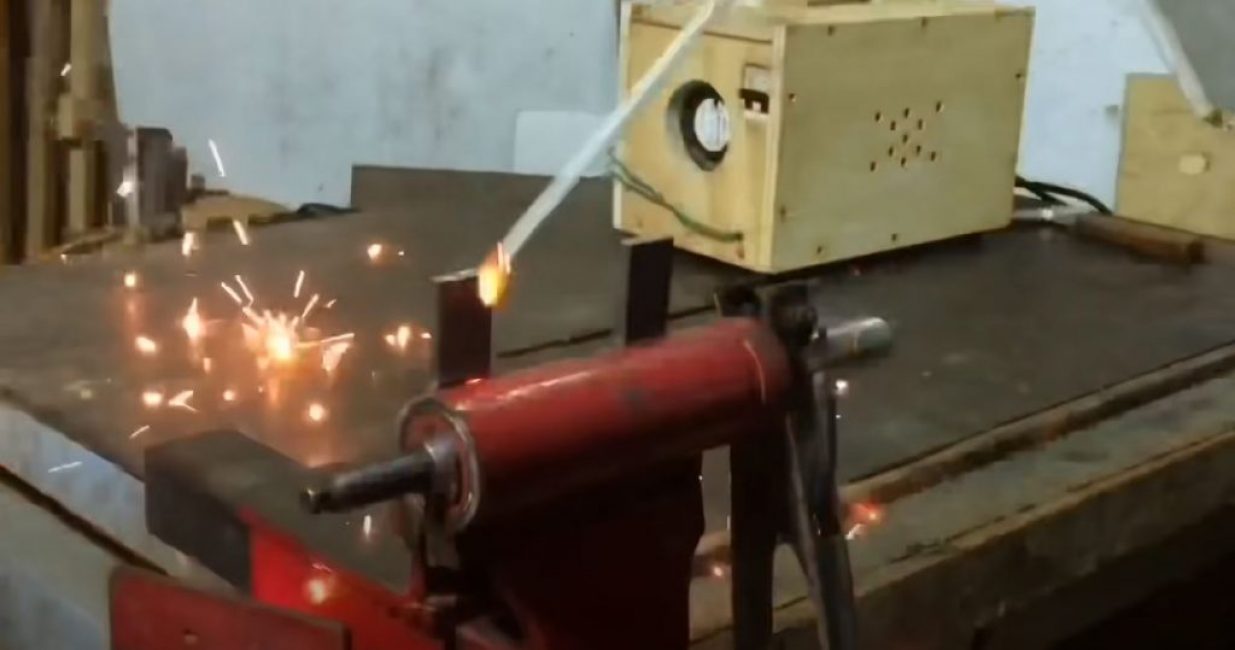
We outline the places of the retaining rings (in the example, the shaft length is 16 cm). Turning on the drill, cut the grooves for the retaining rings with a grinder.
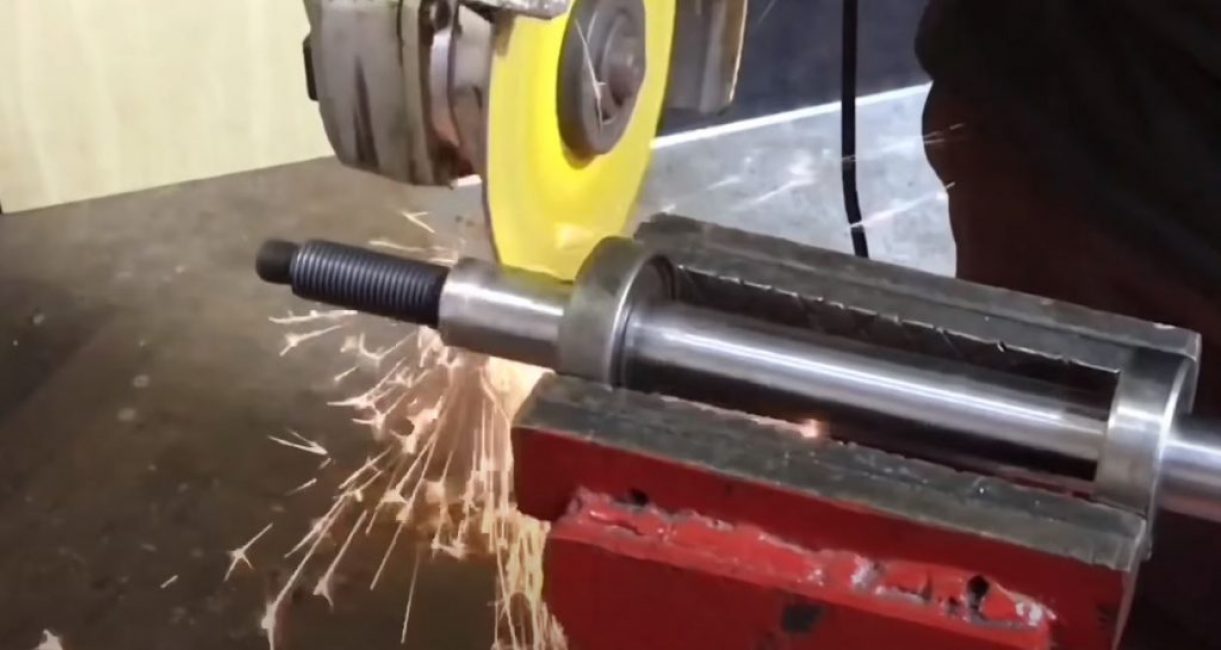
We cut off the excess part of the stem and carefully grind everything.
From a metal pipe, the inner diameter of which is slightly smaller than the outer diameter of the bearings, we cut off a piece of 16 cm.
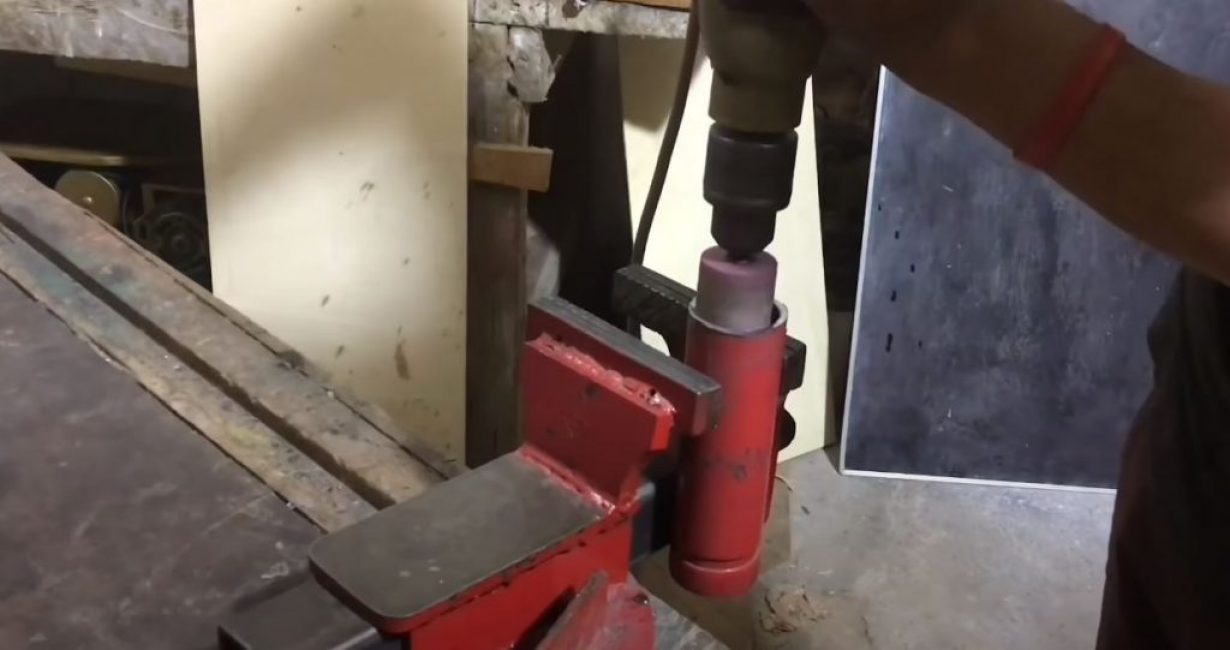
We grind the inner diameter along the edges of the pipe for bearings.
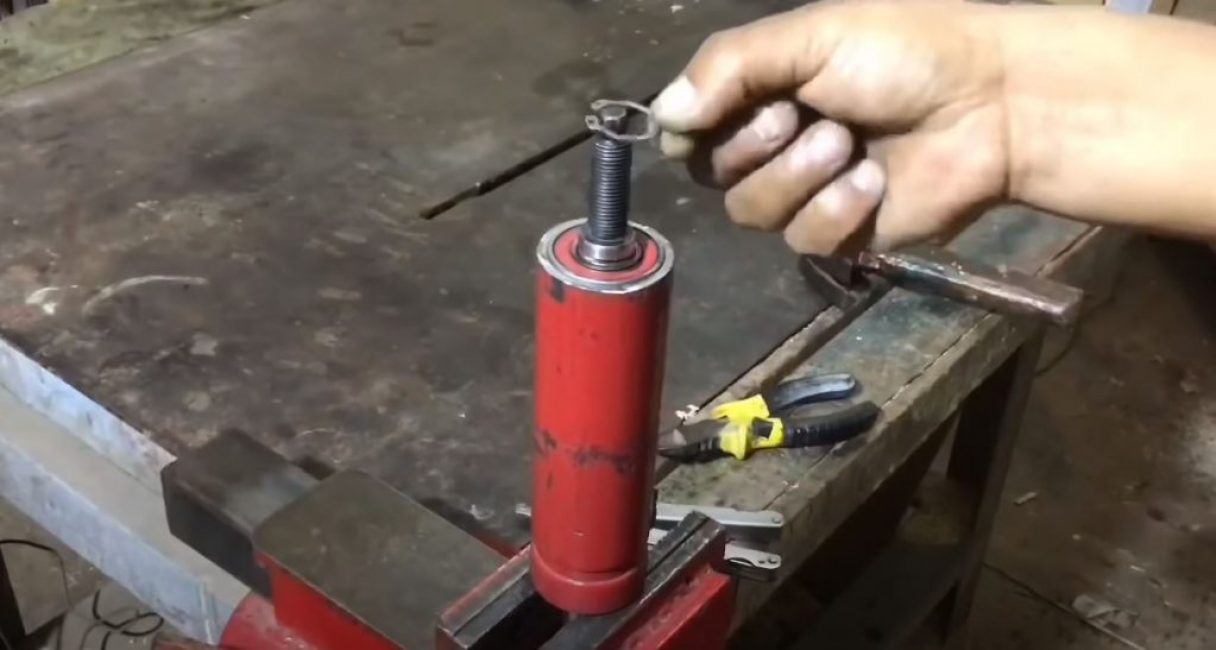
We insert the rod and bearings into the pipe, fixing them on both sides with retaining rings.
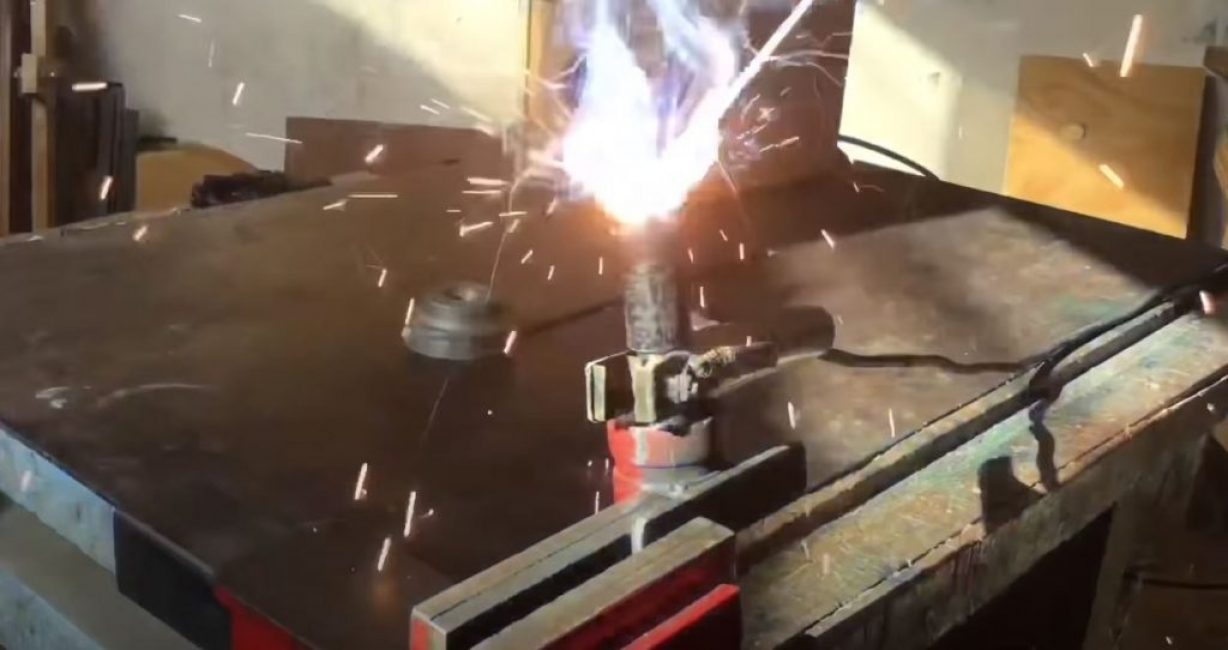
We cut out two legs for a shaft measuring 25x6 cm from sheet metal and weld them along the edges of the body from the pipe. We clean the places of welding.
From a metal pipe of a suitable diameter, we make an adapter that compensates for the difference between the shaft diameter and the inner diameter of the pulley.
We weld it to the shaft and grind the edges.
We drill four mounting holes in the legs of the shaft.
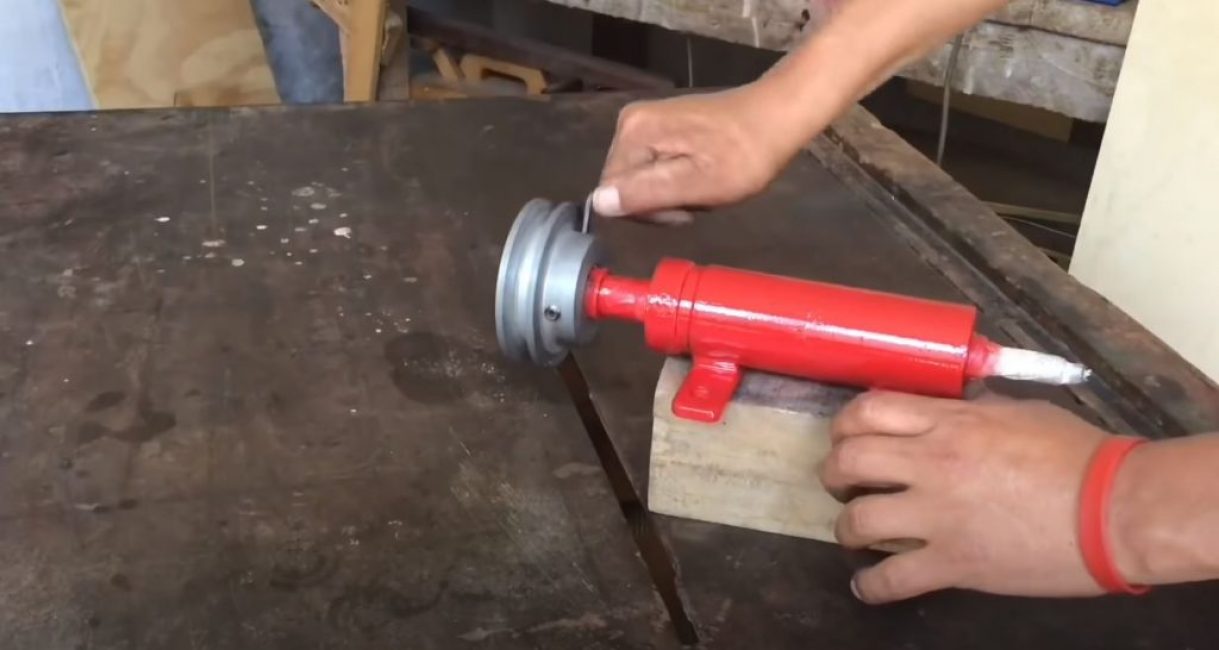
We paint the shaft with spray paint, after wrapping the shock absorber rod with tape.
Step 2. Assemble the circular saw
We put the pulley on the bushing and tighten the fixing screws.
We connect the saw to the second side of the shaft in the following sequence: nut - clamping washer - saw blade - centering washer - clamping washer - nut, and tighten everything well.
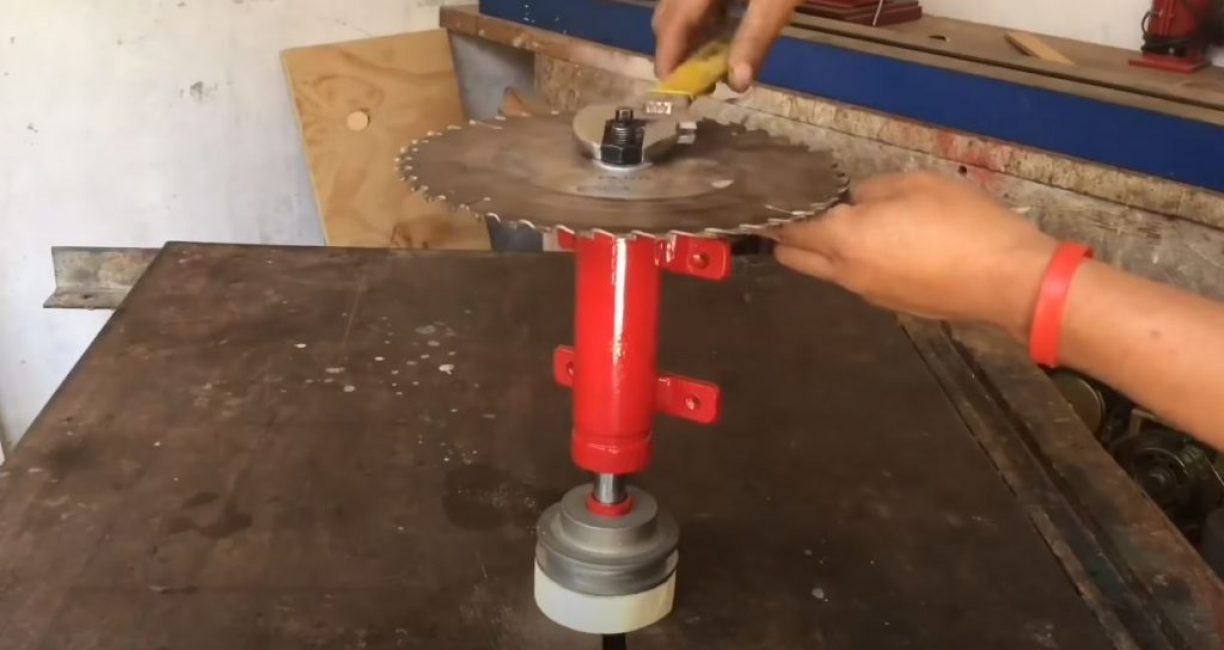
We fasten the legs of the shaft to the wooden beam with self-tapping screws.
We install the electric motor so that its pulley and the saw pulley are in the same plane and put on the belt. Our circular saw is ready. It remains only to turn on the power supply and make sure everything is done correctly.
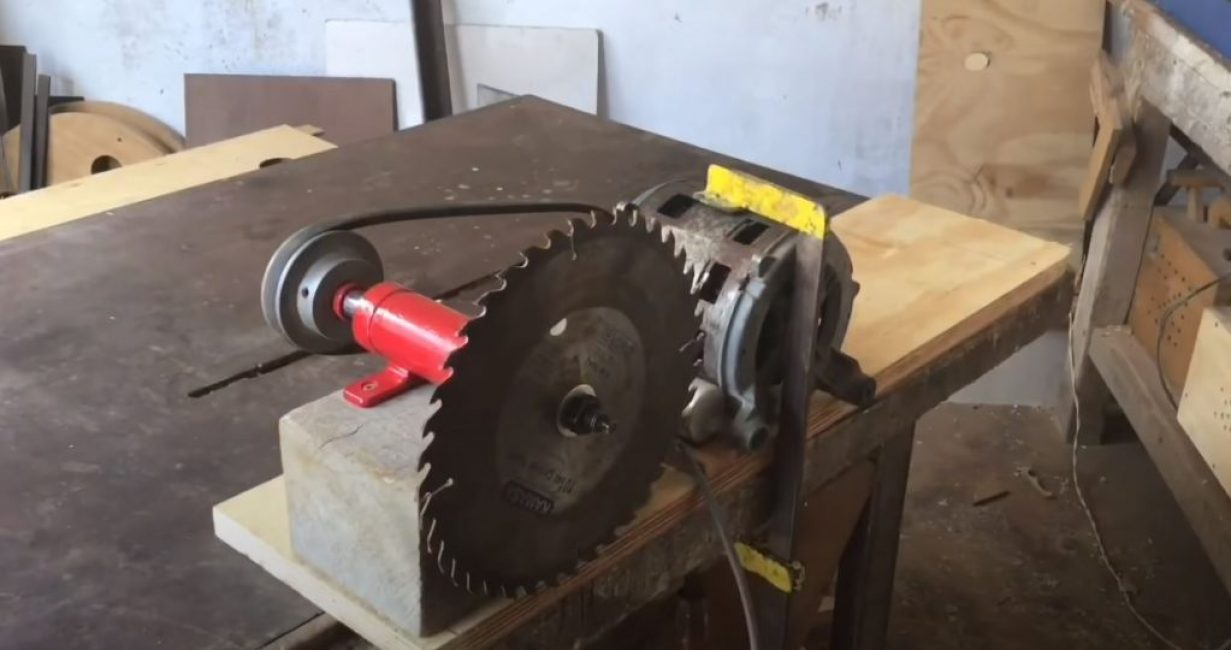

DIY circular saw
Homemade circular saw from a circular saw with your own hands?


