
Very often, home craftsmen have to do some woodwork. However, not everyone can boast of a separate workshop, which has a complete set of necessary tools. Then cunning and do-it-yourself devices come to the rescue. Consider the TOP 6 life hacks that will simplify the woodworking process not only for beginners, but also for experienced craftsmen.
Content:
 Read also: Snacks for beer: TOP-25 Best and original recipes that you can cook with your own hands
Work materials
In order to simplify the woodworking process, you will need:
- wooden block, regular shape;
- iron square;
- glue;
- panties;
- self-tapping screw;
- rubber ring;
- clamps;
- plywood or board;
- Ruler and pencil;
- sample;
- rail;
- bar;
- clamp;
- blanks;
- glue;
- salt;
- masking tape;
- two cloves.
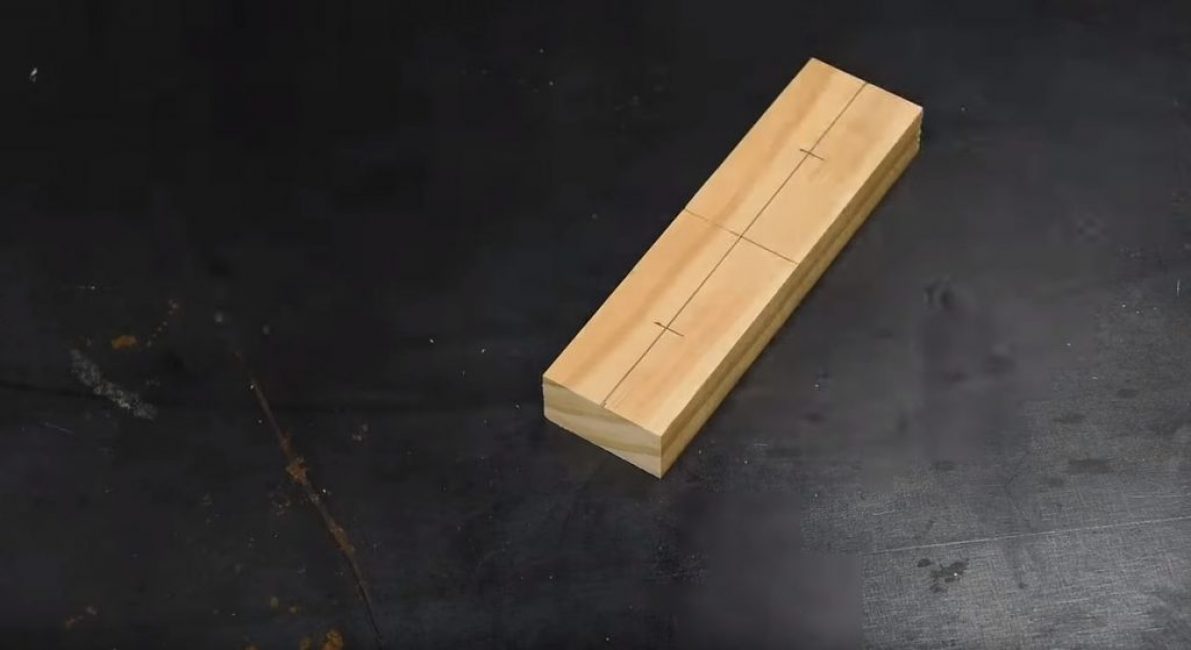
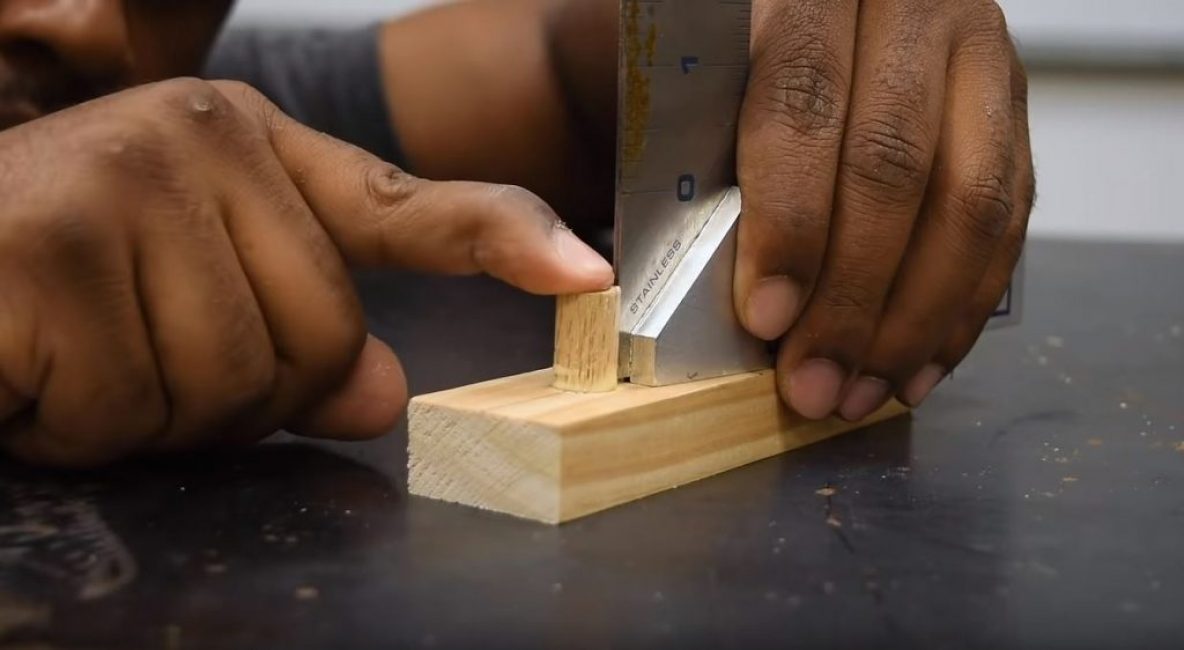
Layfkah 1. Reamus for easy marking.
We take a wooden block. We mark the center. We draw transverse and longitudinal lines through it. After that, we divide the distance from the center to the edges in half and again put marks.
We drill two recesses along these marks.
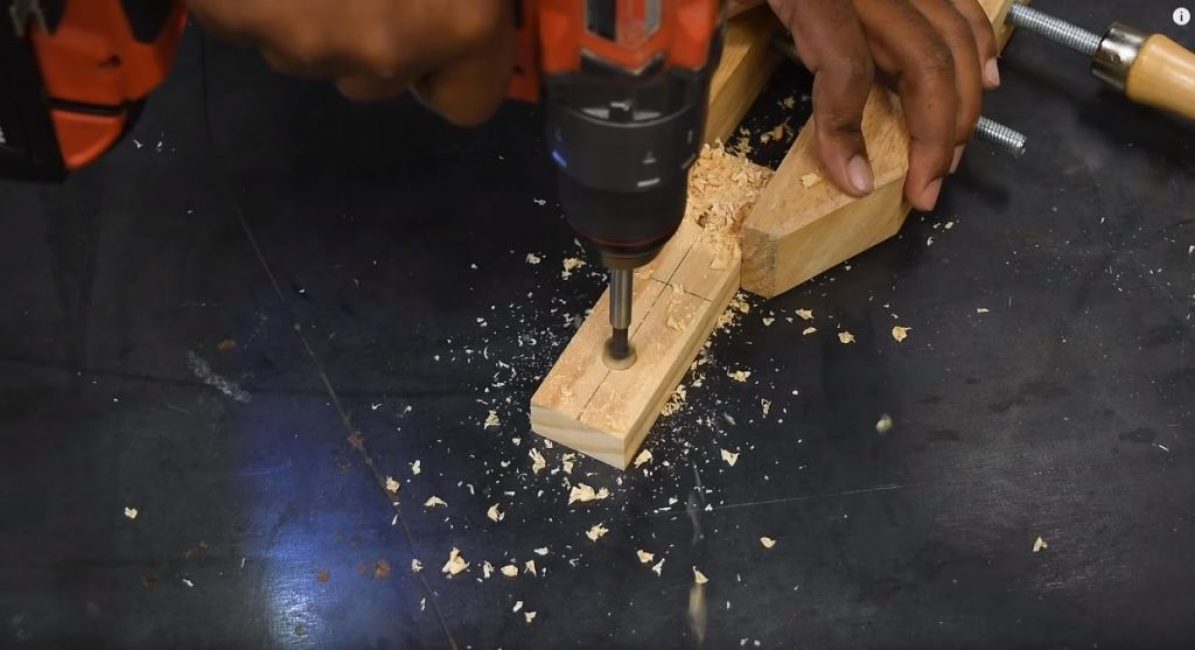
Then we drill a through hole of small diameter in the center of the workpiece.
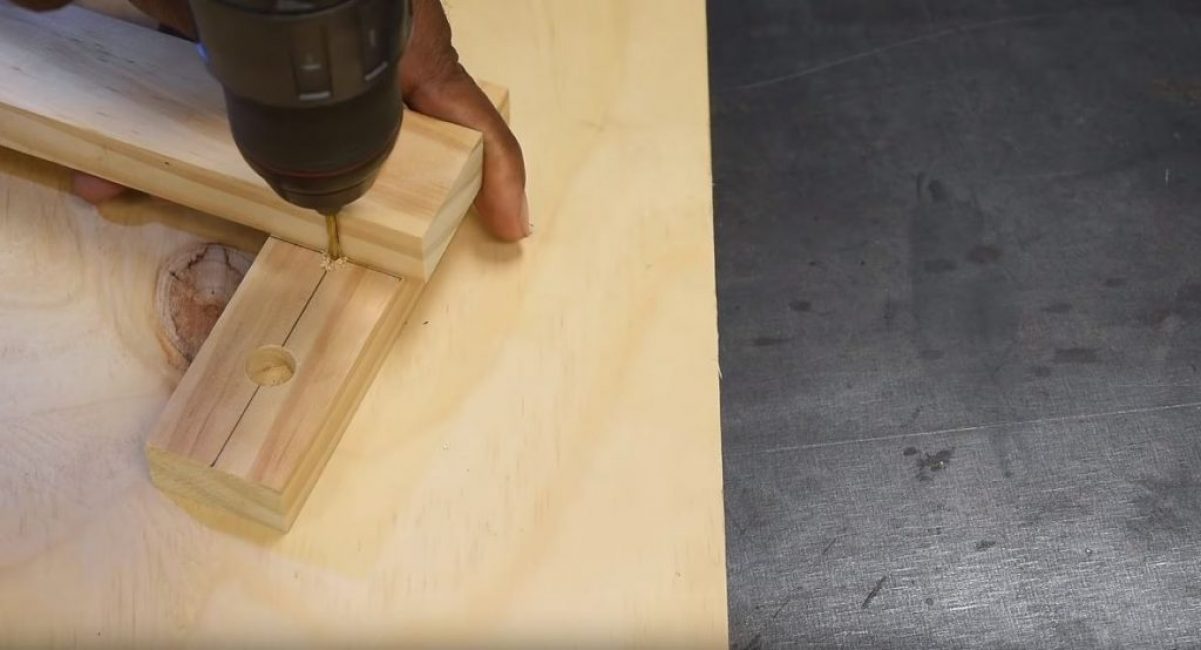
We glue two dowels exactly at an angle of 90 degrees, using an iron square.
We turn our workpiece over and into the intended center, screw the self-tapping screw in such a way that only the tip protrudes from the opposite side.
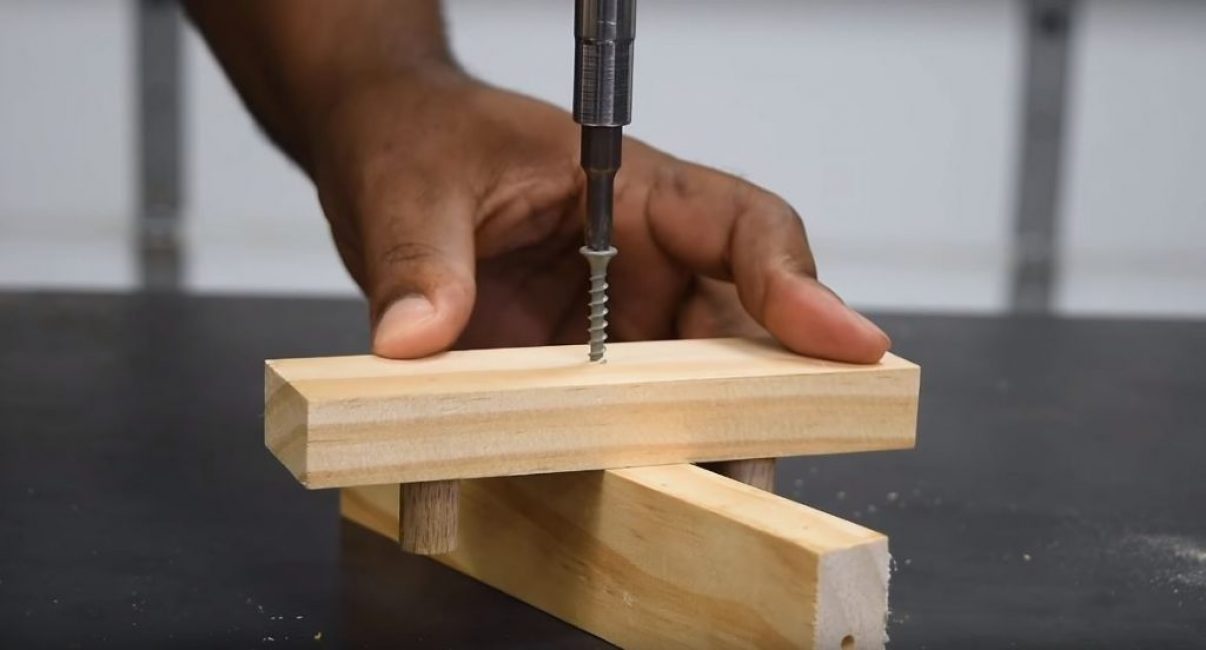
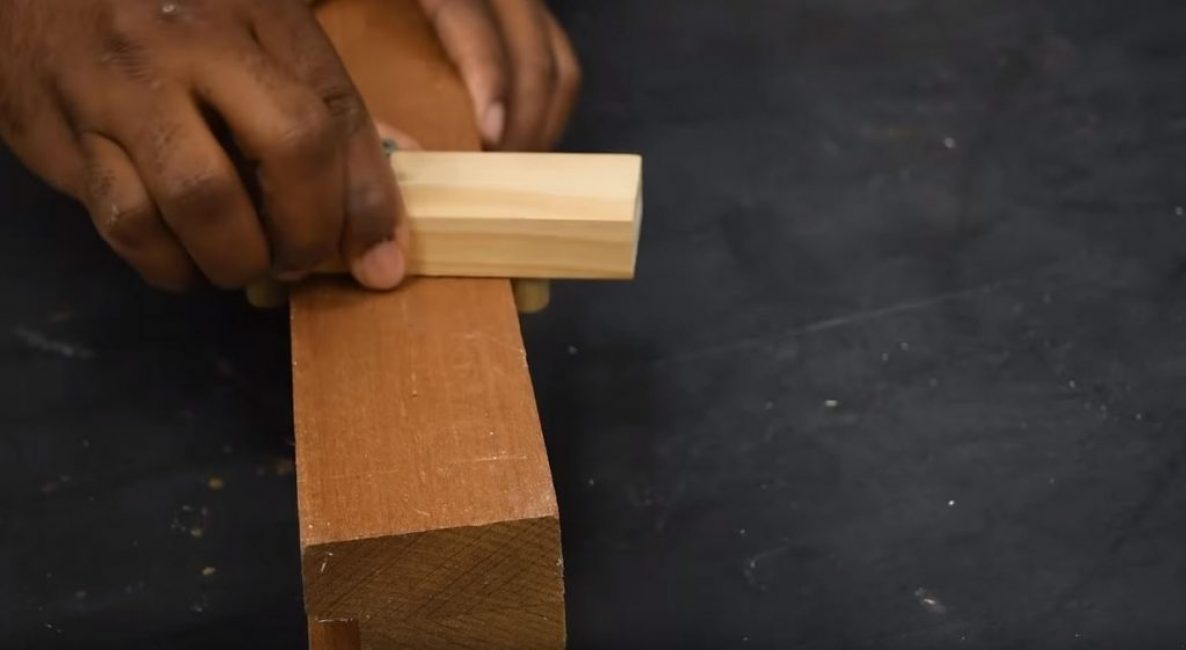
We carry out our device along the wooden beam, creating an even longitudinal line.
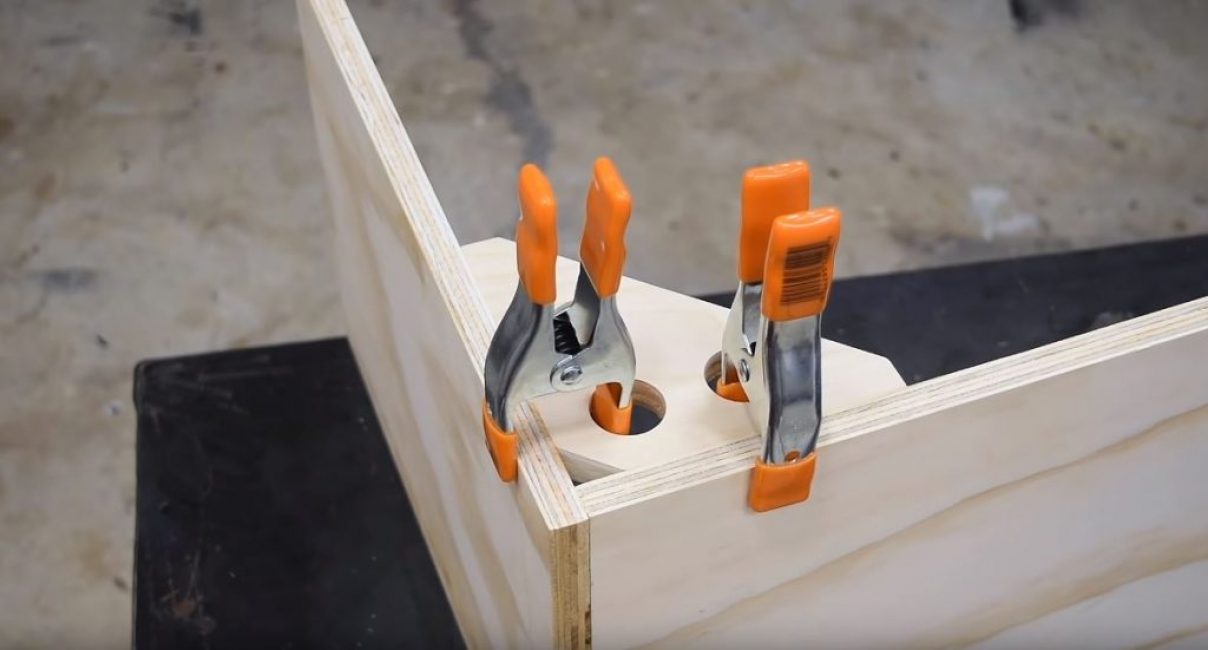
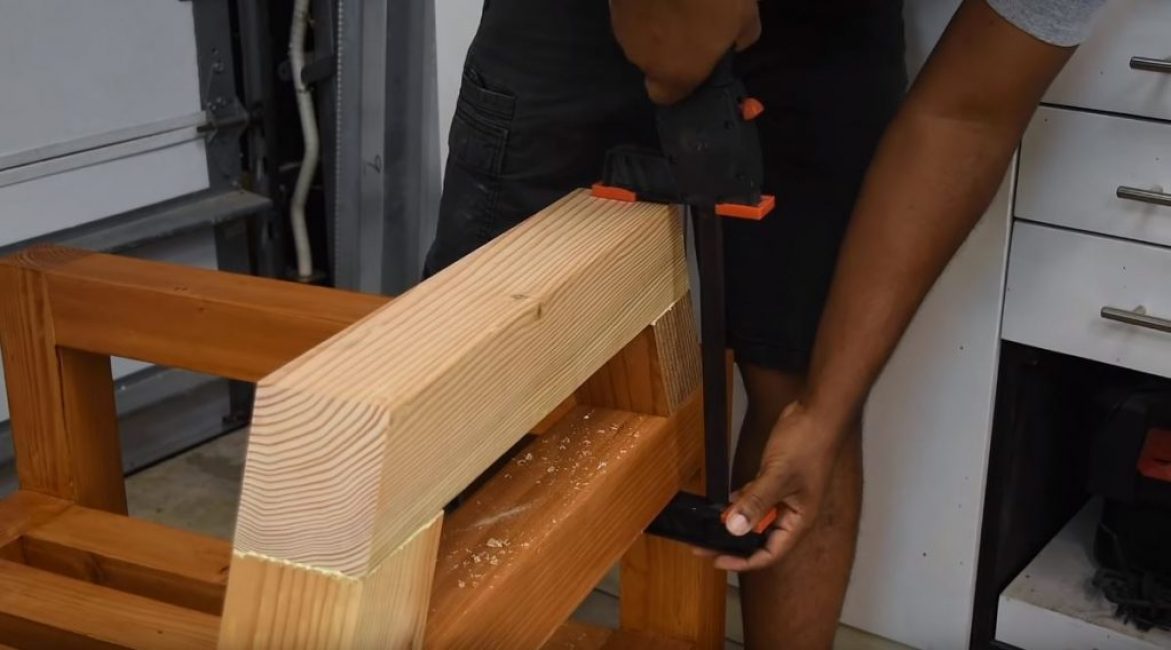
Life hack 2. Clamp with reinforced fixation
We drill two holes in the bottom of the clamp and pull the rubber ring through them.
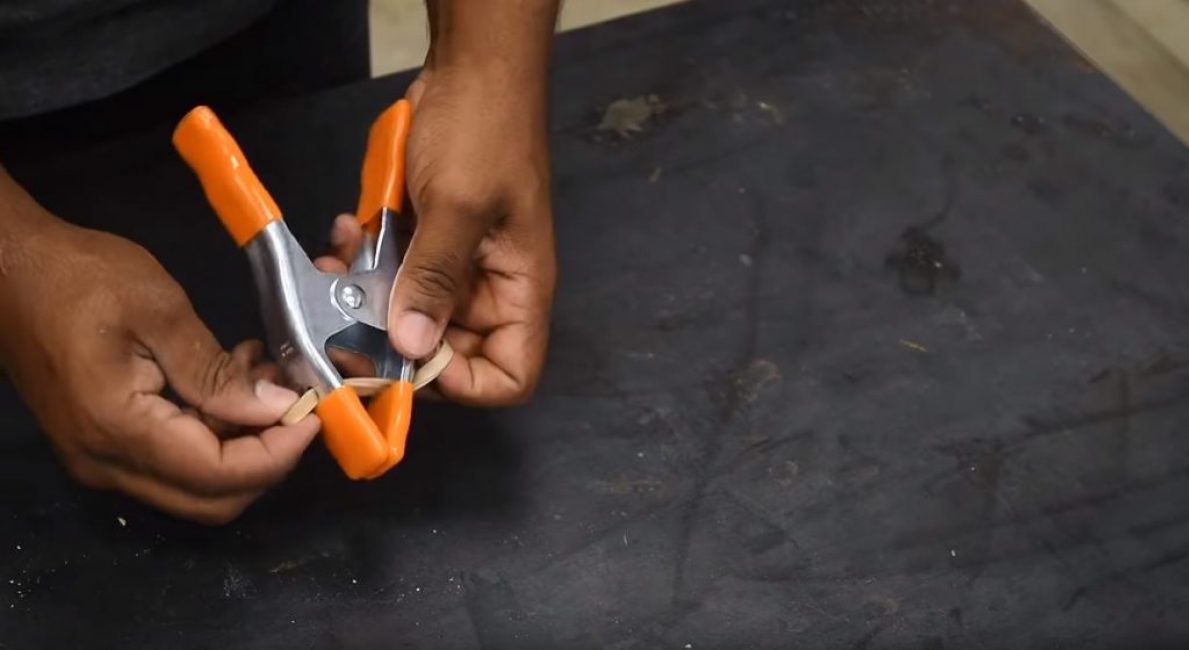
We pull the ends onto the handles of the clamp.
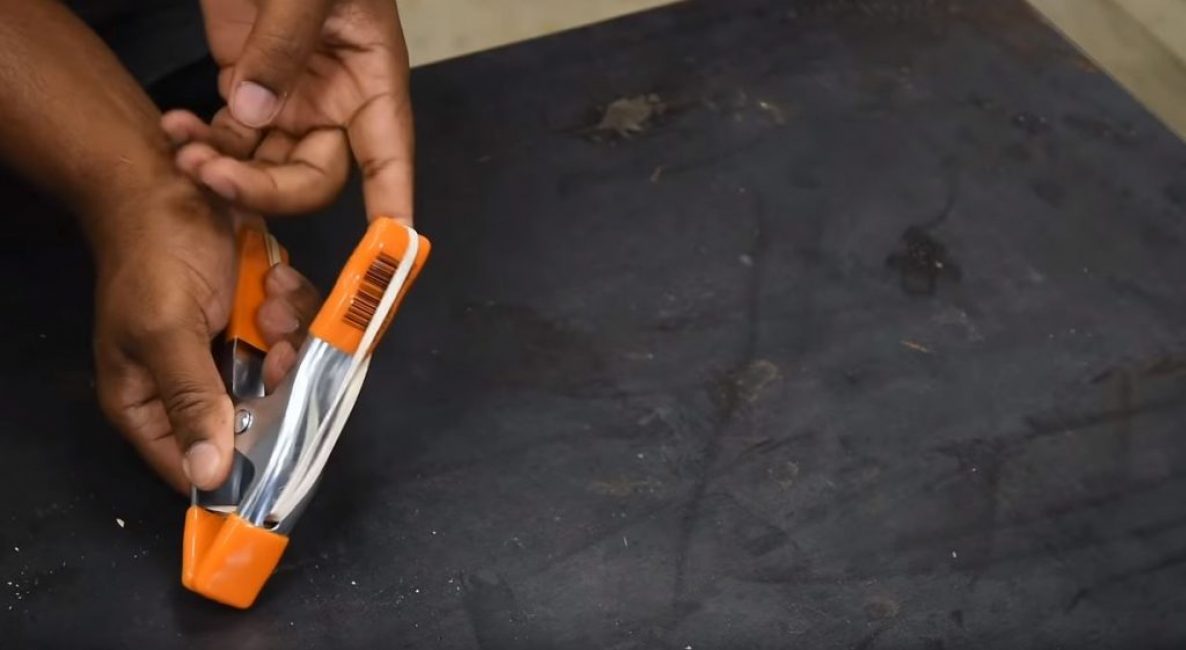
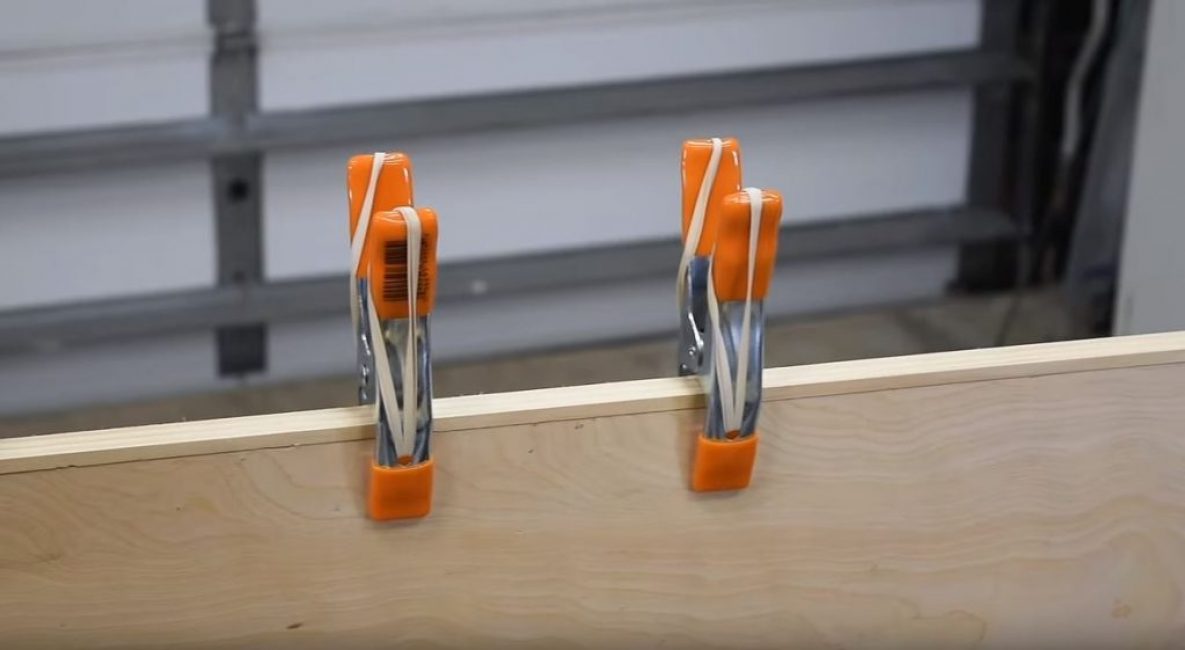
Modified clamps will perfectly fix our workpieces.
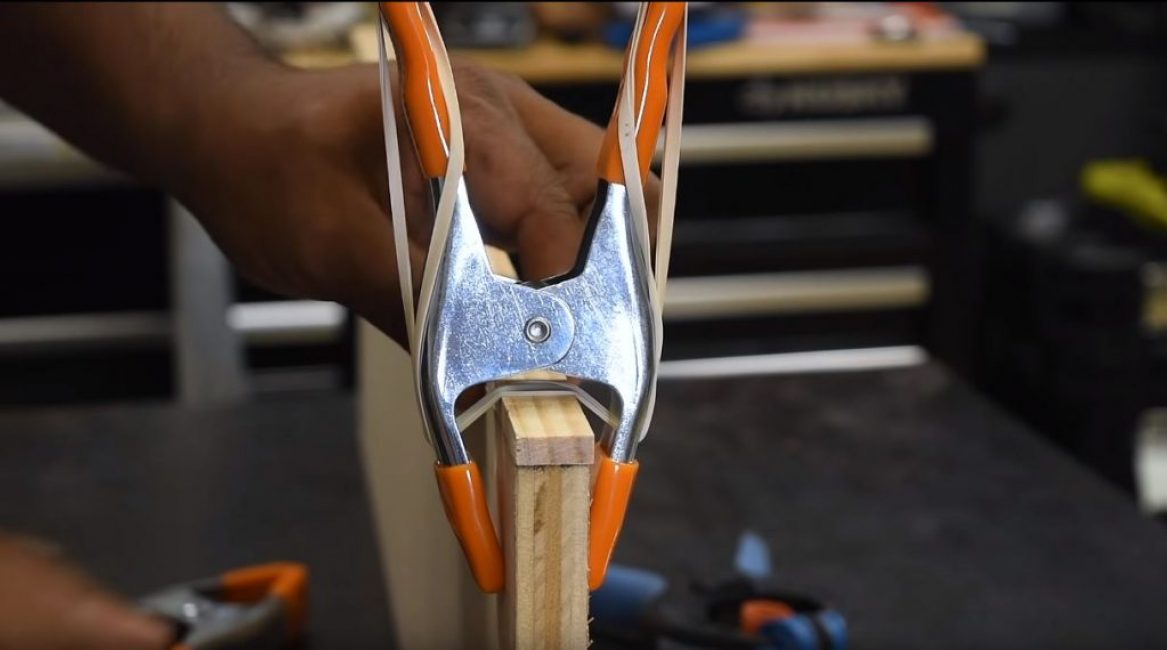
For example, when edging the ends.
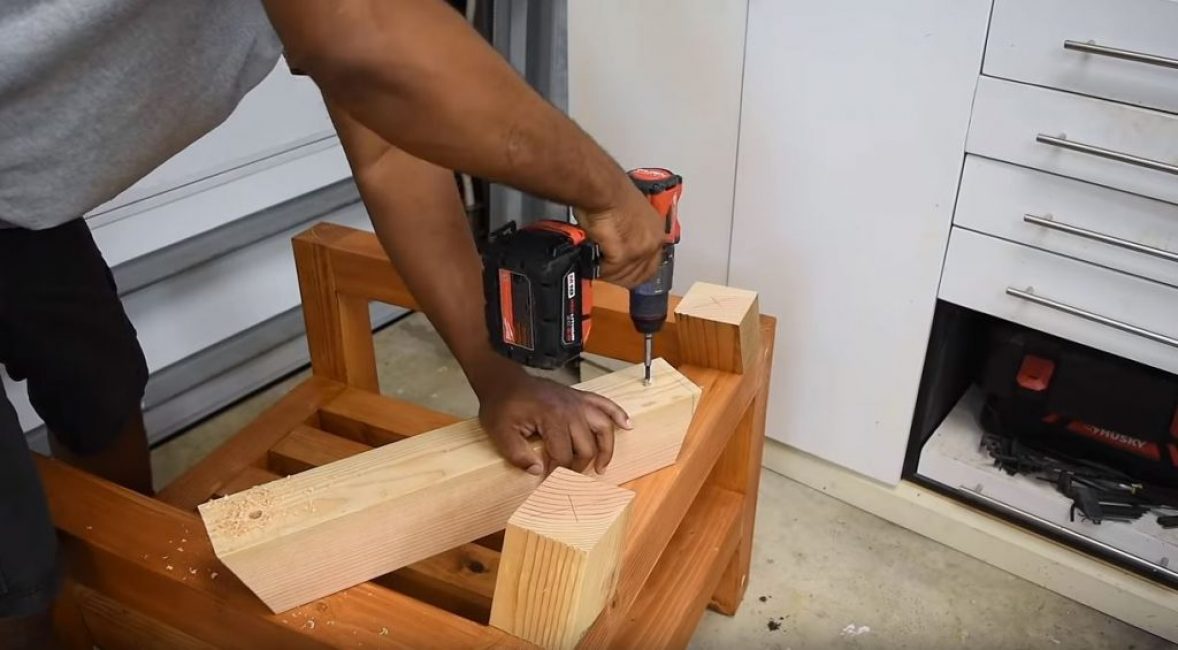
Life hack 3. Square template for furniture assembly.
Cut out an isosceles right triangle from plywood or board and cut off the corners by about 1 cm.
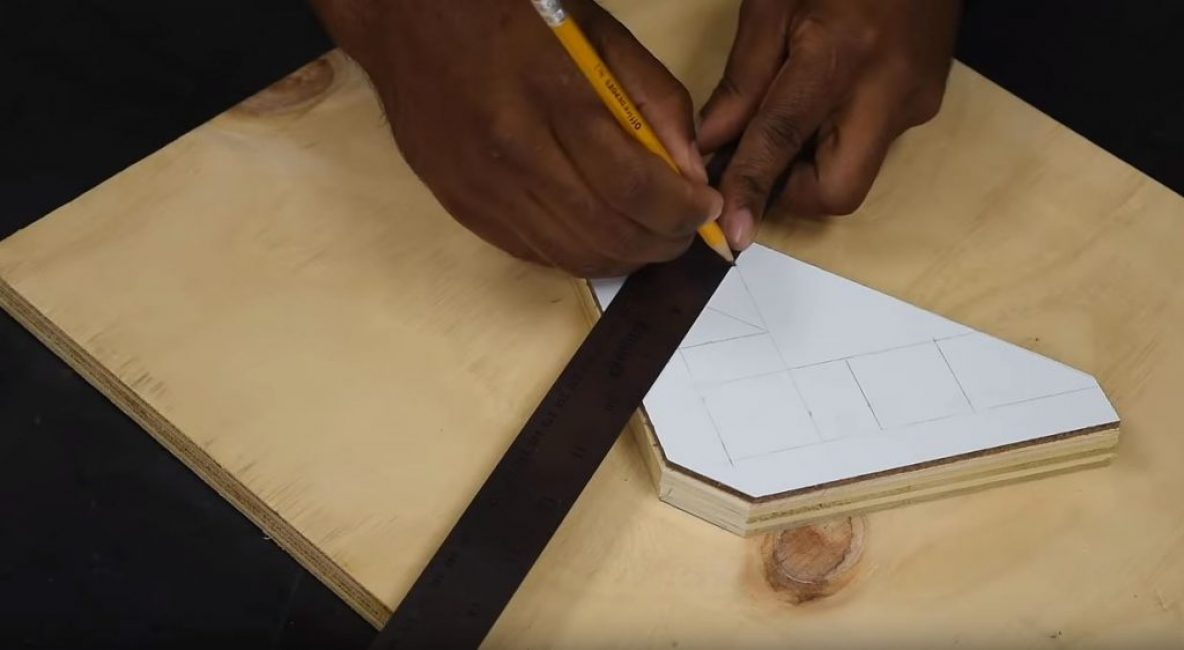
Using the template, mark 3 holes and drill them.

Here are the corners you get.

We press our square to two blanks if we need to get an angle of 90 degrees. We use the cut holes to fix the square with clamps.
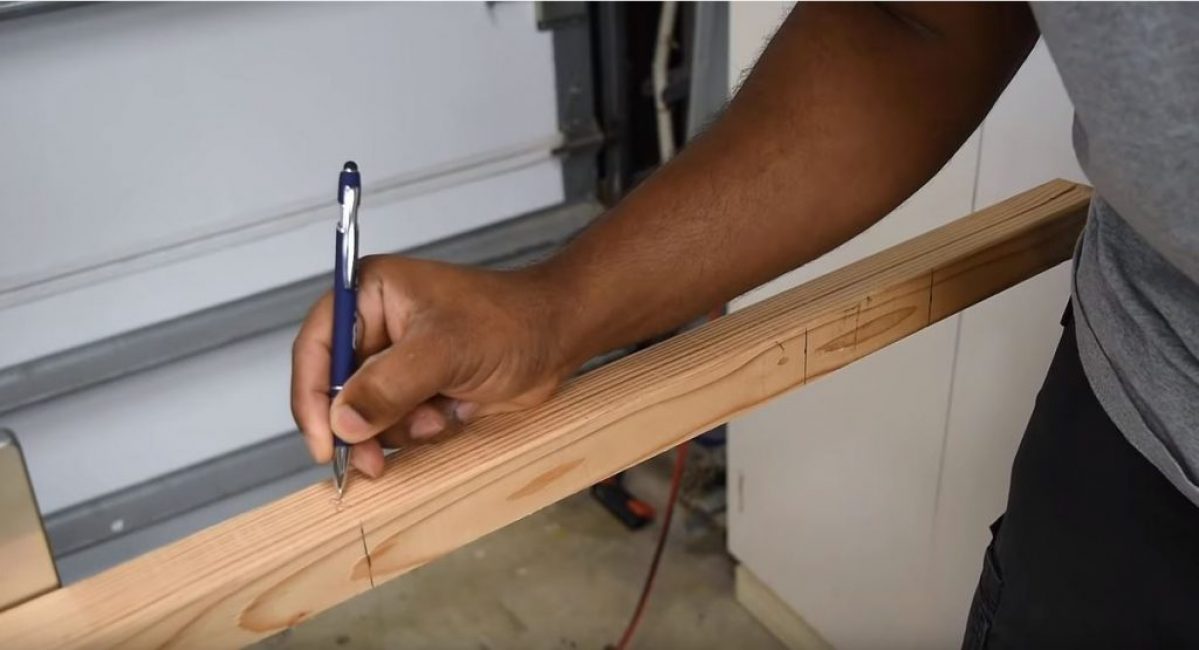
Life hack 4. Device for cutting blanks of the desired size
On the rail we make markings corresponding to the dimensions of the required blanks.
We cut a part of a large bar under the rail. Using a clamp, we fix the bar, combining it with one of the marks on the rail.
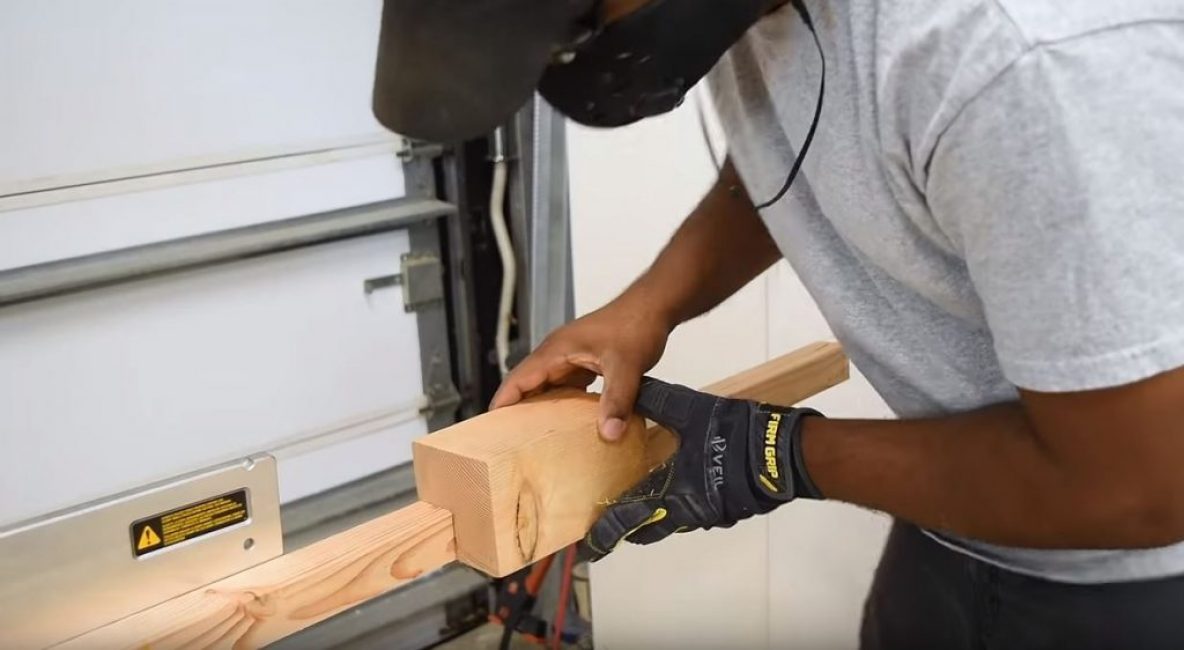
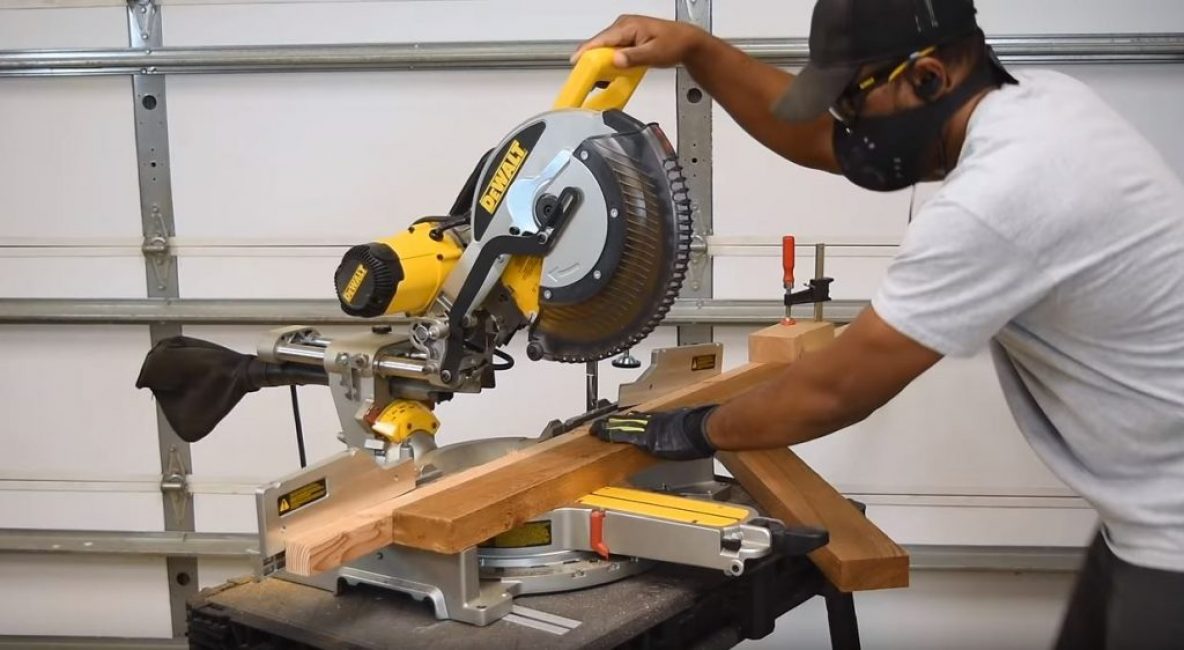
Using the bar as a stop for the workpieces, we cut the workpiece at the second mark on the rail.
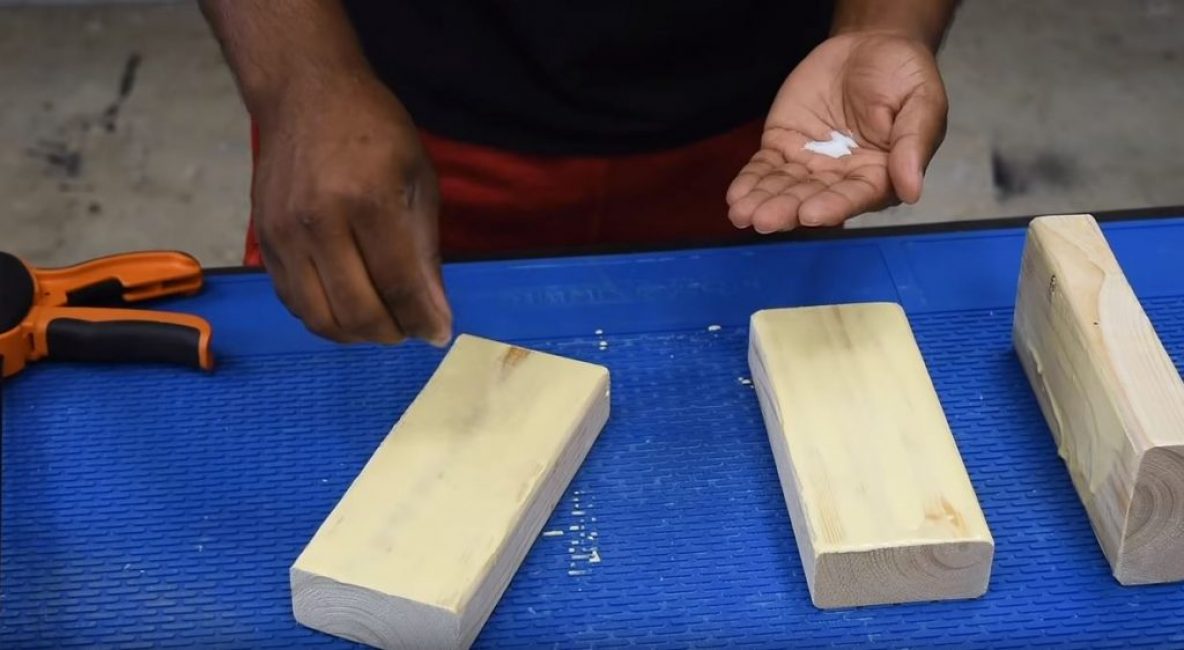
Life hack 5. Salt + glue
Often, when gluing workpieces clamped with a clamp, they slide and stick together unevenly.

To avoid this problem, no matter how strange it sounds, salt will help us. Just after you have applied the glue, sprinkle the blanks with coarse salt. This will help you get the perfect result.
Life hack 6. A nail, as a markup for dowels
In order to make non-through holes in two parts for the dowels, you need to make sure that they match exactly. To do this, we need two small cloves. Their hats should be in place of future holes. Attach them with masking tape.
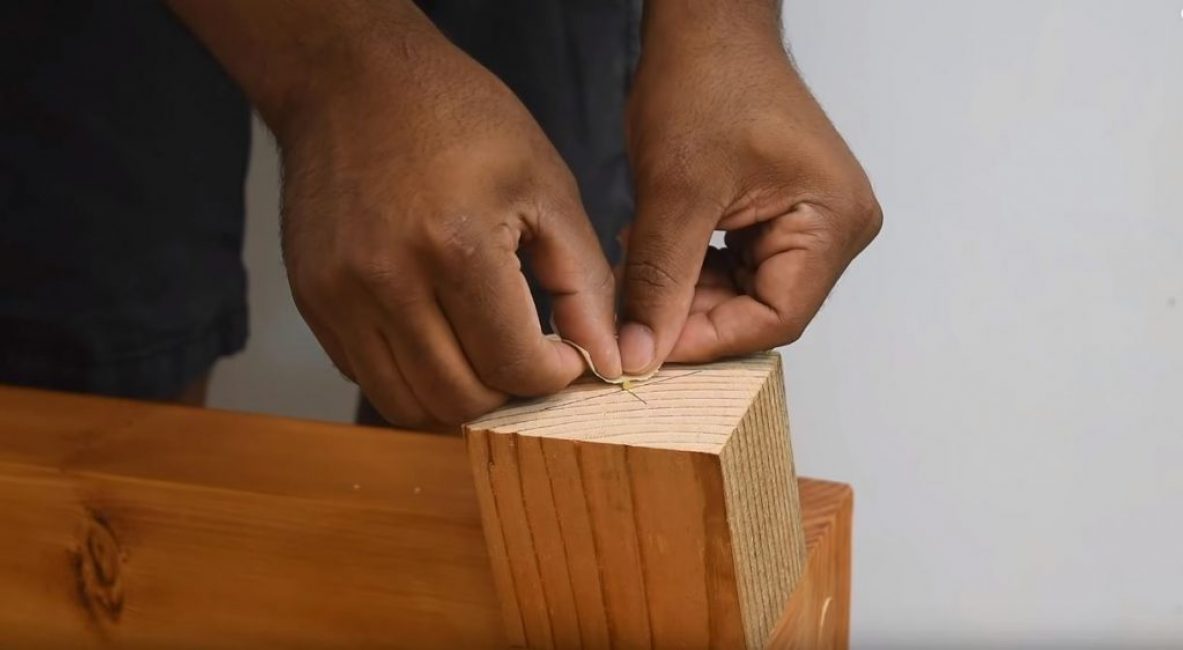
With effort we press the blanks so that there are traces of the carnation cap.

We outline the traces of the hats with a pencil.
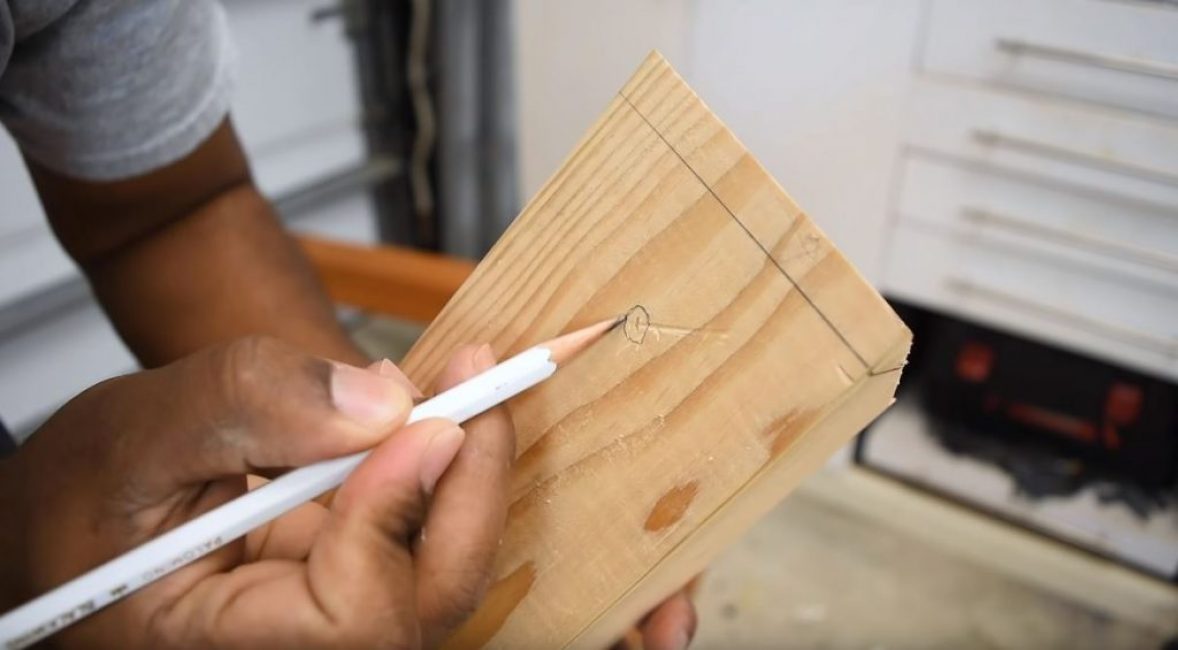
We make holes in the marked places.
Lubricate the surfaces with glue and insert the dowels.

We connect the parts and press them with clamps.

6 Woodworking Tips and Tricks
Woodworking: TOP-6 Tips from Experienced Craftsmen


