
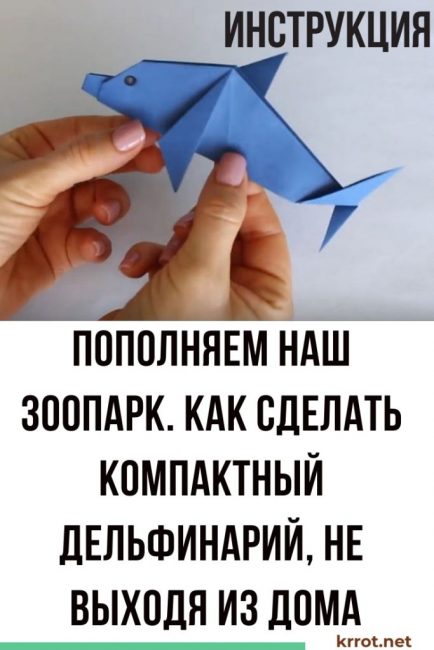
Dolphins are very smart and beautiful animals. Watching how they perform various tricks is loved not only by children, but also by adults. And having dolphins at home is just a dream. We suggest you continue to collect a home zoo and make a mini dolphinarium.
Content:
![Powerful do-it-yourself wood saw [LIFE HACK]](https://iherb.bedbugus.biz/wp-content/uploads/2019/10/elektronozhovka-svoimi-rukami-300x169.jpg) Read also: Powerful do-it-yourself wood saw [LIFE HACK]
Read also: Powerful do-it-yourself wood saw [LIFE HACK]
Materials for manufacturing
To make a paper dolphin you will need:
- a sheet of colored double-sided paper A4;
- scissors;
- ruler;
- felt-tip pen.
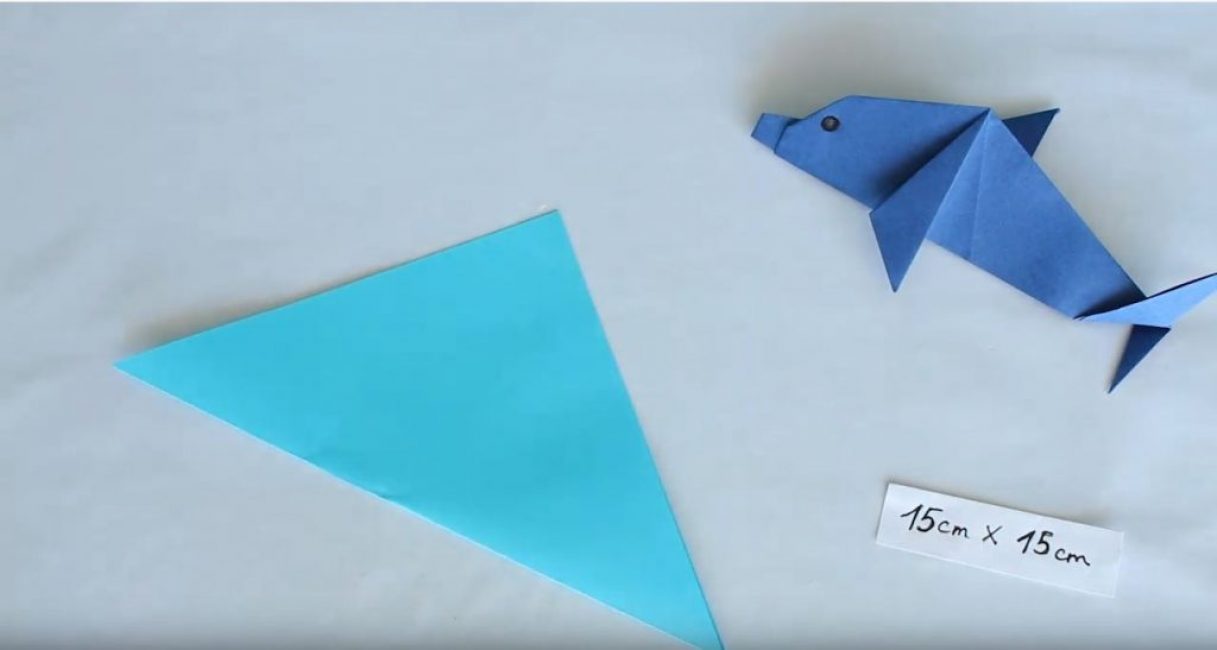
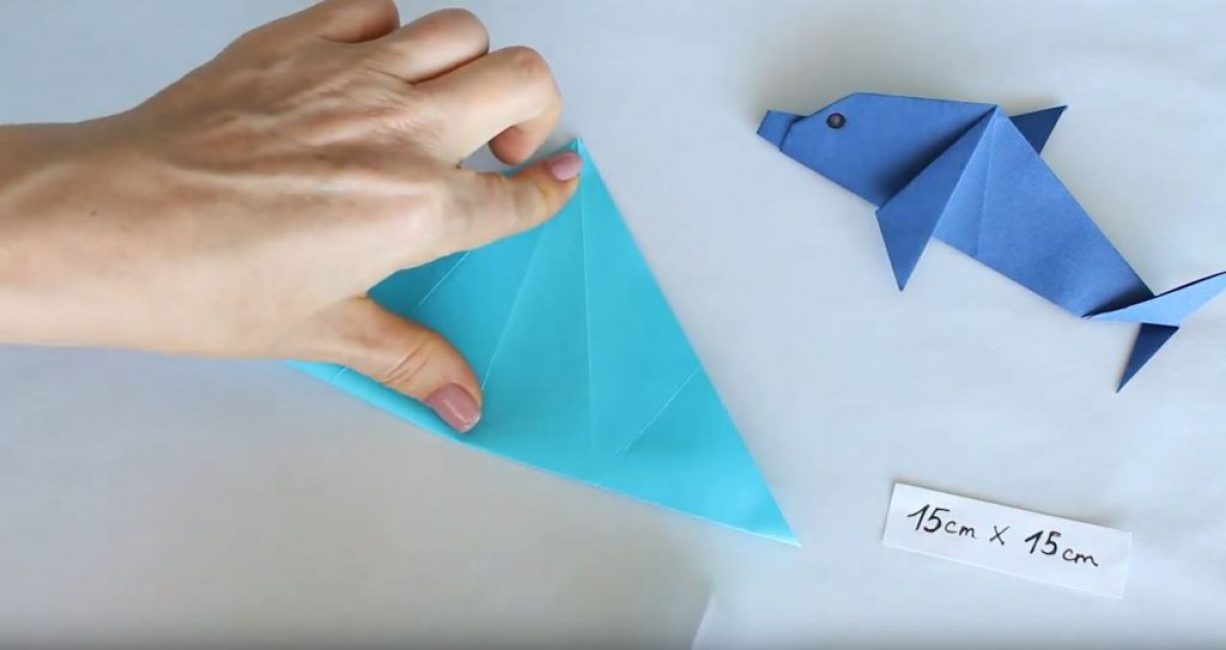
Step 1. We make the preparation of our future dolphin
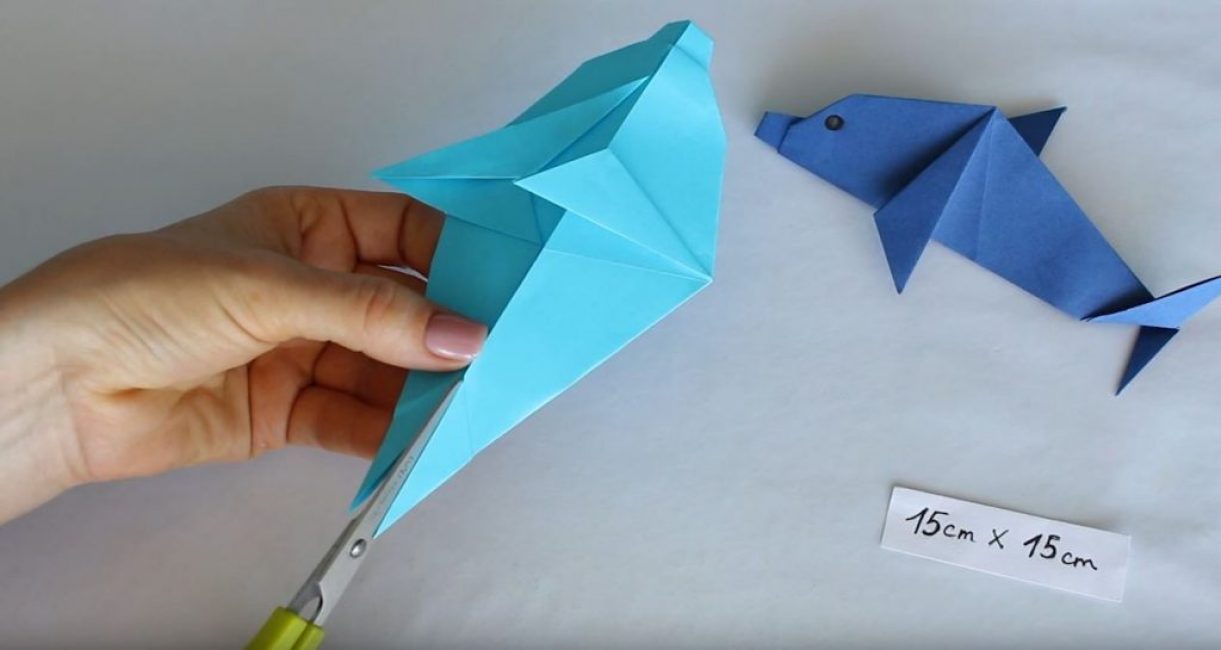
We measure on paper and cut out a square measuring 15x15 cm. Fold it diagonally.
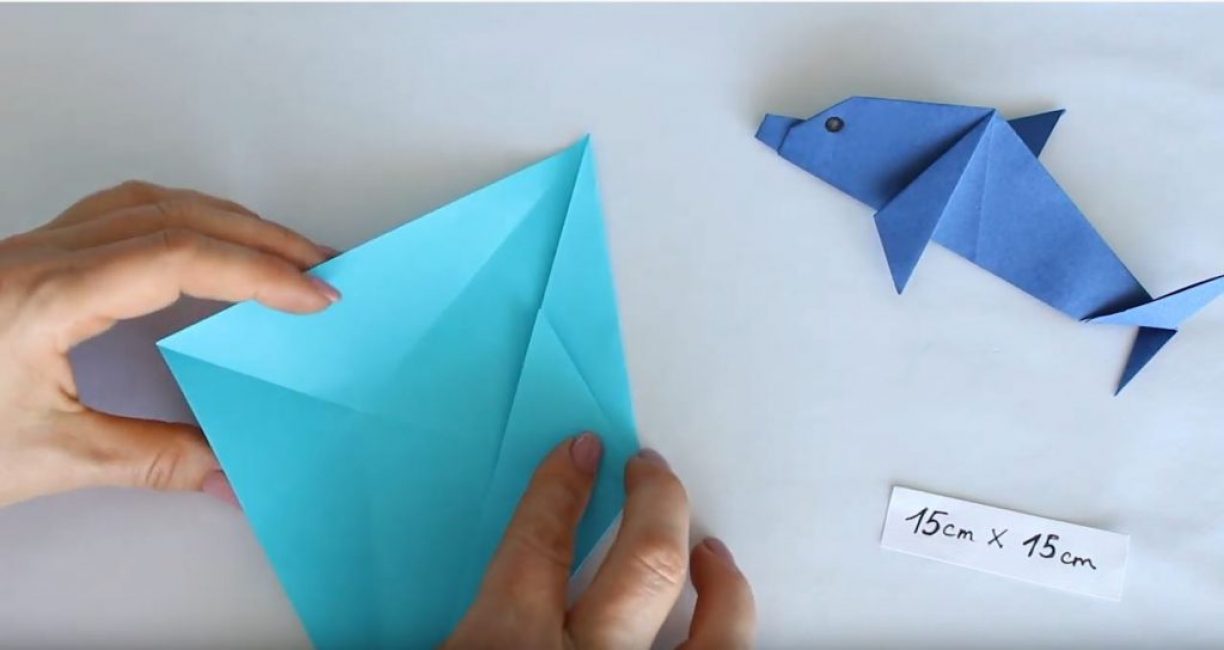
We unfold our workpiece and bend the two sides to the diagonal fold.
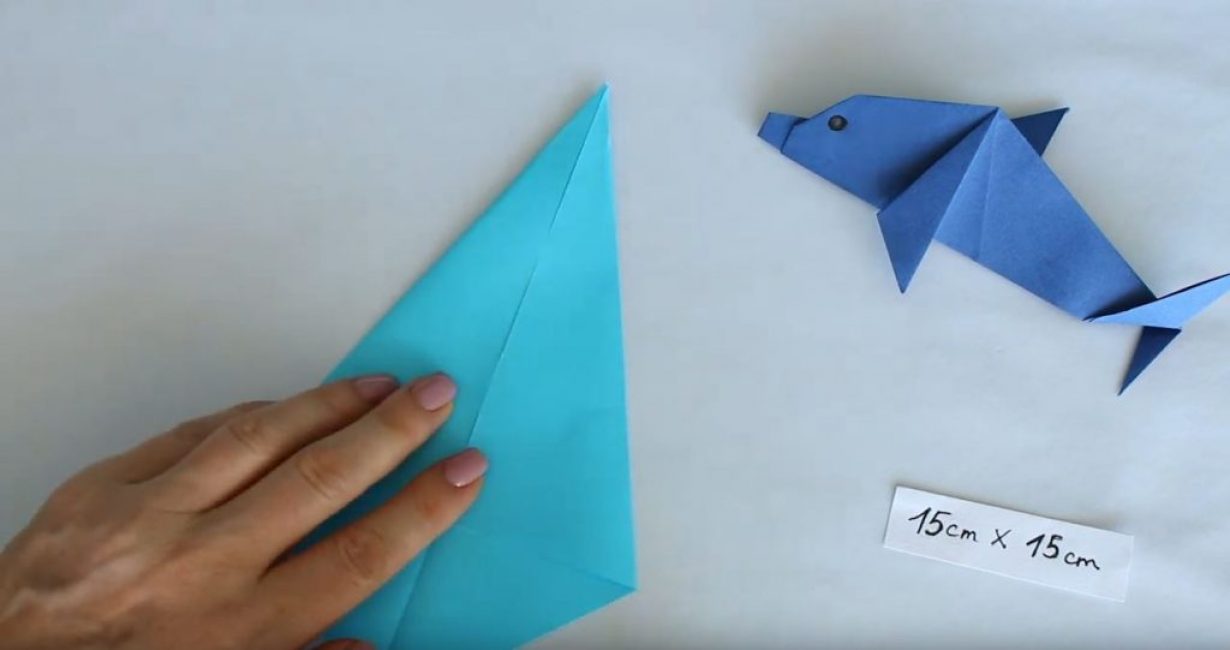
We unfold the paper, rotate it 180 degrees and again bend the two sides to the diagonal fold.
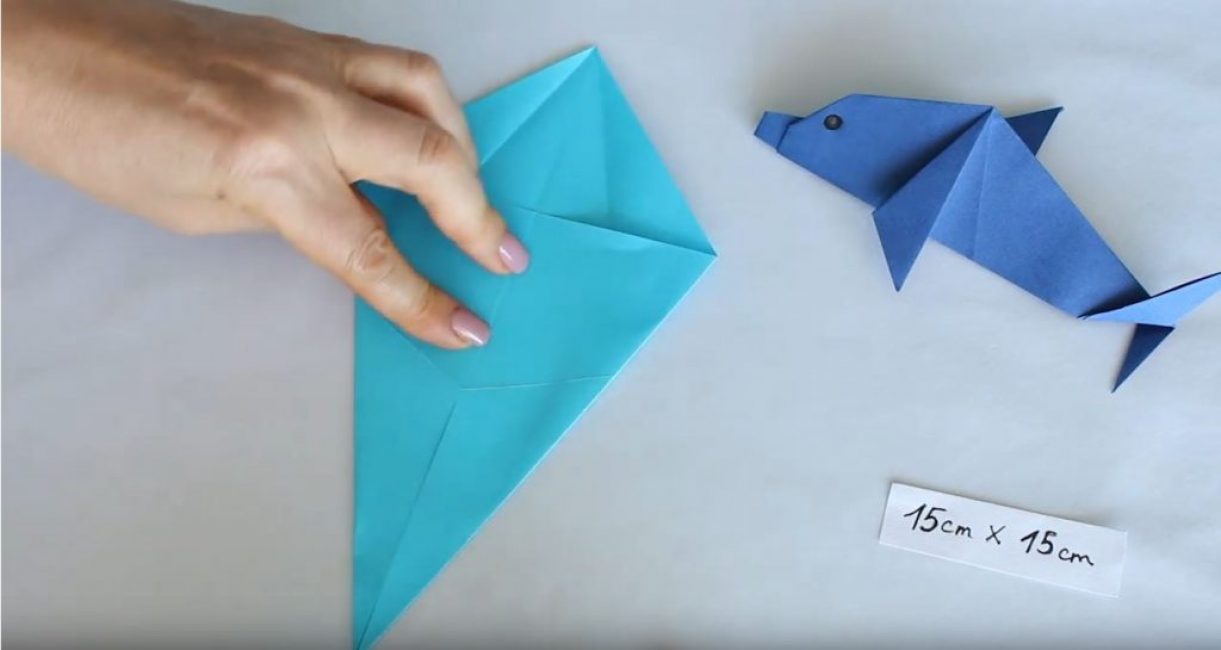
Expand the square again and connect the upper corner with the lower one, outlining the second diagonal.
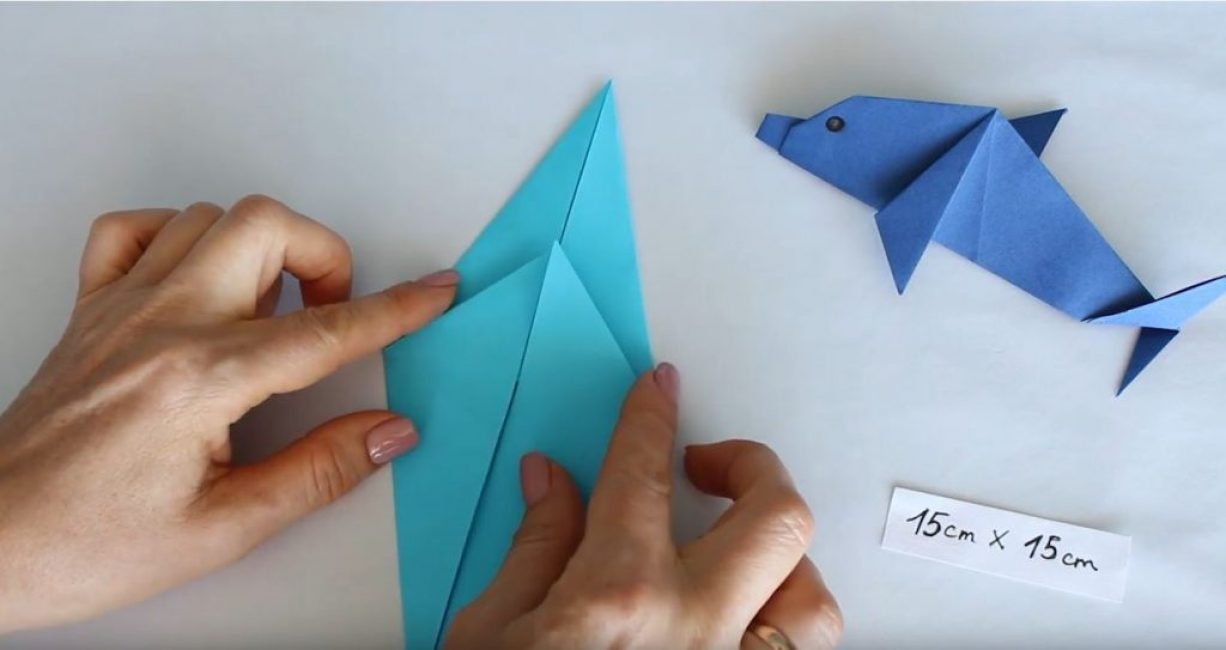
We return the workpiece to its original position, after which we connect two adjacent sides along the folds made, creating a triangle.

We bend this triangle up.
We do the same with the opposite side and as a result we get a rhombus.
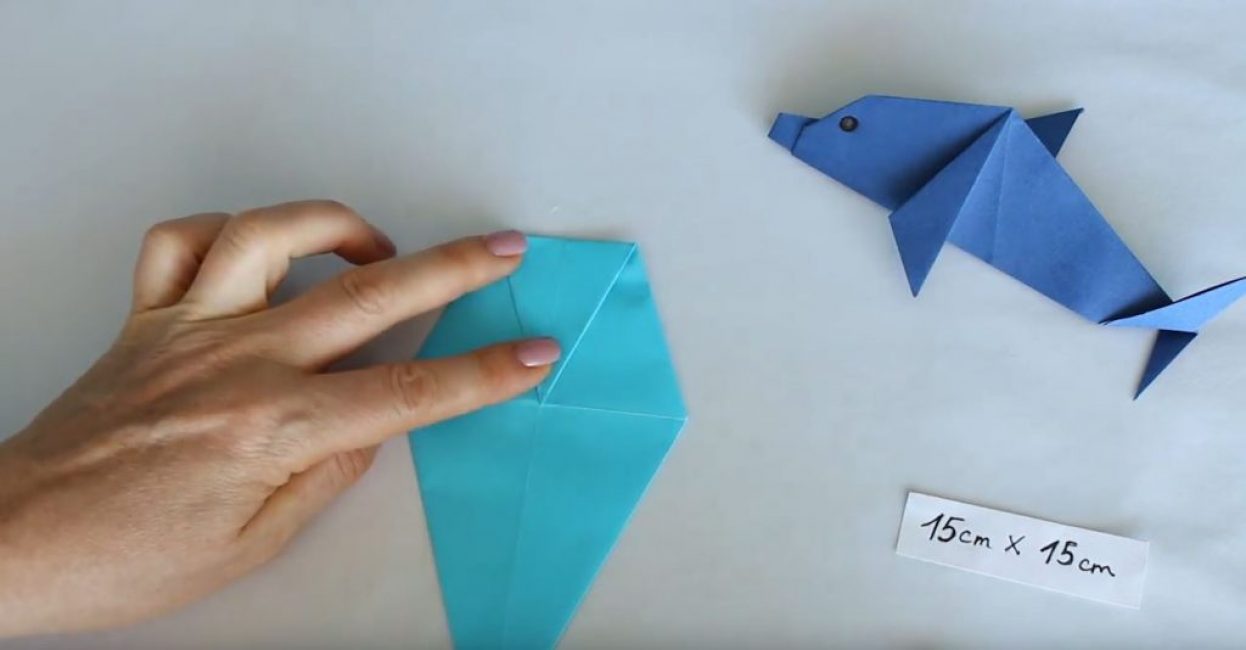
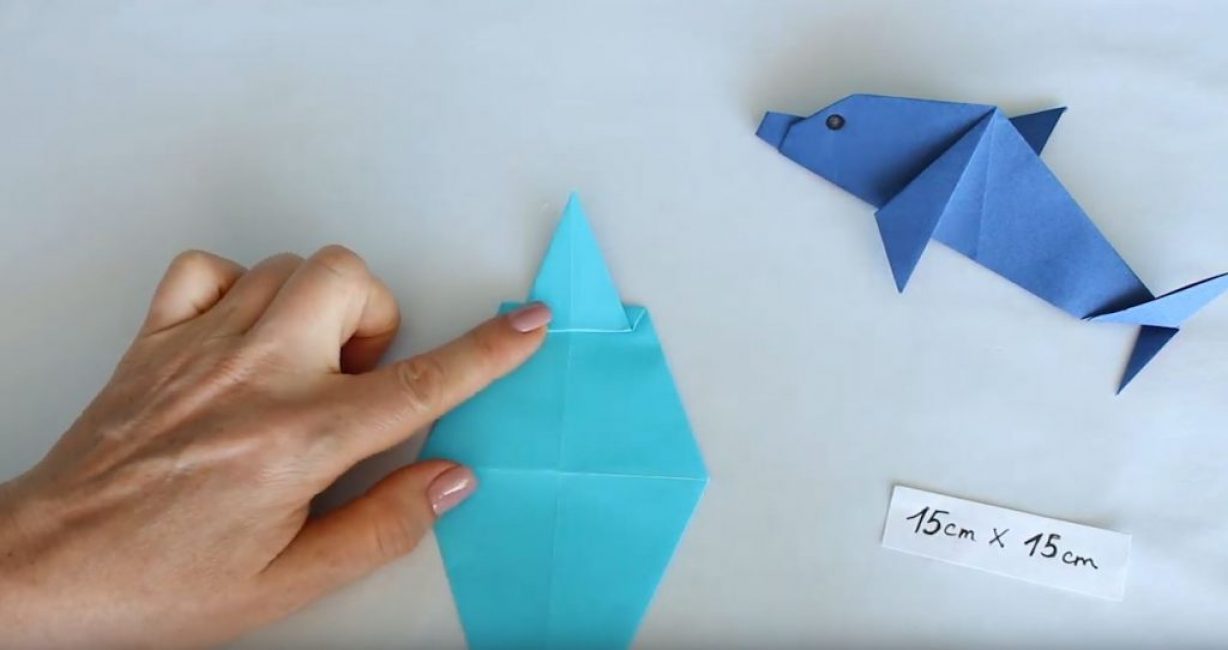
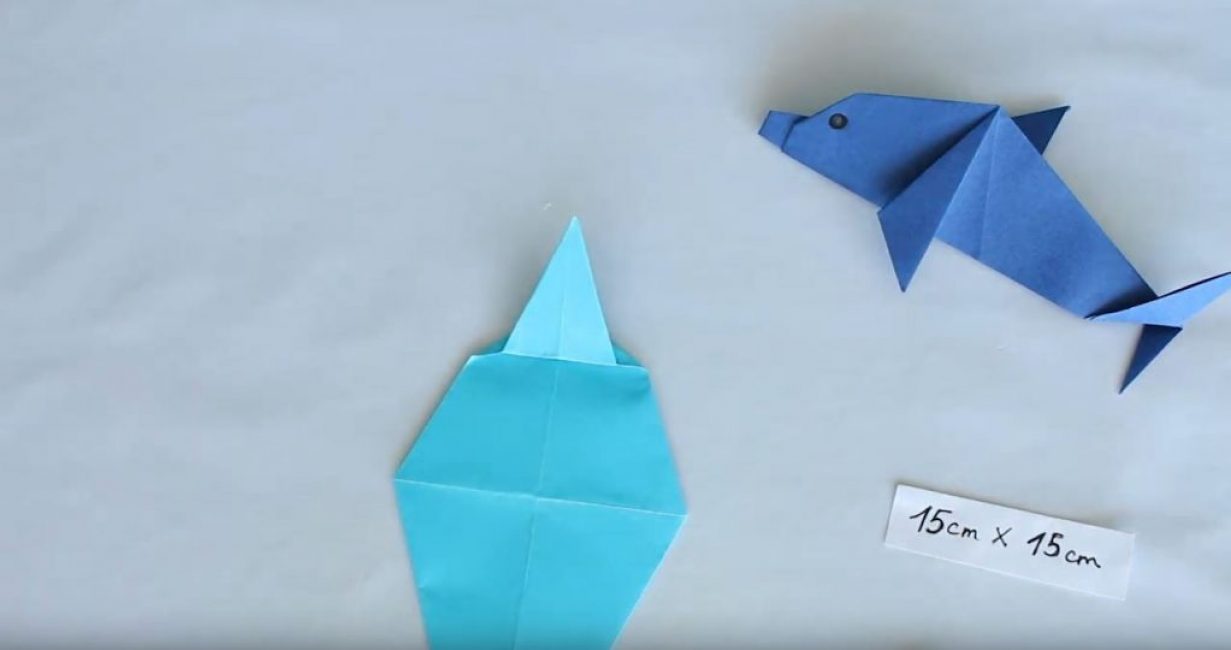
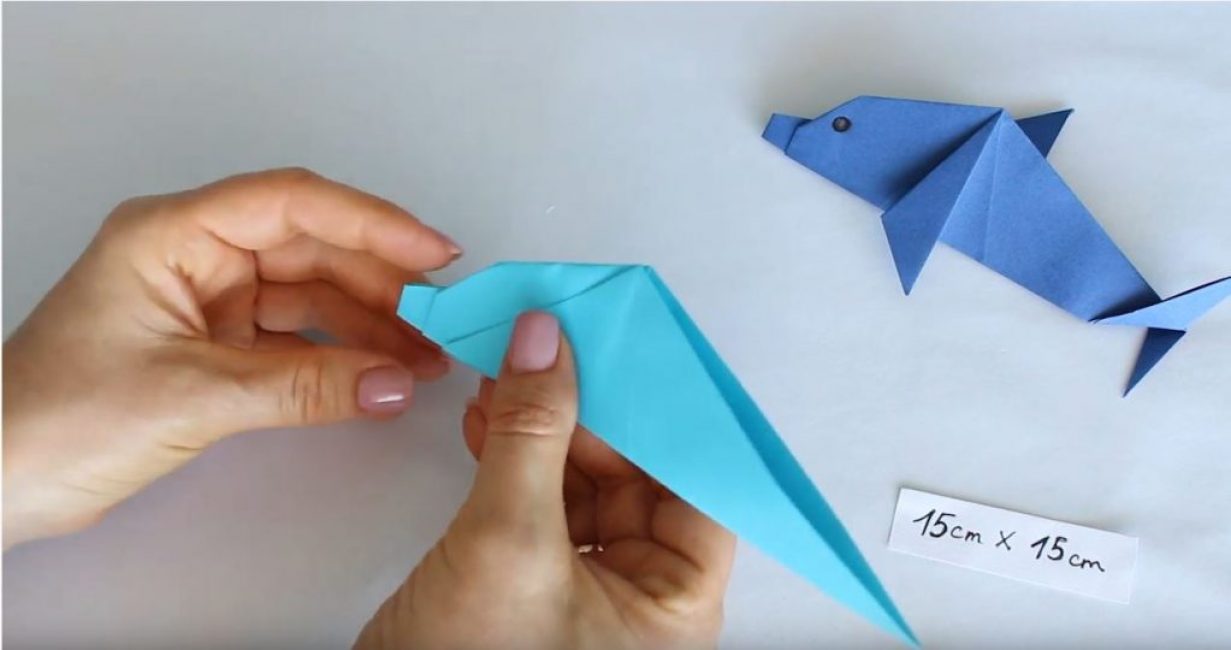
Step 2: Shaping the Dolphin's Face
We turn our workpiece over and bend the upper corner to the center of the rhombus.
Stepping back a few millimeters, we bend the edge back up, forming a fold.
Unfold the last fold and fold the two corners of the triangle down to the fold we made in the previous paragraph.
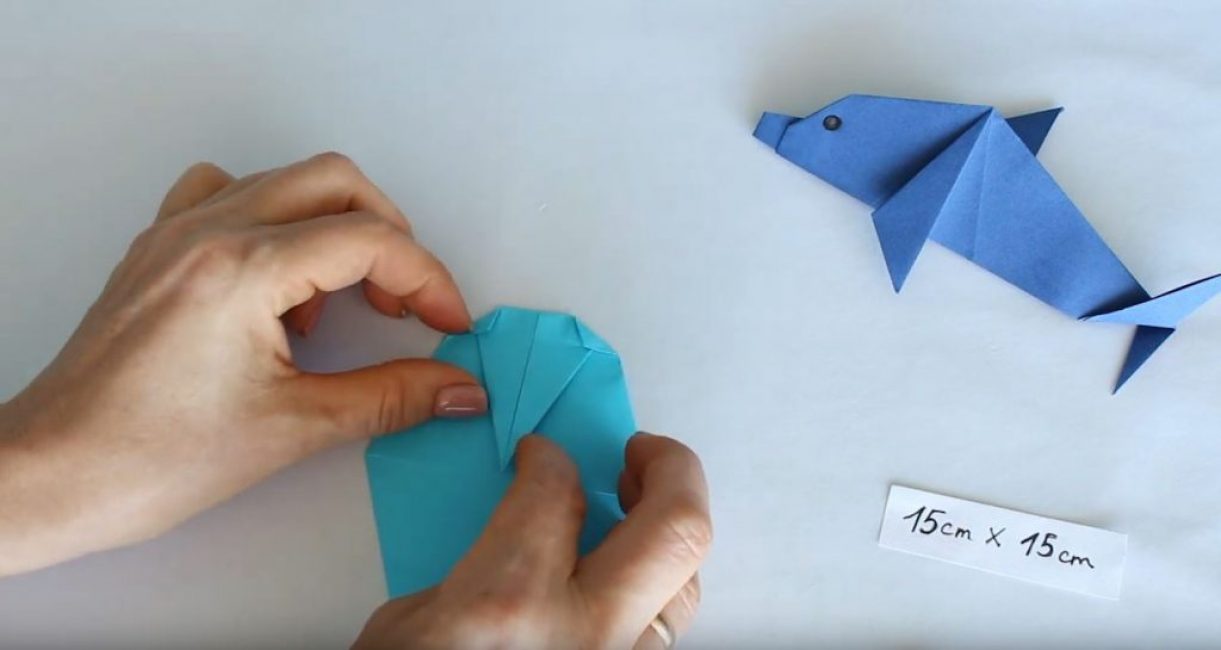
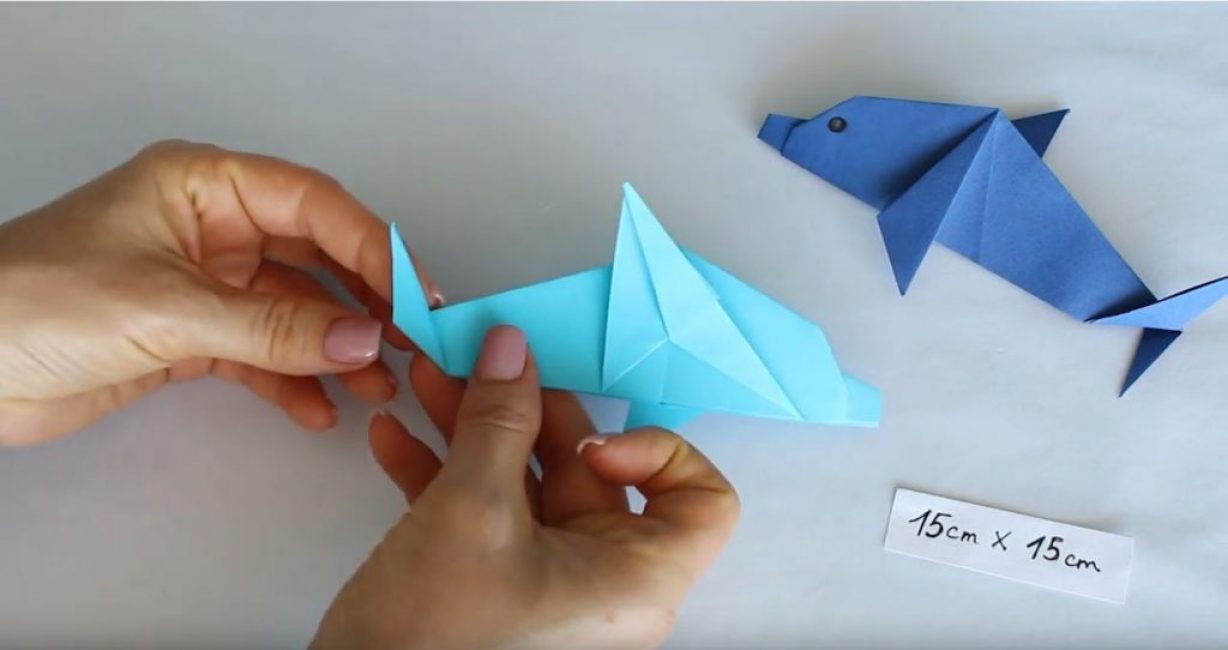
After that, we again bend up our large triangle, carefully holding the two small ones on the sides.
Stepping back a few millimeters, again bend the corner down.
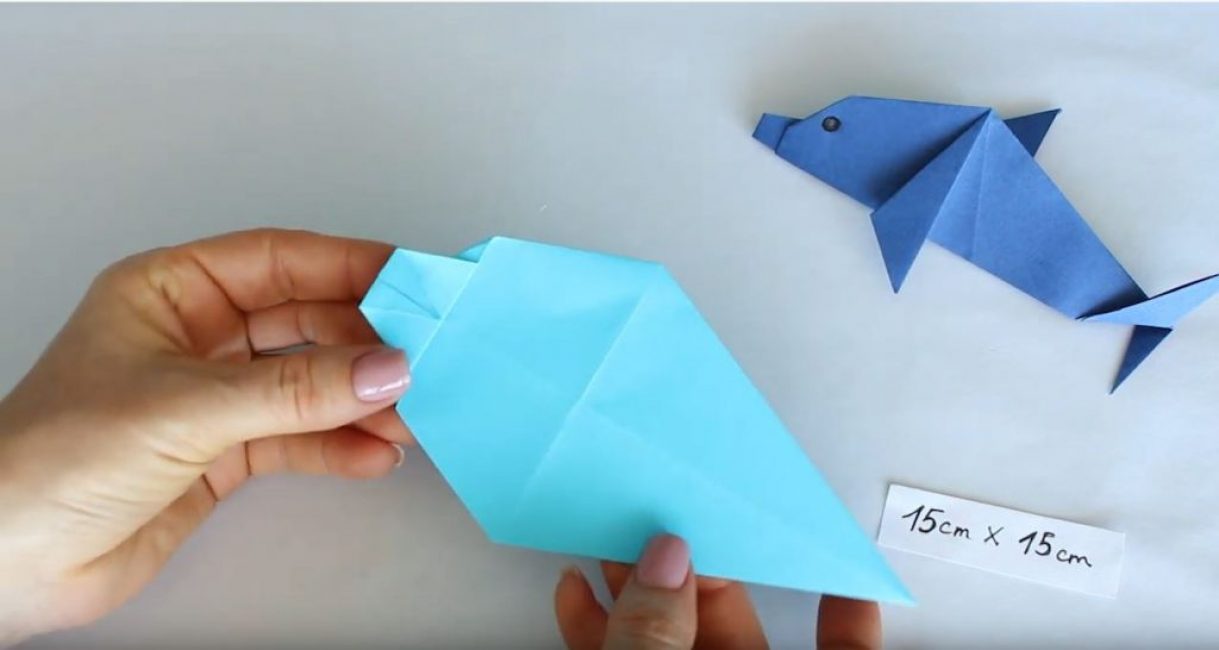
We fold our entire workpiece in half, along the fold made earlier.
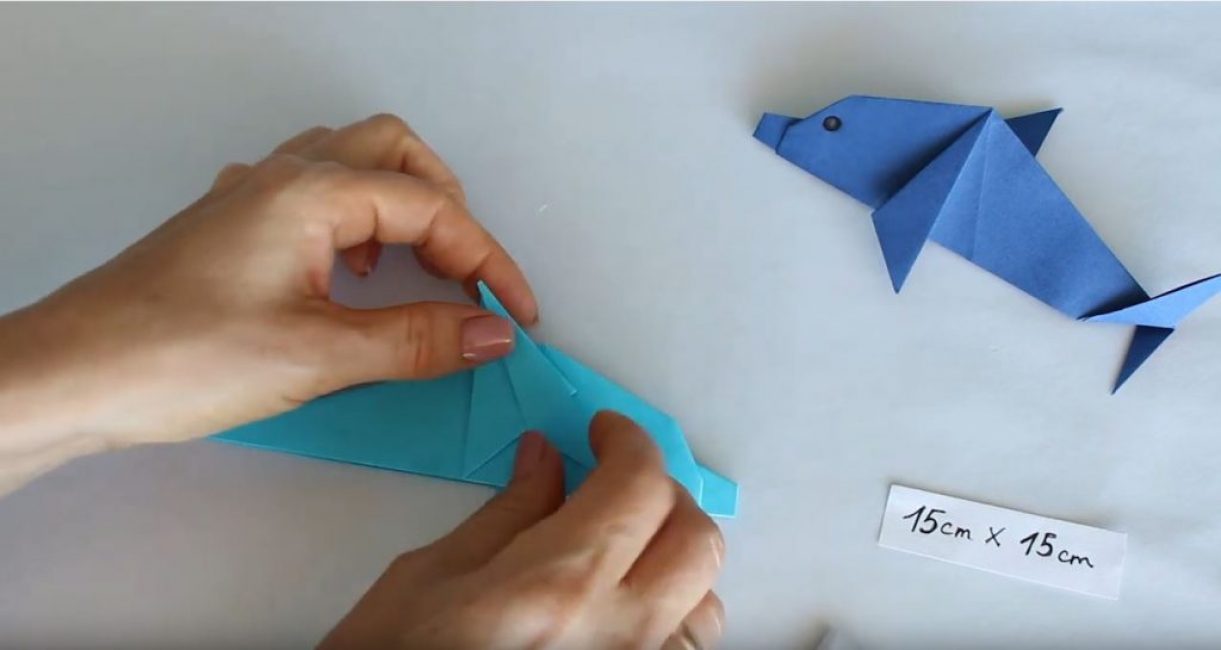
Step 3: Shaping the Dolphin's Fins
Bend the side triangle so as to divide the crease in half.
To form the second fin, turn the workpiece over to the other side and bend the fold.

We straighten it in such a way that the direction of the second fin is up.
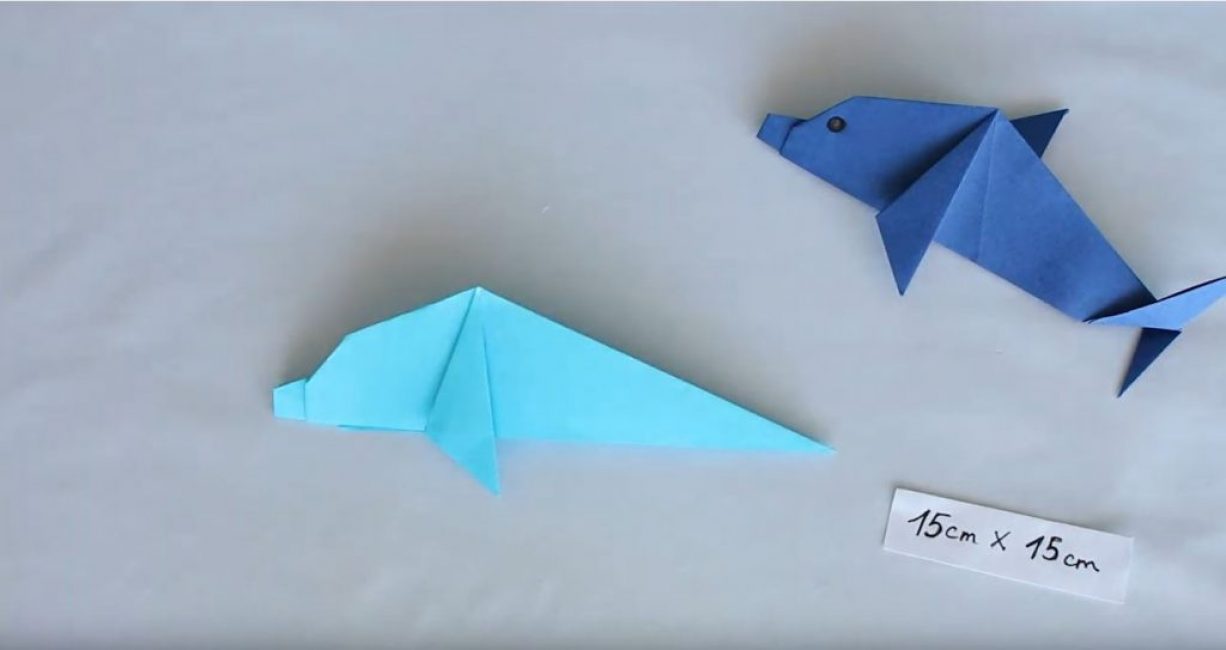
Step 4. Making the Tail
We bend the edge from which we will make the tail up.
We unbend our dolphin in the center and make an incision to the fold that formed in the previous paragraph.
We collect the base back and bend one corner up and the other down.
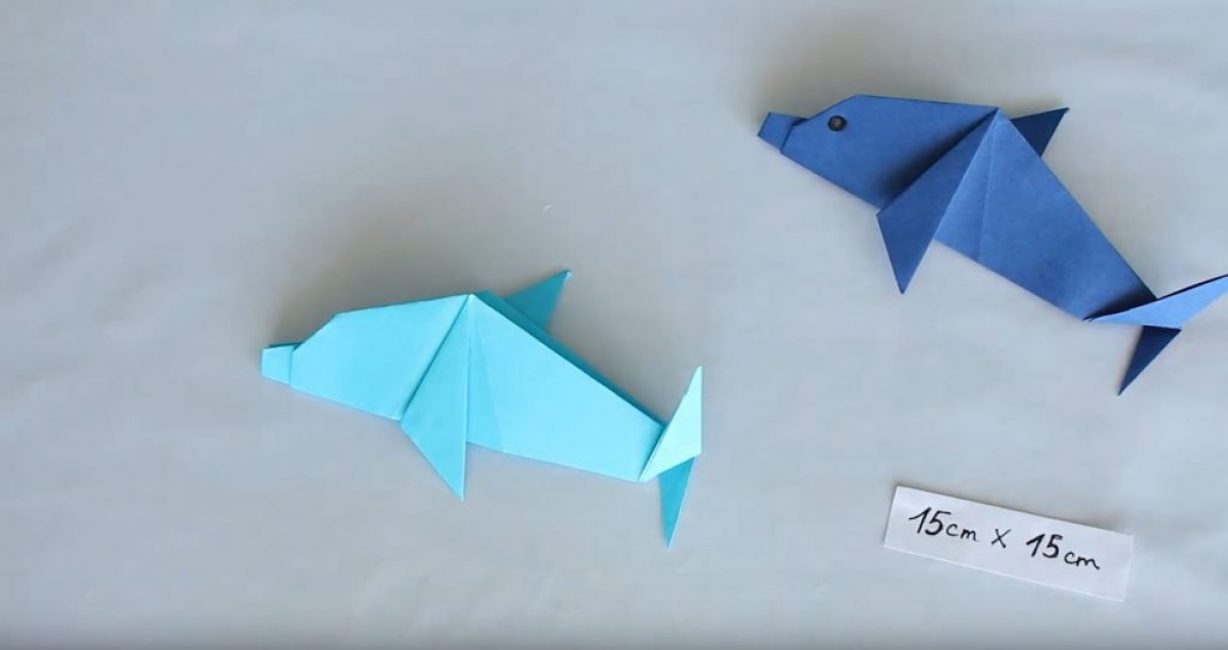
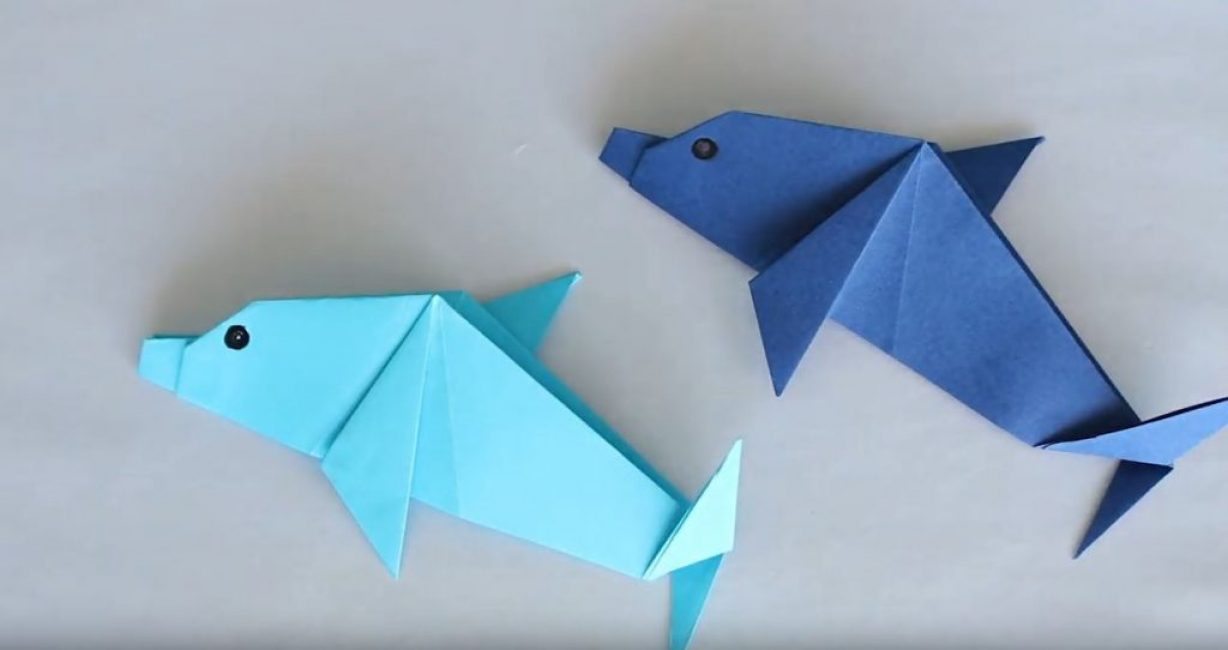
The last touch remains - with a felt-tip pen we draw the eyes of a dolphin. Our origami is ready.

Origami. paper dolphin
Dolphin ? do-it-yourself paper: we continue to replenish the home origami zoo


