
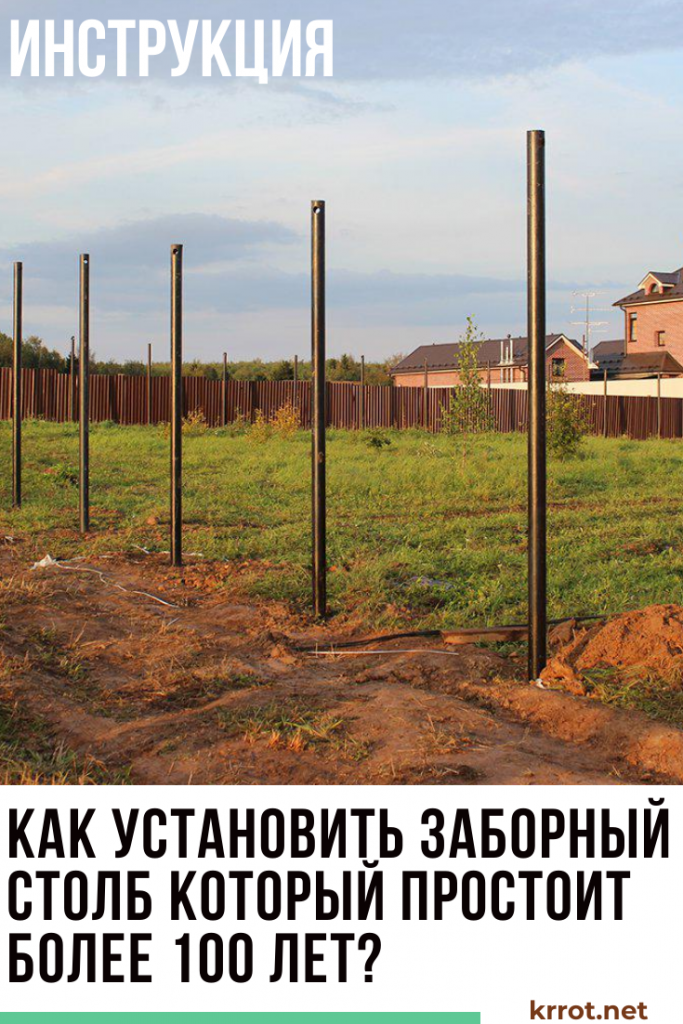
When installing fence the most important thing is its base in this case - it is a pillar.
It must be reliable, high quality and durable. The appearance of any fence depends on how it is installed.
How to install a fence post for centuries is the topic of our today's photo instruction.
 Read also: How to make a swing with your own hands: design features, step-by-step instructions (drawings with dimensions) | (100 Photos & Videos)
Introductory part - a little about pillars and foundations
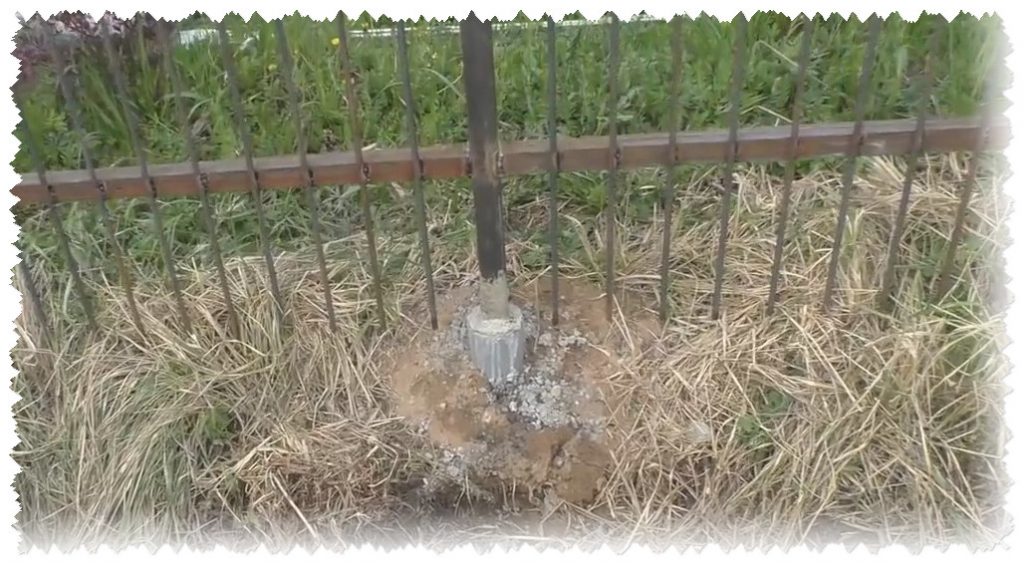
It doesn’t look very good, but the pole will not let you down
The first thing is that the fence post is made of quality material - better from a metal pipe, round or shaped, but always with thick walls.
Second - foundation, namely the depth and its shape. In our climatic zone, the level of soil freezing at peak temperatures is more than 1 meter, so concreting should be done below this mark with a good margin.
As for the shape of the concrete monolith, it must be made in an irregular shape - for example, an inverted cone. This will increase the resistance of the foundation to being pushed out by heaving, mobile soils after winter.
The main requirements for the “eternal” fence post have been clarified. Let's get started with our project.
 Read also: Projects of country houses for 6-10 acres: 120 photos, description and requirements | The most interesting ideas
 Fence post installation
Fence post installation
For concreting a fence post you will need:
You may also need other tools necessary for similar work, such as a bubble level.
Stage number 1 - preparation of pillar elements
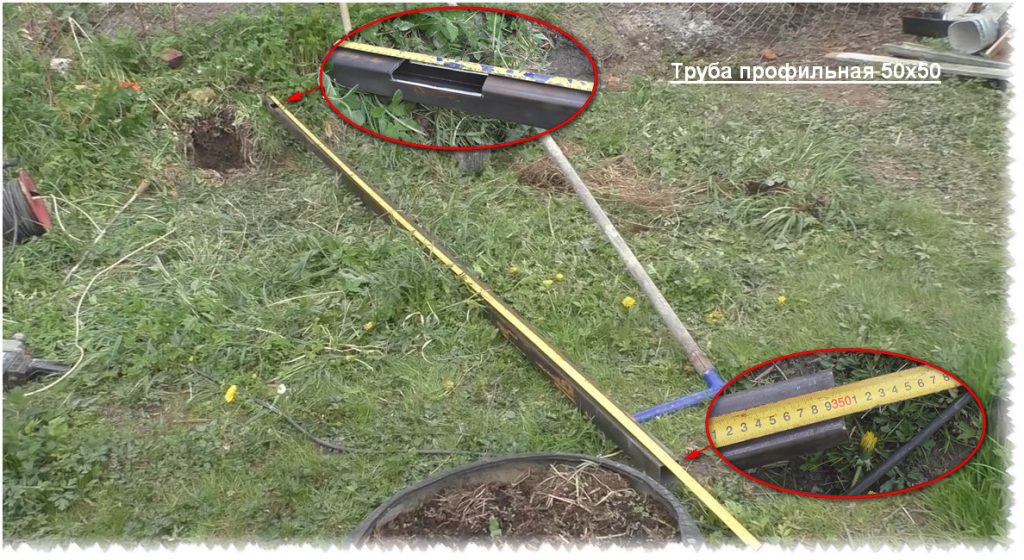
Profile pipe preparation
First of all, you need to prepare a profile pipe. The total length is 3.5 m. The height of the visible part is planned to be about 2 meters.
From the bottom of the pipe, stepping back 10-12 cm, a cut of arbitrary shape is made. For example, as shown below. It is needed to securely fix the pillar with the foundation.
Next, we make a mark delimiting the main foundation from the additional one.
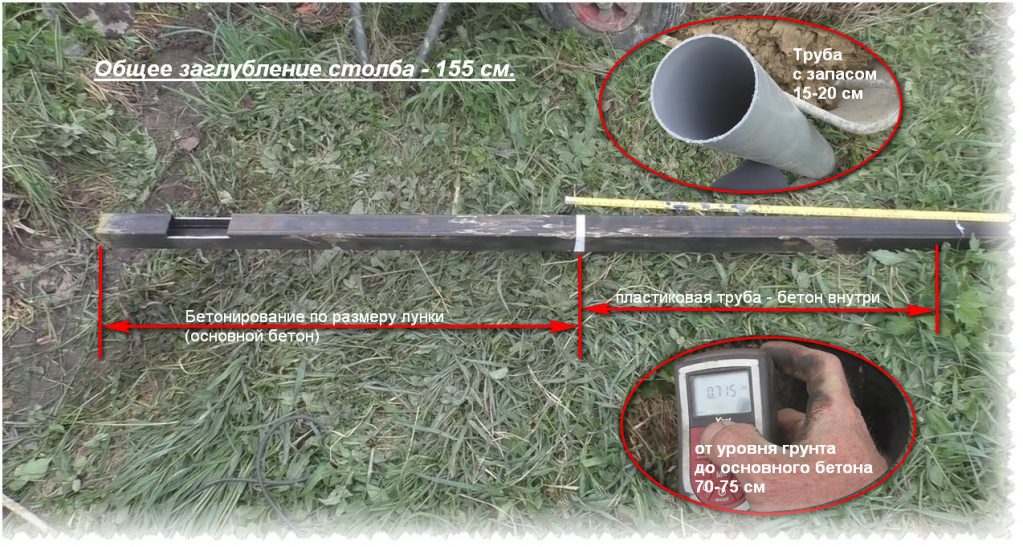
Concreting scheme with dimensions
The schema looks like this:
- total depth is about 1.5 meters
- basic foundation, i.e. concrete poured into the hole and limited only by soil, will be formed to a depth of 80 cm
- additional foundation, i.e. concrete from the level of the main foundation to the zero level will be of a smaller diameter. The concrete will be limited by a plastic pipe (80 cm), which will be sprinkled with sand and small gravel
The main foundation lies below the freezing level of the soil. The upper foundation provides additional fixation. A plastic pipe reduces friction during soil movement - actually in soils of the inserted type.
Stage number 2 - preparing holes for poles
Marking and drilling holes for fence posts
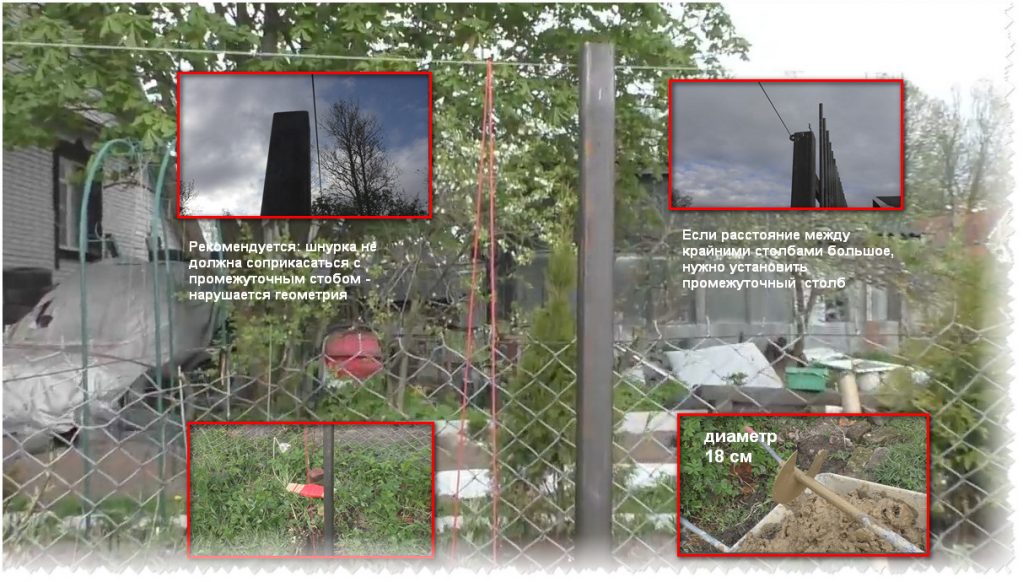
This stage begins with marking, surveying the site. Orientation posts are installed at the corners of the fenced area. It is recommended to immediately set the required height and make markings on it.
If the distance between the extreme posts is large and the lace between them sags, you need to install intermediate posts.
The marking of the holes is carried out with the help of plumb lines - a plumb line is attached to a stretched marking cord at the desired distance.
After marking, holes are drilled - 1.5-1.7 meters deep. The diameter of the drill is about 18 cm.
Stage number 3 - concreting pillars
Pole concreting
Use the usual concrete solution with crushed stone: 1-3-3 (cement, sand, crushed stone). Concrete grade M 150.
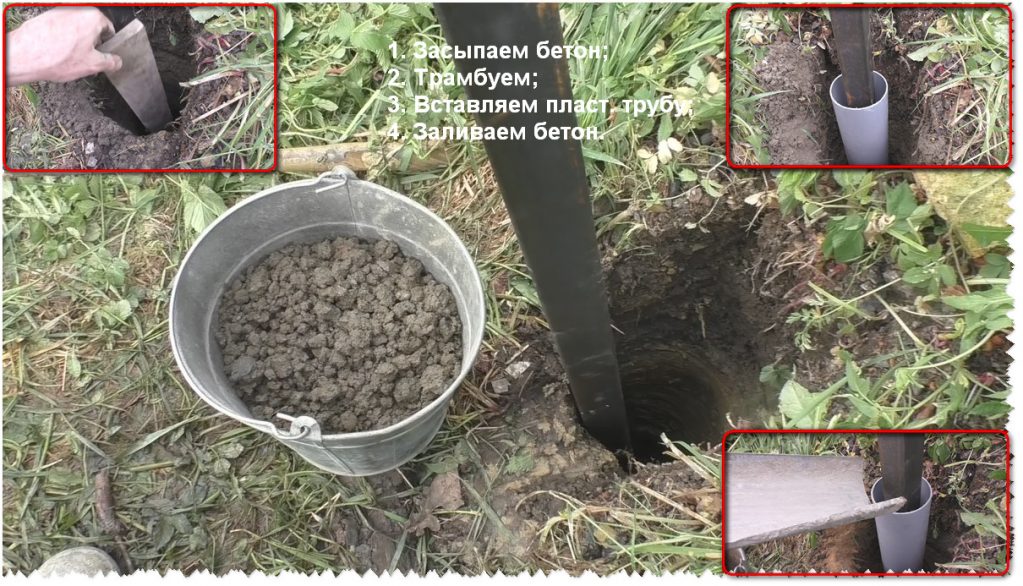
The order of work is as follows:
- We fall asleep in the hole a couple of buckets of concrete
- rammer
- We repeat the operation to a depth of 70 cm
- We insert a plastic piece of pipe (diameter 100mm) 80-85 cm long and center it with the post
- At the same time, we fill it with concrete and sprinkle it outside with a mixture of sand and gravel.
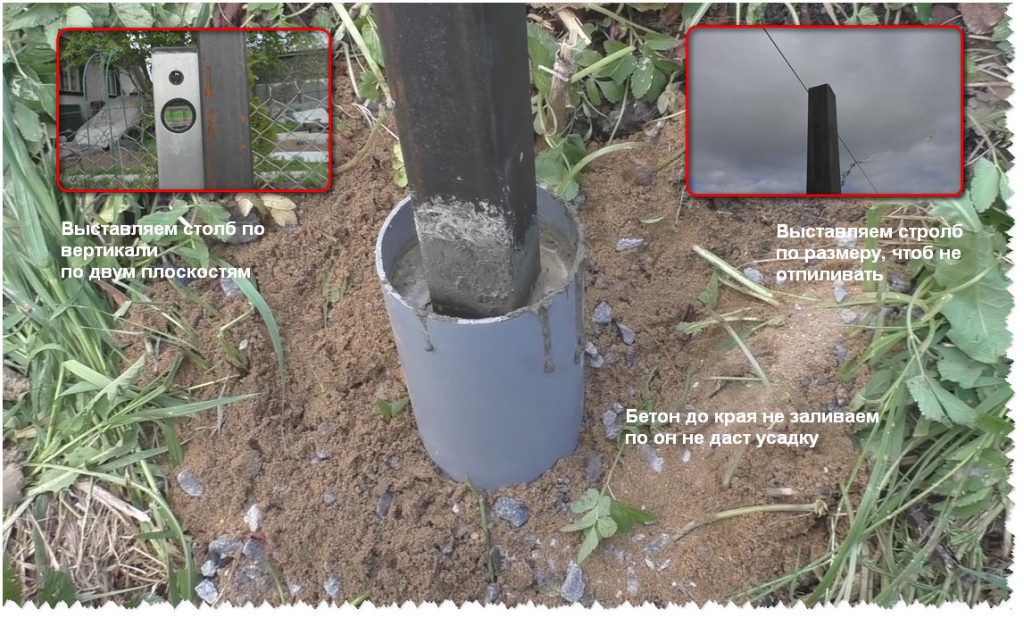
Since concrete shrinks, it does not make sense to fill the pipe to the brim. It is advisable to do this after the concrete has set.
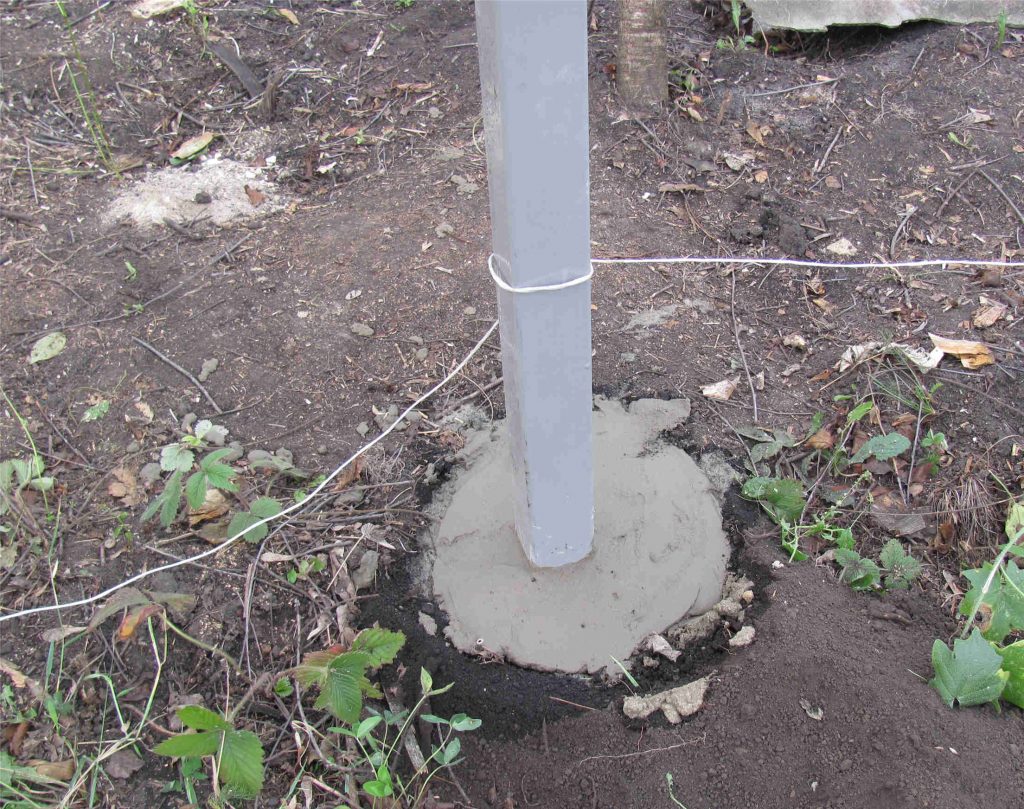
Stage number 4 - set the level
Level check
Until the concrete has set, it's time to set the level of the pillars. We use a bubble level, check the vertical in two planes.
Stage number 5 - improvements
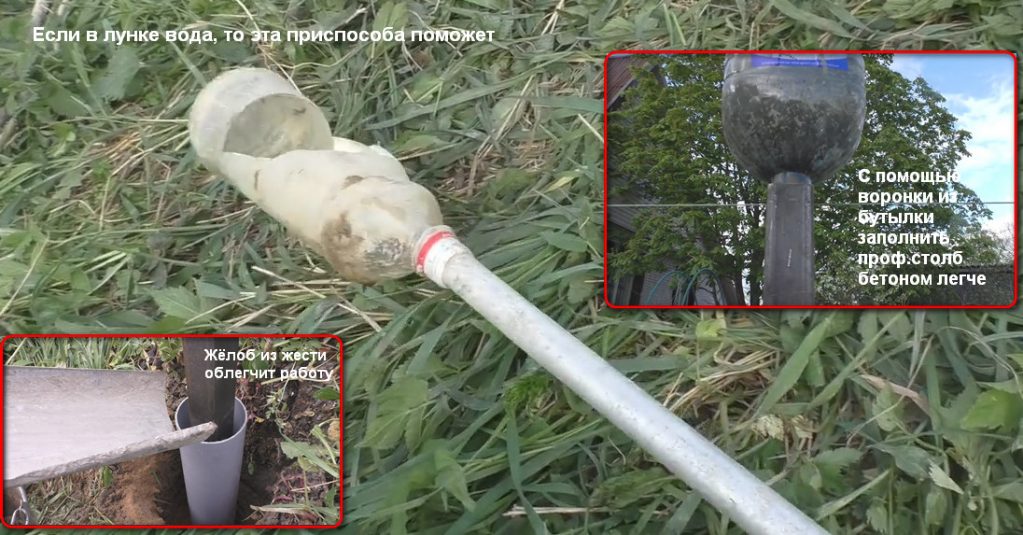
Adaptations for work
After the concrete hardens, it is necessary to pour concrete into the plastic pipes.
Metal poles should also be modified. The fact is that many close the hollow pillars from above either with plastic plugs or weld metal covers. We will not do this - we are making a pillar “not killed” by time.
To do this, we will pour concrete inside the metal pillar. It is convenient to do this with a homemade funnel from a five-liter bottle.
This refinement will make the pole not only more durable, but will also keep it for many years - it will be reliably isolated from the negative effects of moisture.
 Read also: Terrace attached to the house: 150+ Best photo ideas | Do-it-yourself step-by-step arrangement
Conclusion
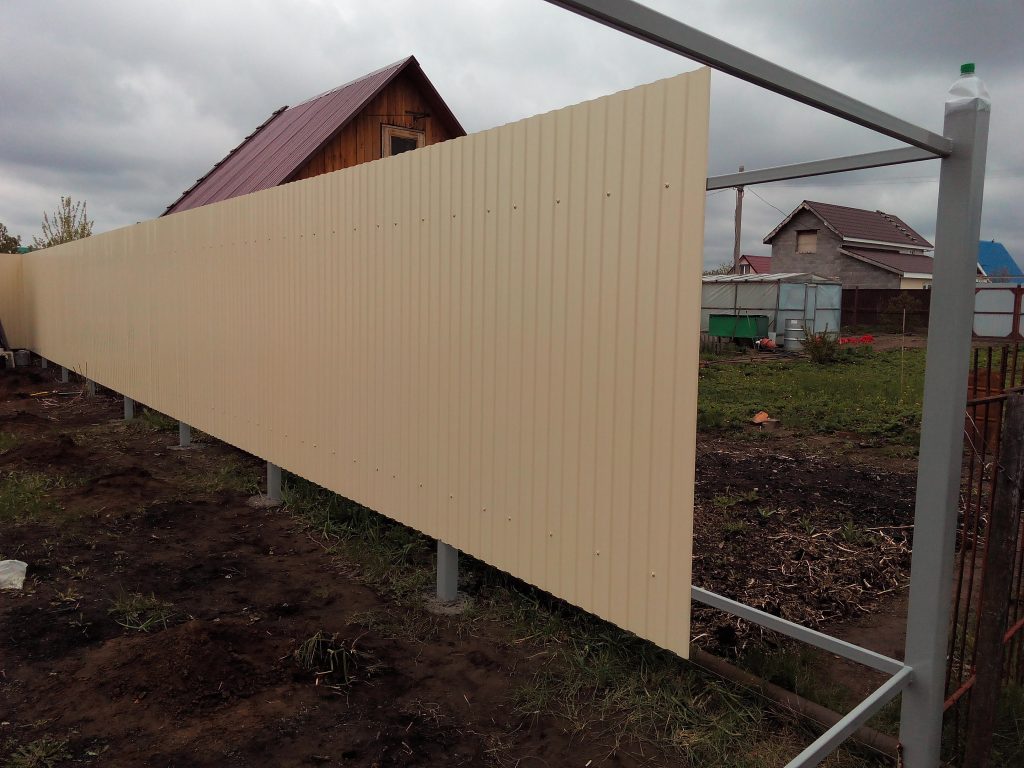
Installation of fences
Without using any special materials, you can make a reliable and durable basis for any fence. The covering material can be changed for as long as you like, and the poles will not only not fall, but will not squint at all.
Thematic video: How to install a FENCE POST FOR AGES

How to install a FENCE POST FOR AGES
How to install a fence post that will stand for more than 100 years? DIY Installation Instructions | (Photo and video)


The main rule for a metal pole to rust more slowly is to ensure the removal of moisture from the inside, for this you need not close the hole tightly from above, but make a lid from the corner with a “house”. Moreover, concrete cannot be poured inside. It is unlikely that anyone will make special waterproof concrete for the fence, and it is technically very difficult to do it inside the post, since the mandatory requirement for waterproof concrete is the use of a vibrator when laying, which is never mentioned in this article. Without vibration and special additives, concrete is hygroscopic and will draw moisture from the ground very decently. And it will not dry out, since air exchange is not provided. So this idea won't work. And if the concrete vibrates, then it will no longer settle after laying and the required level is done immediately, without subsequent additions ... So, the only thing that helps and prolongs the life of metal pillars is an increase in the pipe wall.
Hello Sergey! Thanks for such a thoughtful comment. Concerning moisture from concrete. We pour the solution into a plastic pipe that cuts us off from the ground.