
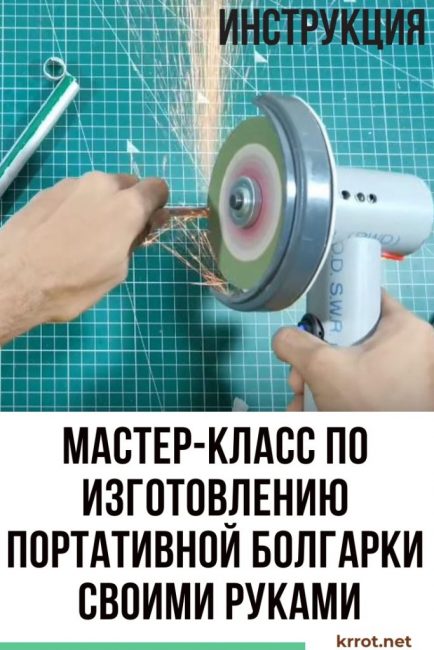
A battery grinder is a mobile and versatile tool that is indispensable when it is not possible to connect to a 220 V power source. It is especially in demand when it is necessary to carry out minor repairs in the field or at home, assemble or repair household appliances. We will tell you how to make such a tool yourself, while spending little money.
Content:
 Read also: Do-it-yourself candlesticks: for the new year, from a jar, glass, wood or plaster, from bottles. Master class at home | (120+ Photos & Videos)
Materials for manufacturing
In order to make a grinder with your own hands, you will need:
- 6 18650 batteries + 3s bms 40A controller;
- DC motor 775 at 12 V;
- nozzle for fastening the disk of the grinder to the diameter of the motor shaft;
- power socket with DC plug;
- pushbutton switch 20 A;
- disc for grinder;
- wires;
- sheet of plastic;
- plastic pipes with a diameter of 40, 50, 75 and 110 mm;
- Super glue;
- 2 plugs for a pipe with a diameter of 40 mm.
- marker and paper;
- saw;
- sandpaper;
- metal scissors;
- soldering iron;
- cardboard;
- knife.
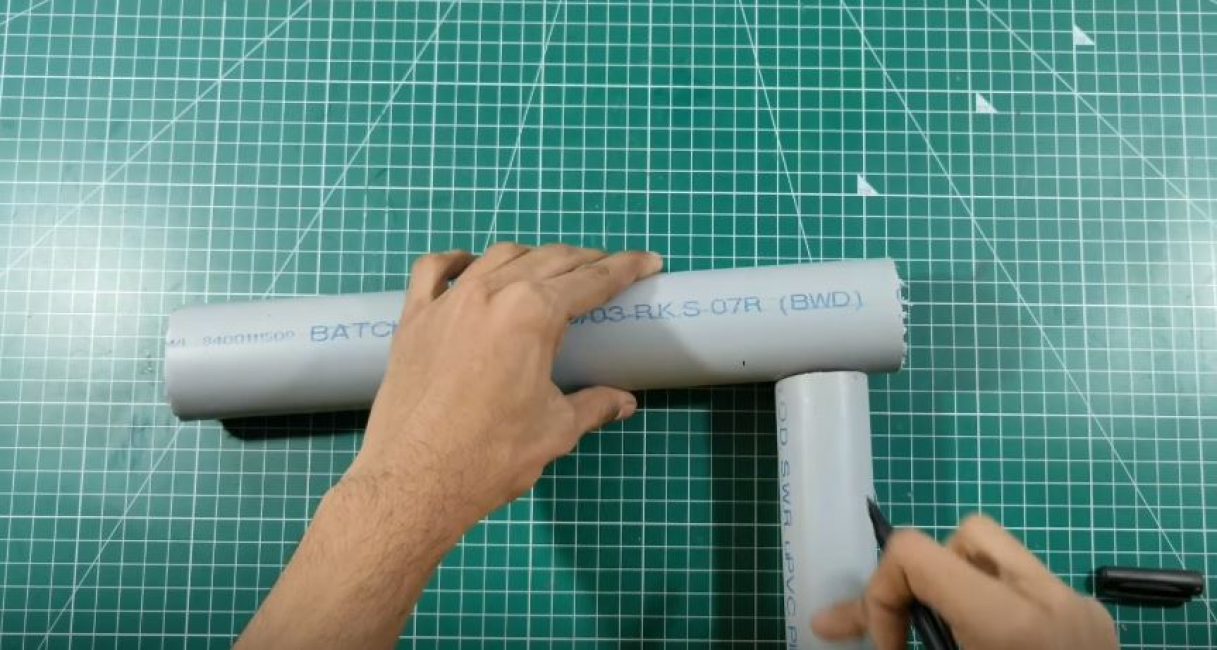
Step 1. We make blanks from pipes
On a pipe Ø50 mm we measure and mark the length of the engine with a marker. On a pipe Ø40 mm, we measure and mark the length that is convenient for holding a grinder in your hand.
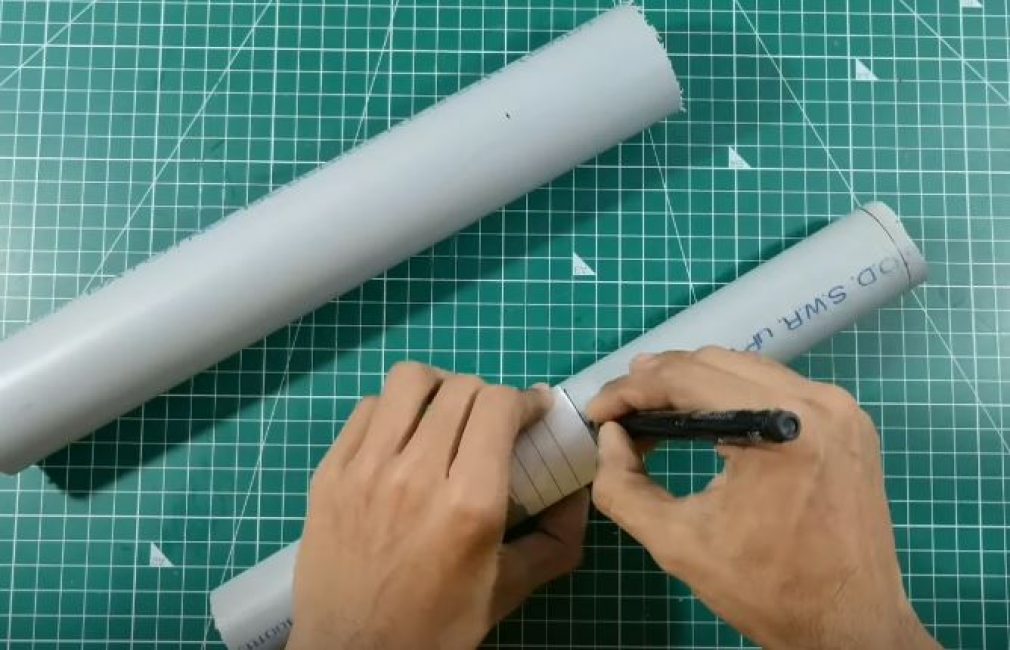
Wrapping a piece of paper around the pipe in the places marked with a marker, we draw lines for cutting.
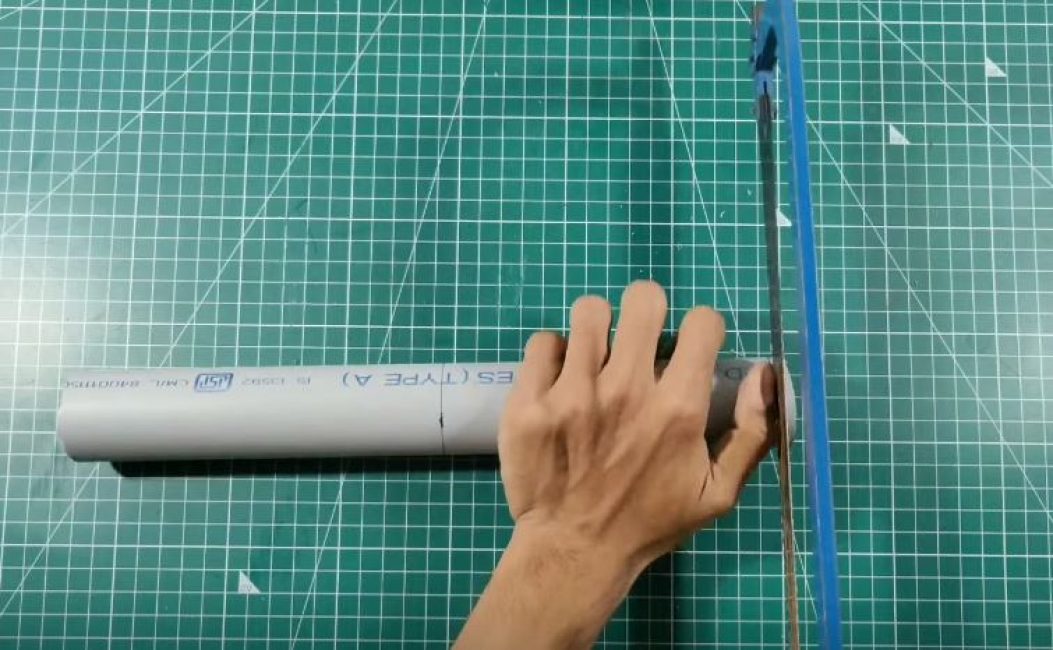
We cut the blanks with a saw.
Step 2. Making a Battery Container
We cut out rectangles of 9.5x6 cm and 5.5x5 cm in size from a sheet of plastic. Cut out 2 segments from a Ø75 mm pipe with metal scissors, corresponding to the height of the battery.
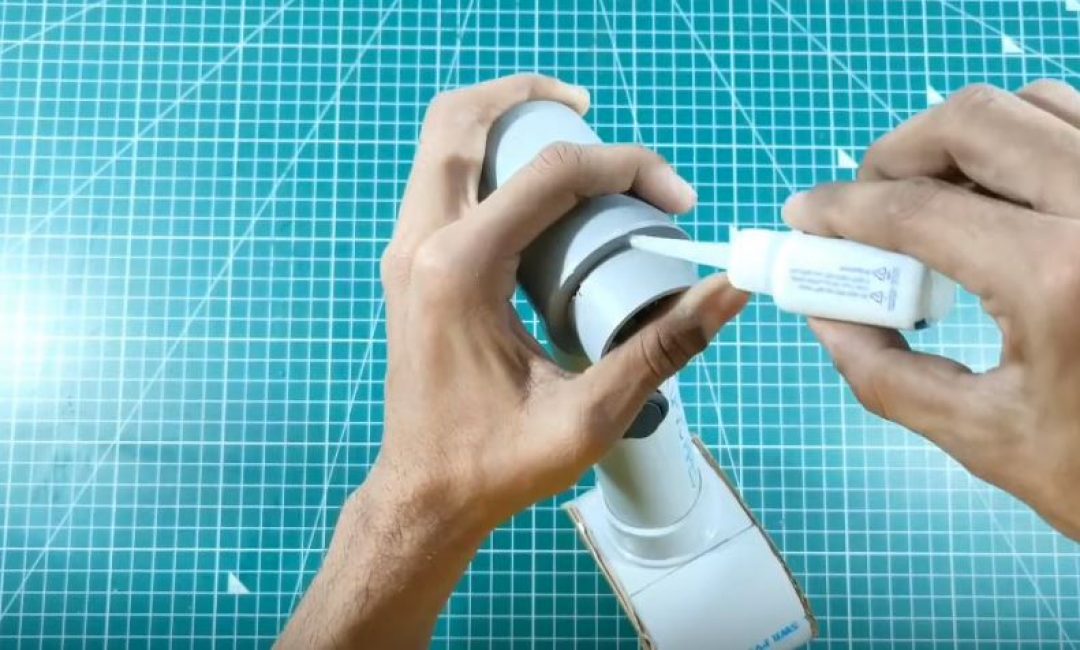
Using superglue, we assemble a container for our power source from the obtained blanks.
Cut out and glue the side of the container from cardboard.
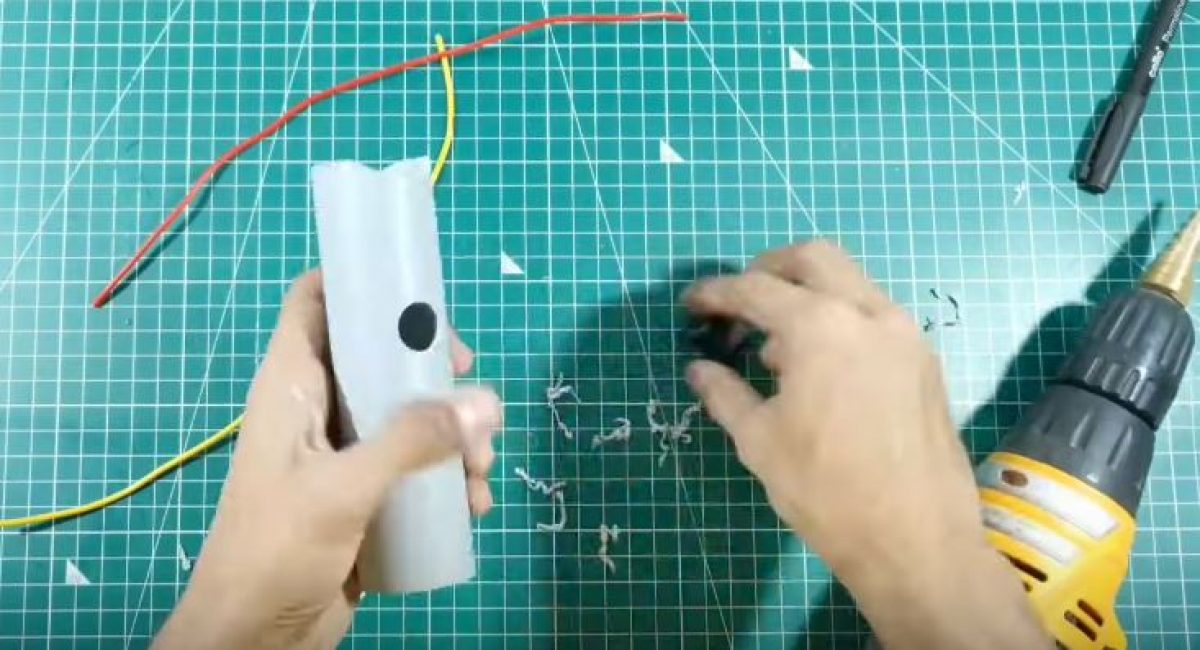
Via screwdriver in the upper part of the container we drill a hole for the output of wires.
Solder the wires to the plug.
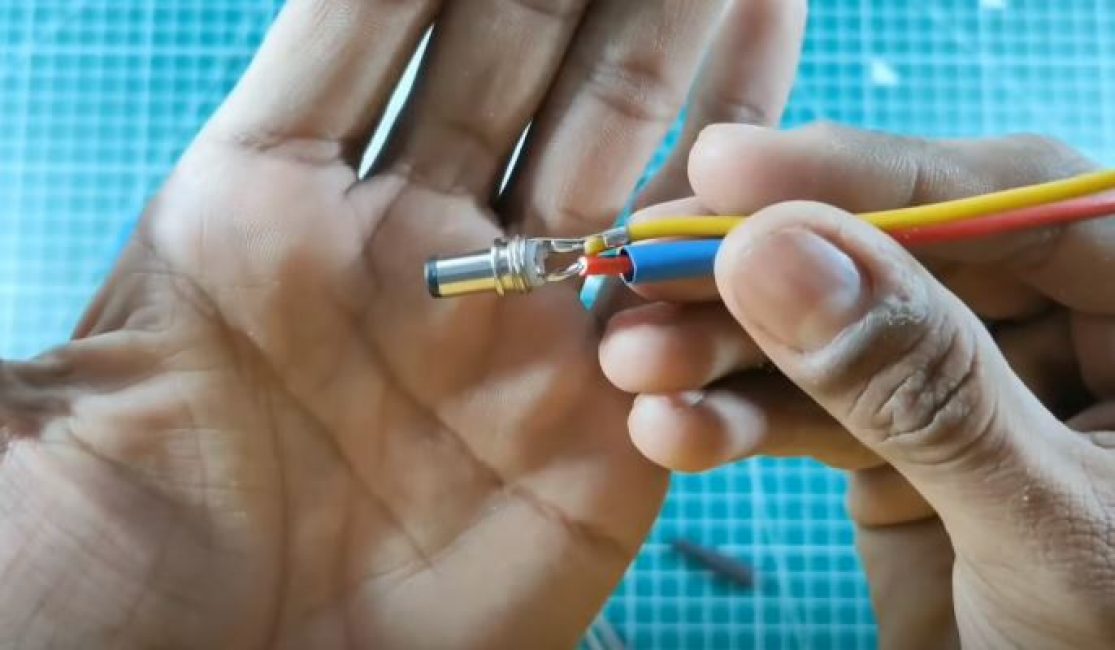
We collect the plug. We insert the wires into the drilled hole and solder them to the battery.
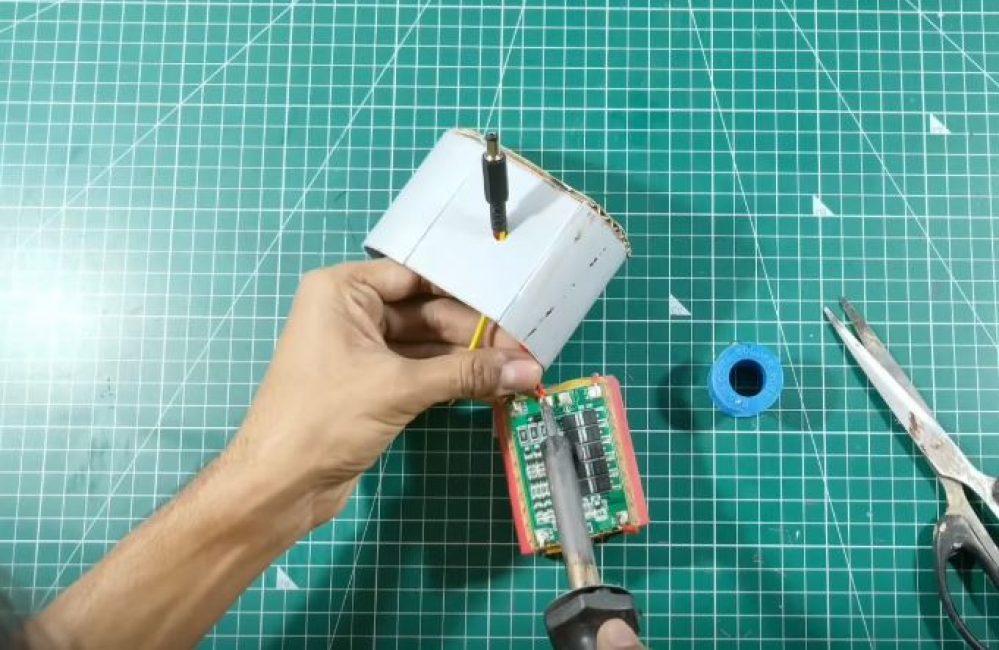
We insert the battery into the container, and glue the second sidewall.
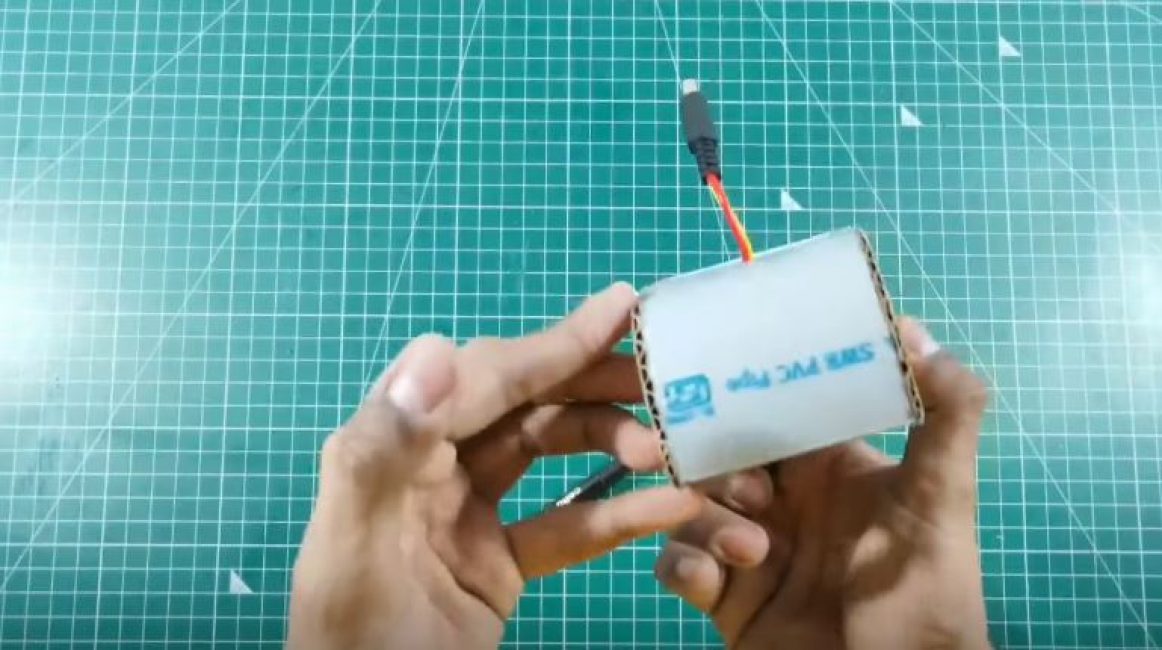
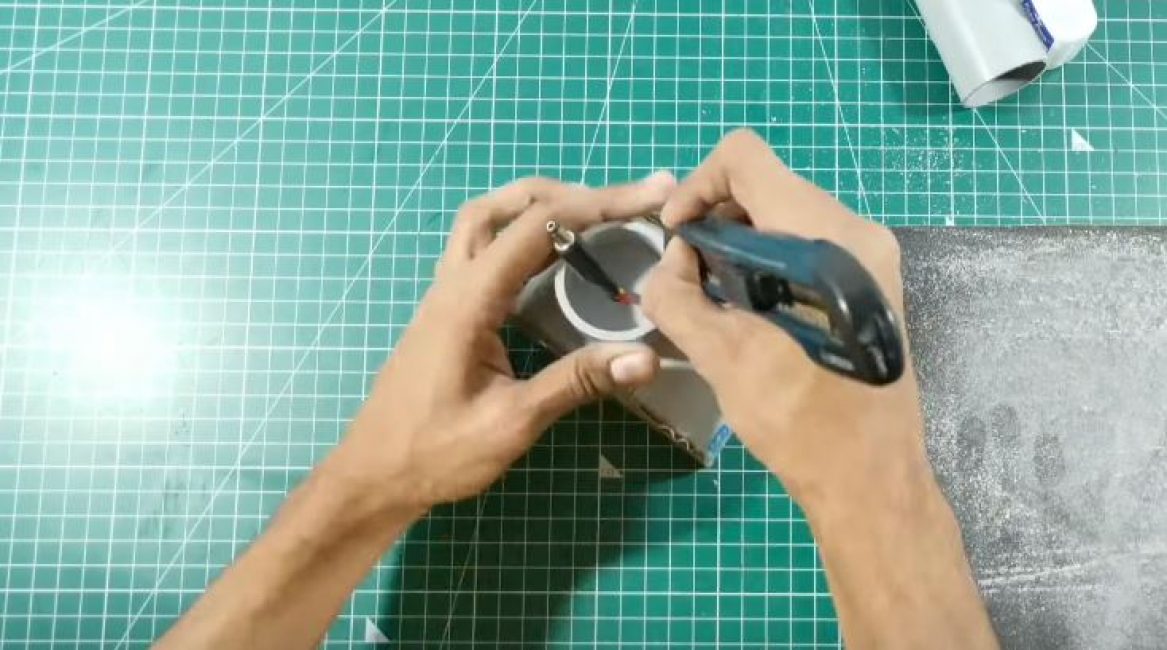
We cut the end of the plug on a pipe with a diameter of 40 mm. Sand the edges with sandpaper. We pass a plug through it and glue it to the top of the container.
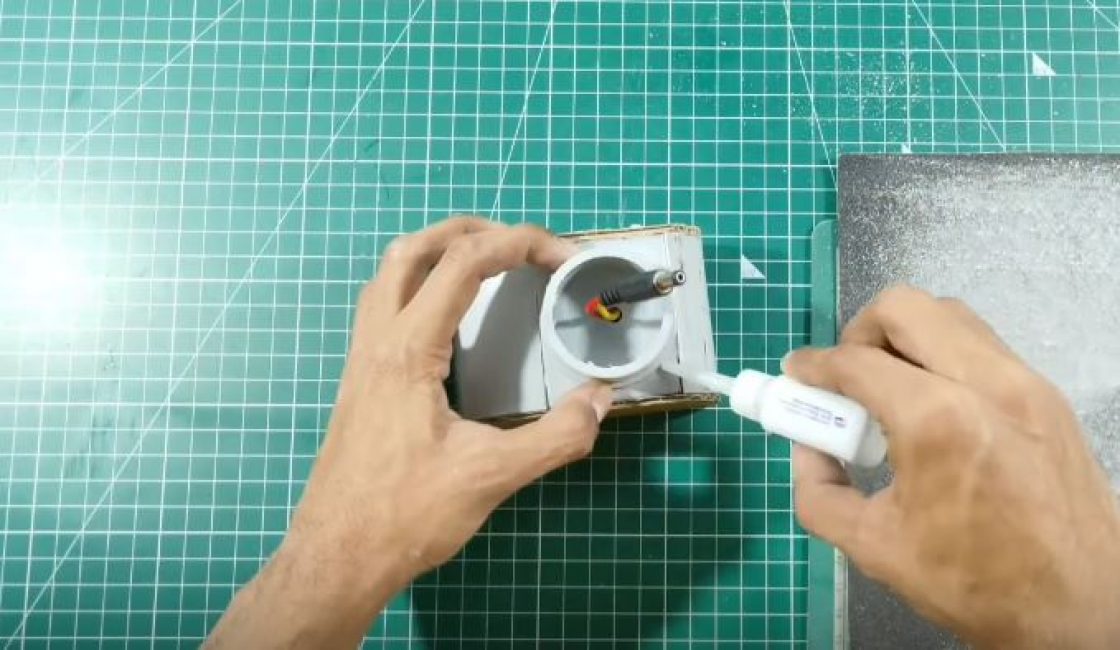
Slightly remove the flange on the inside of the plug with a knife so that the handle Bulgarians entered better.
Part of the structure is ready.
Step 3. Making the housing for the engine
We drill holes of the required diameter in a plastic rectangle and, putting it on the motor shaft, fasten it.
On the reverse side, we put on the cut-to-size part of the pipe on the engine and glue it to the plastic base. The edges of the plastic protruding beyond the pipe are cut and sanded.

Step 4: Making the Handle
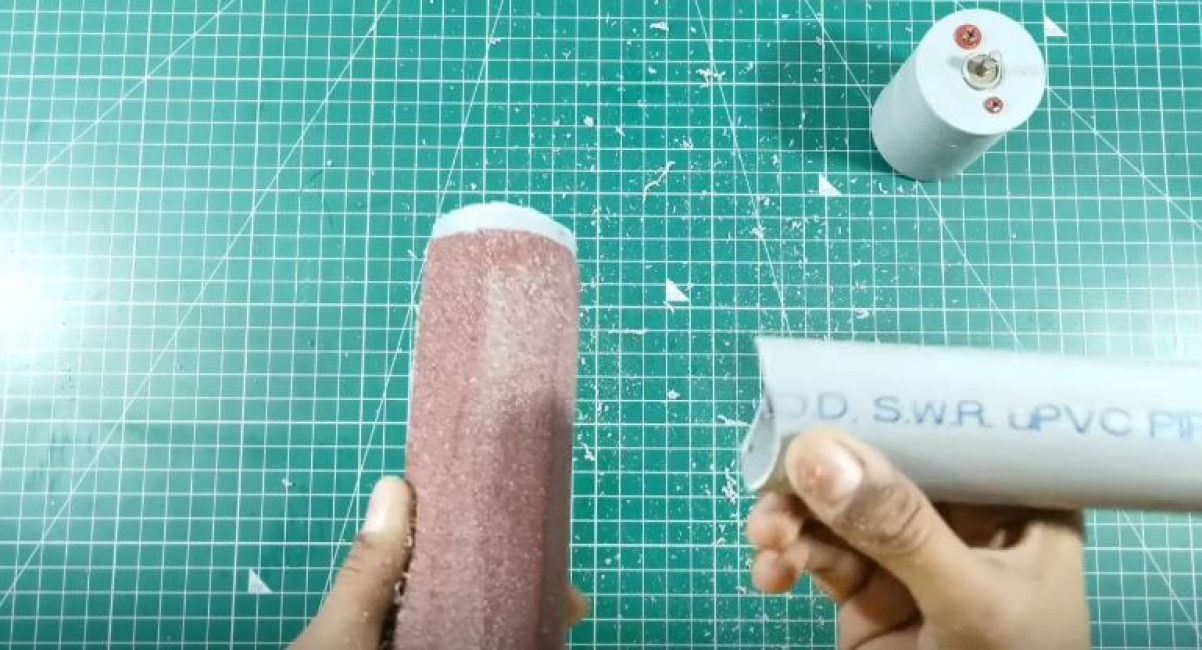
We take a blank for the handle and with the help of an emery fixed on a pipe Ø50 mm, we make notches for the handle to fit to the engine housing.
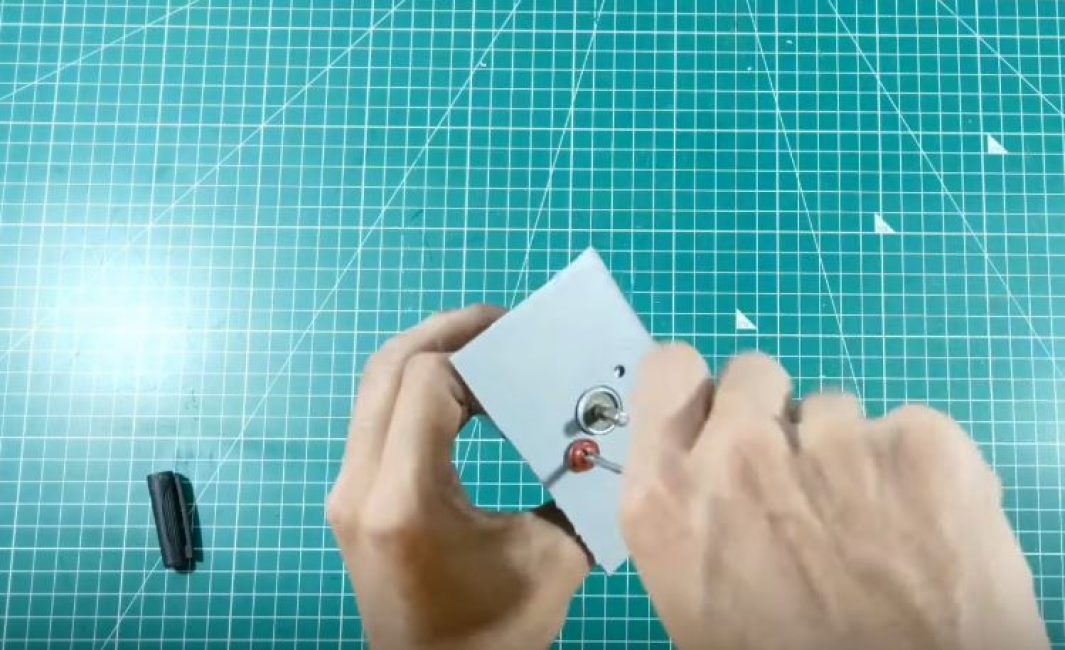
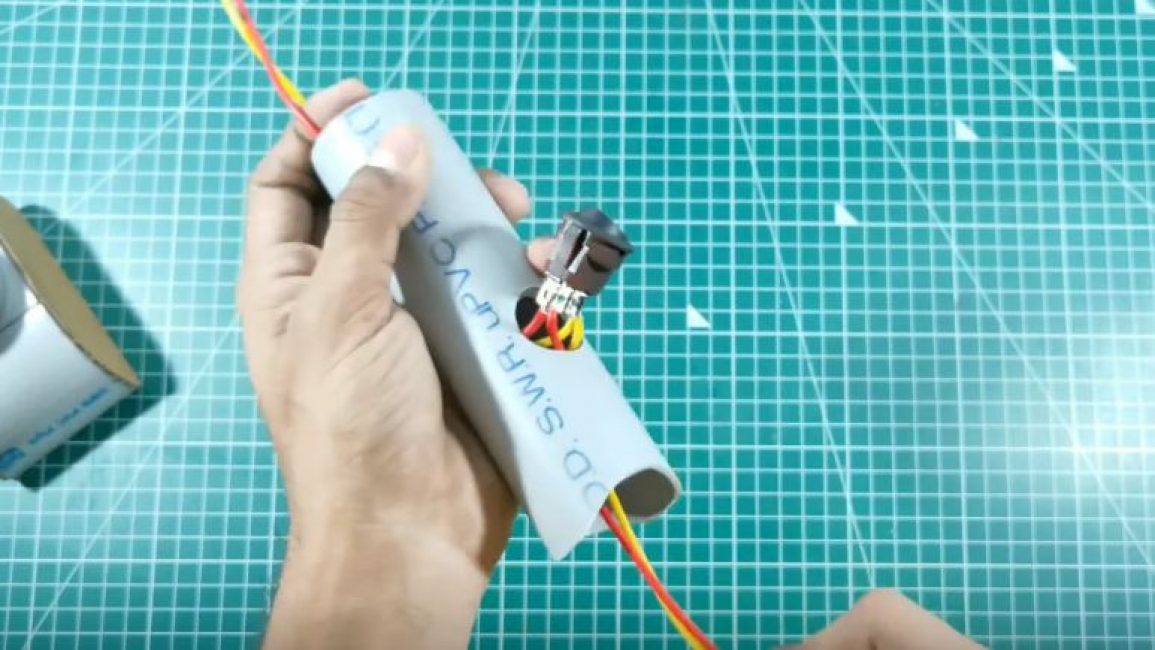
In a place convenient for work, we drill a hole for the switch.
Solder the wires to the button. Let's skip them in drilled hole, and put the button in place.
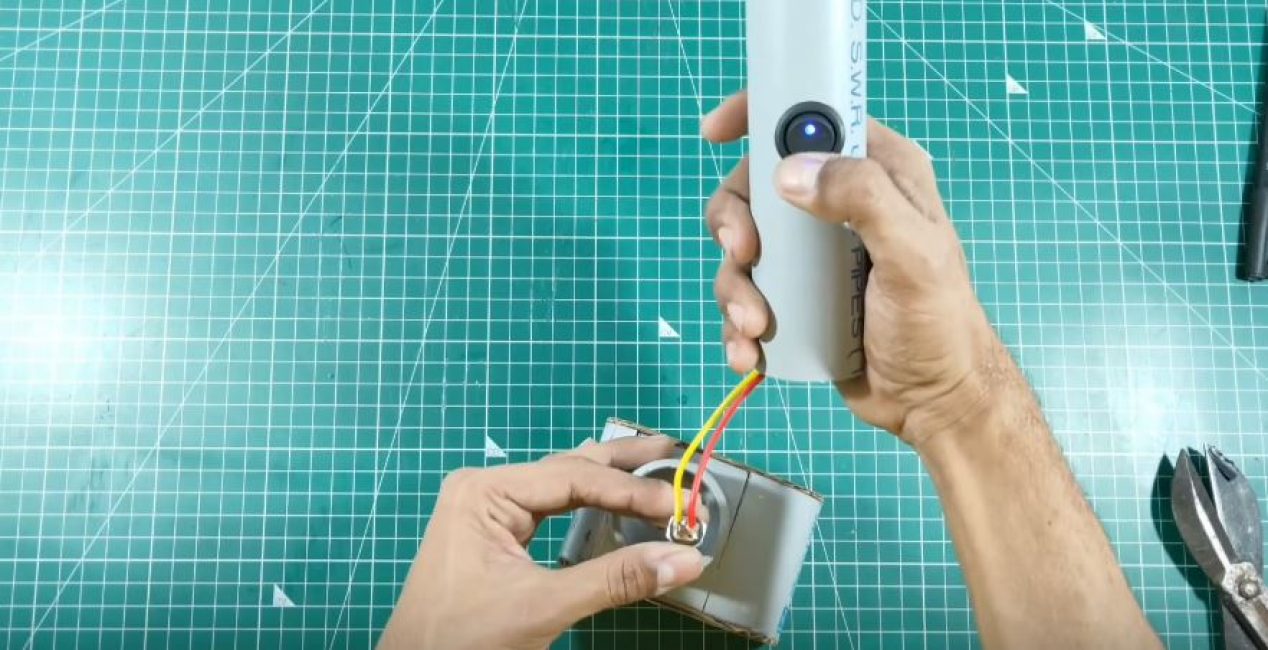
We solder the power socket to the wires coming out of the bottom of the handle, which we put on the plug.
Step 5. Connect the handle to the engine
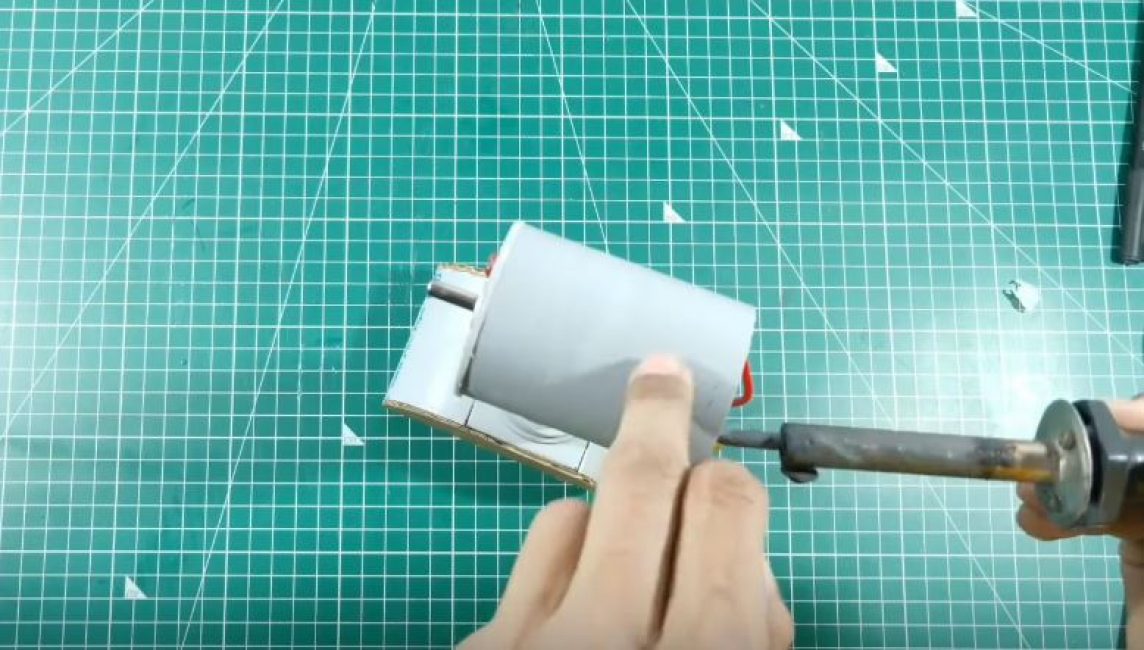
Having previously removed the reins, we glue the upper part of the handle to the engine body.

Solder the wires to the motor.
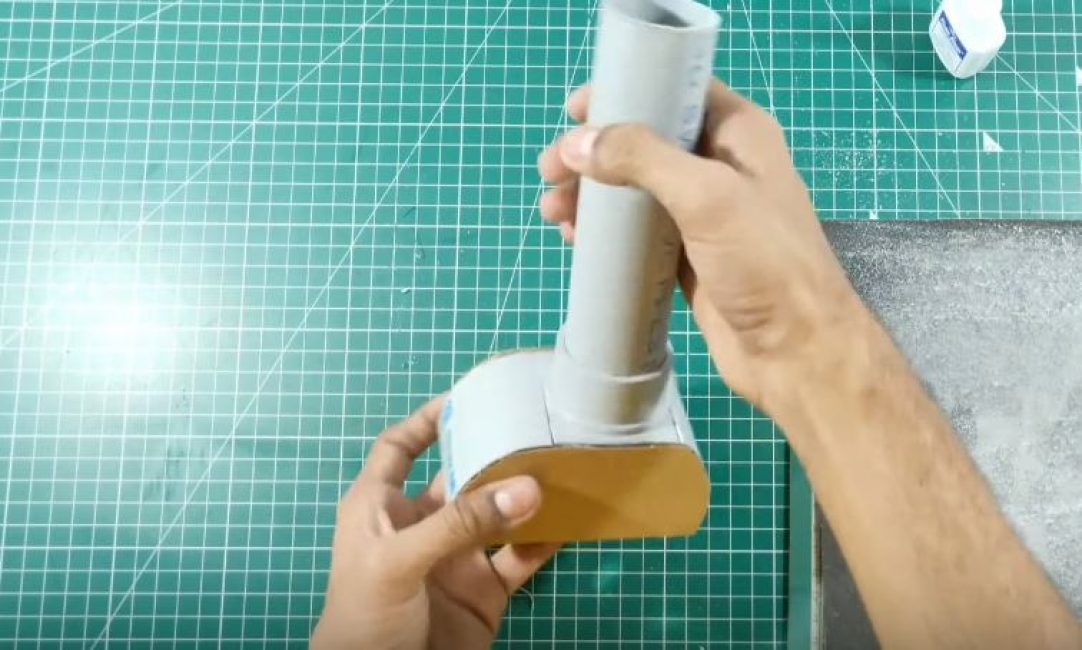
Glue a piece of pipe Ø40 mm to the front of the motor housing, corresponding to the length of the motor shaft.
We drill ventilation holes on both sides in the side of the engine housing.
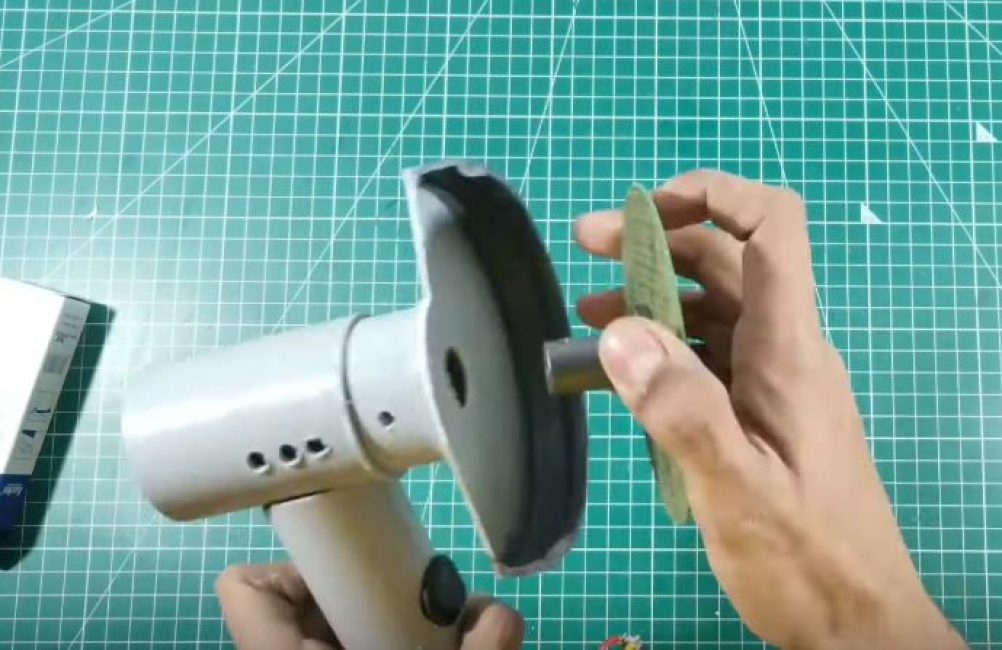
Step 6. Making a protective cover
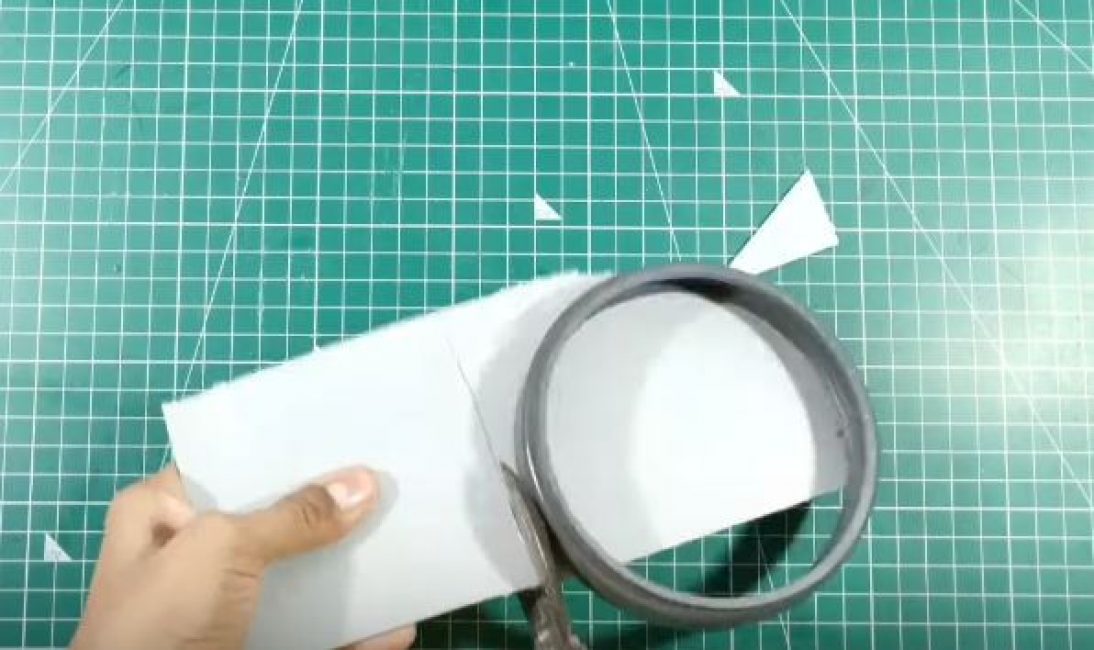
We cut off the socket from the sewer pipe Ø110 mm. Gluing it to a sheet of plastic, cut out the protective cover.
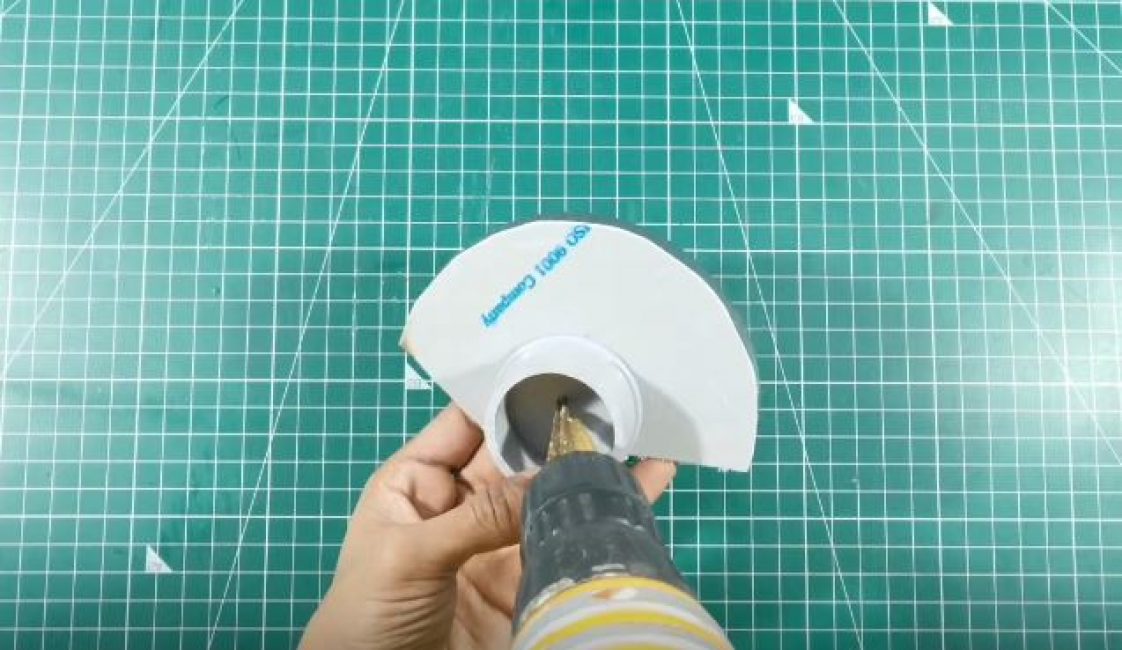
We cut out the desired segment, in the center of which we glue the cut off part of the plug onto the pipe Ø40 mm. In the center, drill a hole of the desired diameter.
Step 7. We collect the grinder
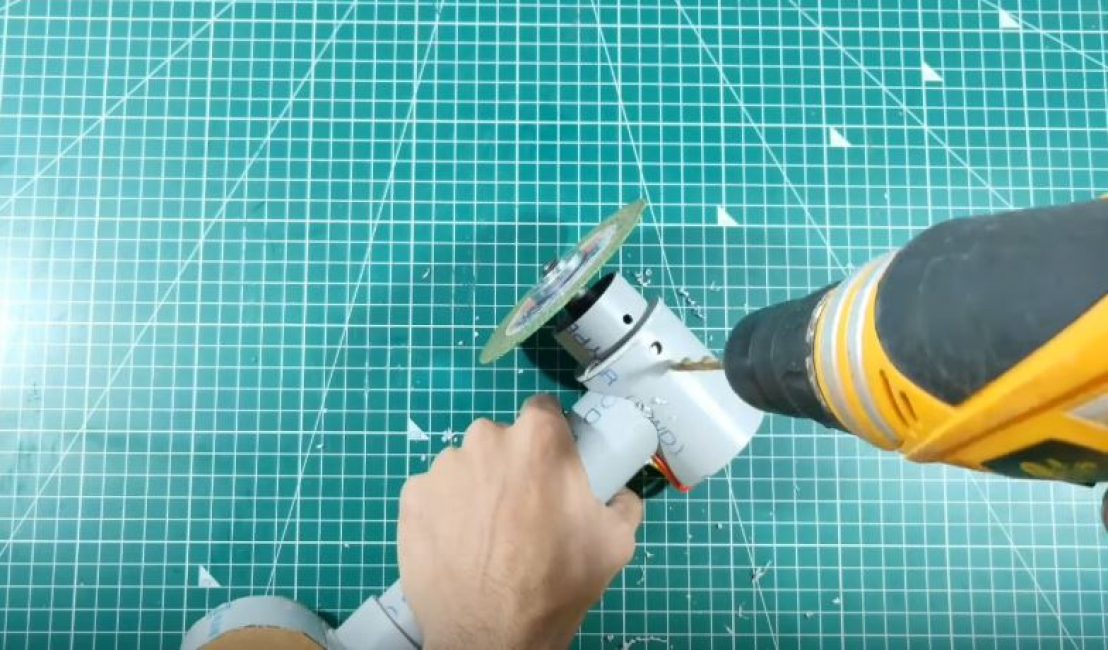
We position the protective cover at the desired angle and drill a through inspection hole in the plug and in the pipe, which allows tightening the adapter.
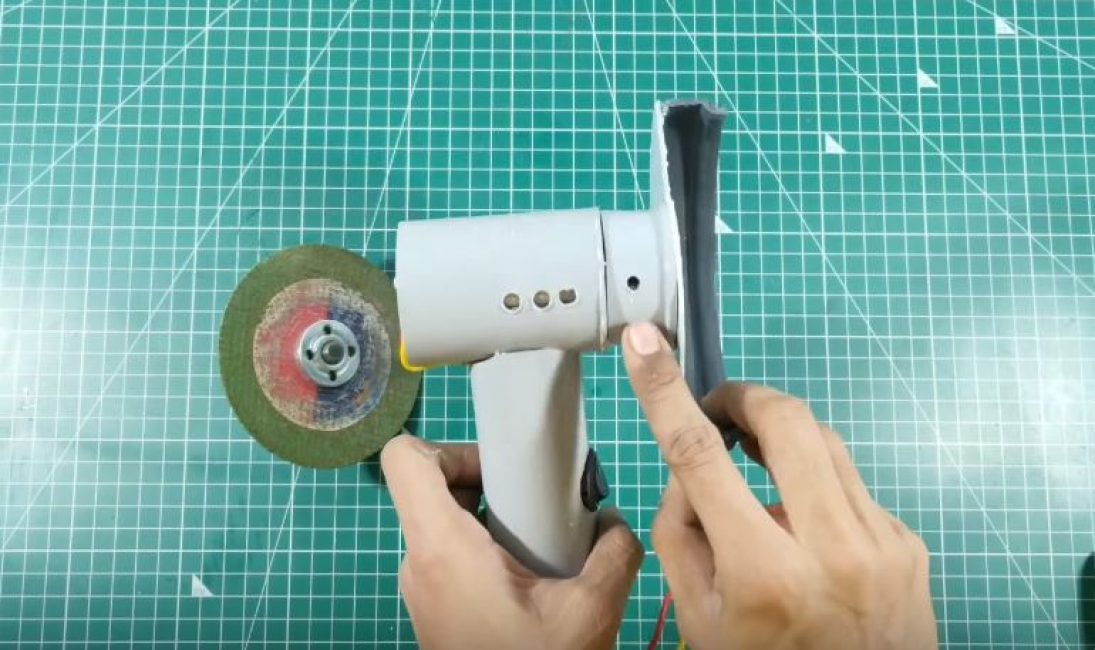
We insert the adapter, with the grinder disc dressed on it and tighten it with the key.
 Read also: How to make a stained-glass window on glass with your own hands at home: a step-by-step master class + stencils | (120+ Photos & Videos)
 We carry out tests
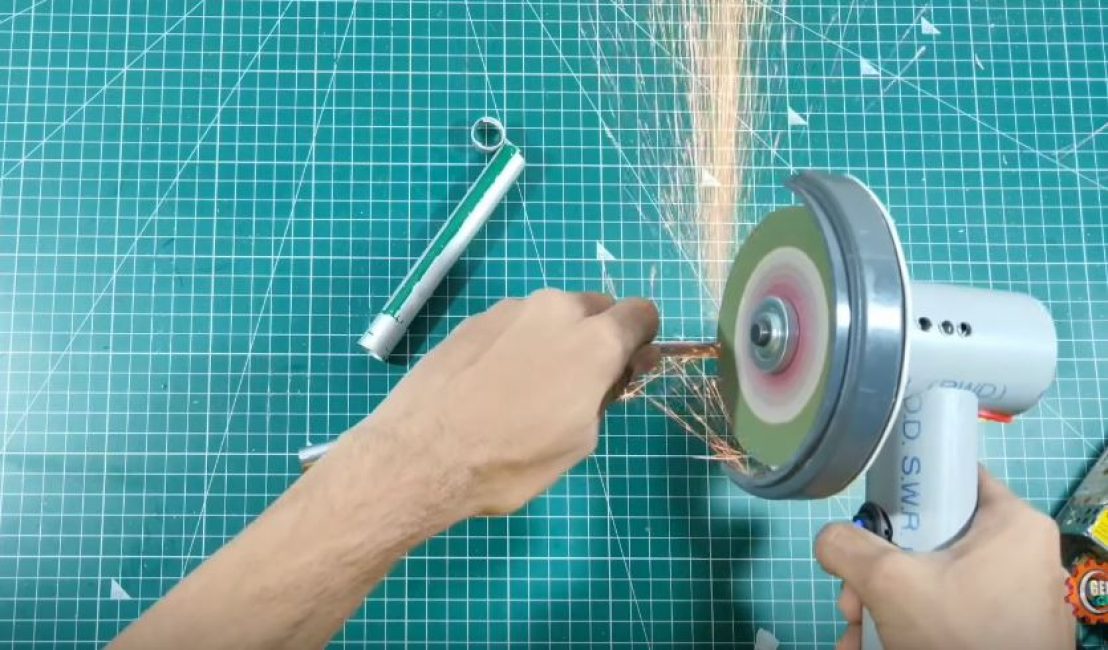
Video: How to make a grinder at home

How to make a grinder at home
How to make a grinder with your own hands: a master class? with detailed step by step instructions


