
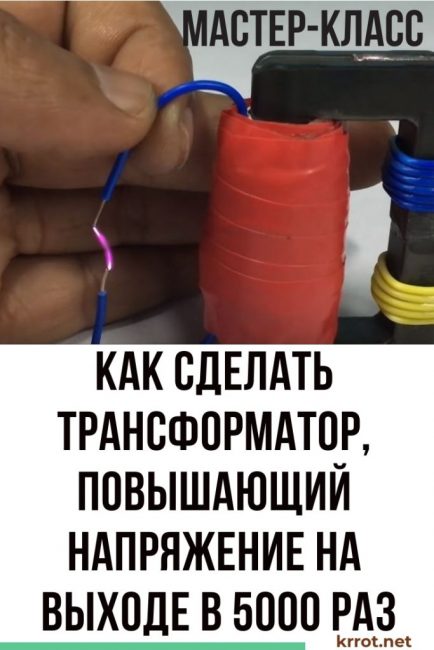
Do you have an old non-working TV set with a cathode-beam kinescope in your country house? Don't rush to throw it away. Indeed, from the core of his high-voltage transformer, you can make a home-made step-up transformer, which is capable of increasing the input voltage five thousand times. Are you interested? Then this article is for you.
Content:
Content:
 Read also: Making a greenhouse with your own hands from a profile pipe and polycarbonate: a complete description of the process, drawings with dimensions, watering and heating (Photo & Video)
Materials for manufacturing
In order to make a homemade step-up transformer, you will need:
- collapsible transformer core from an old kinescope TV;
- thick paper or cardboard;
- Scotch;
- scissors;
- a coil of copper wire with a cross section of 0.2 mm;
- soldering iron;
- heat shrink cambric;
- solder and rosin;
- Super glue;
- tip 41 bipolar transistor with heatsink;
- two 10 ohm resistors (or one 22 ohm);
- 220 ohm resistor;
- diode 1N4007.
Step 1. Create a secondary winding
We wind thick paper on one side of the core and glue its edge with glue. If the paper is thick, then two wraps will be enough.
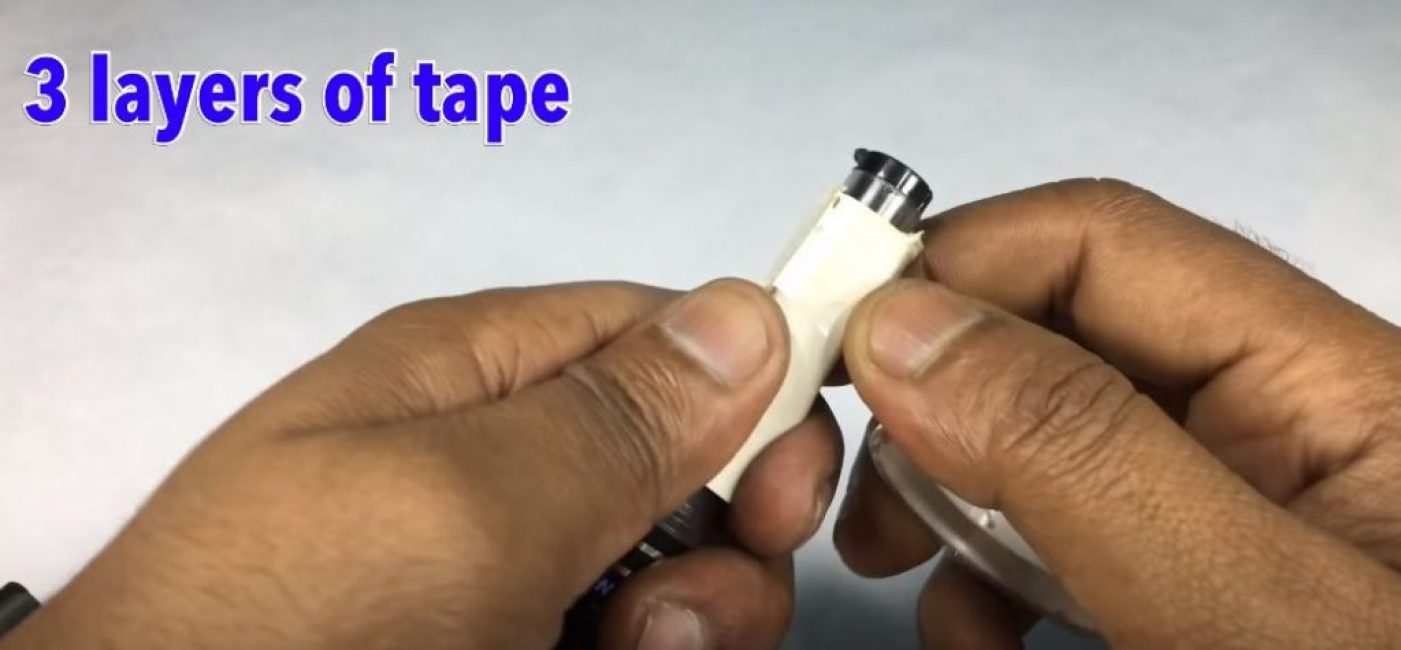
After the glue dries, remove the resulting sleeve by disassembling the core, and wrap it with three layers of adhesive tape. For the convenience of winding tape and, in the future, winding, you can use a marker or any other rod of the desired thickness.
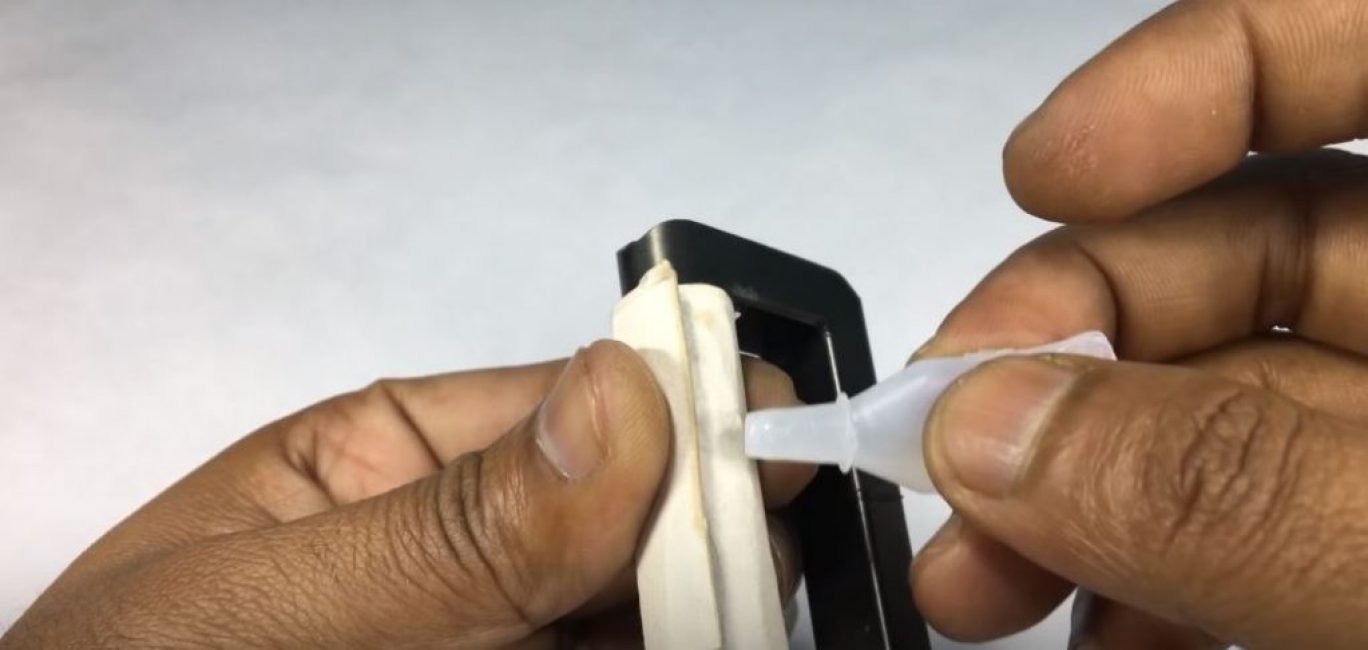
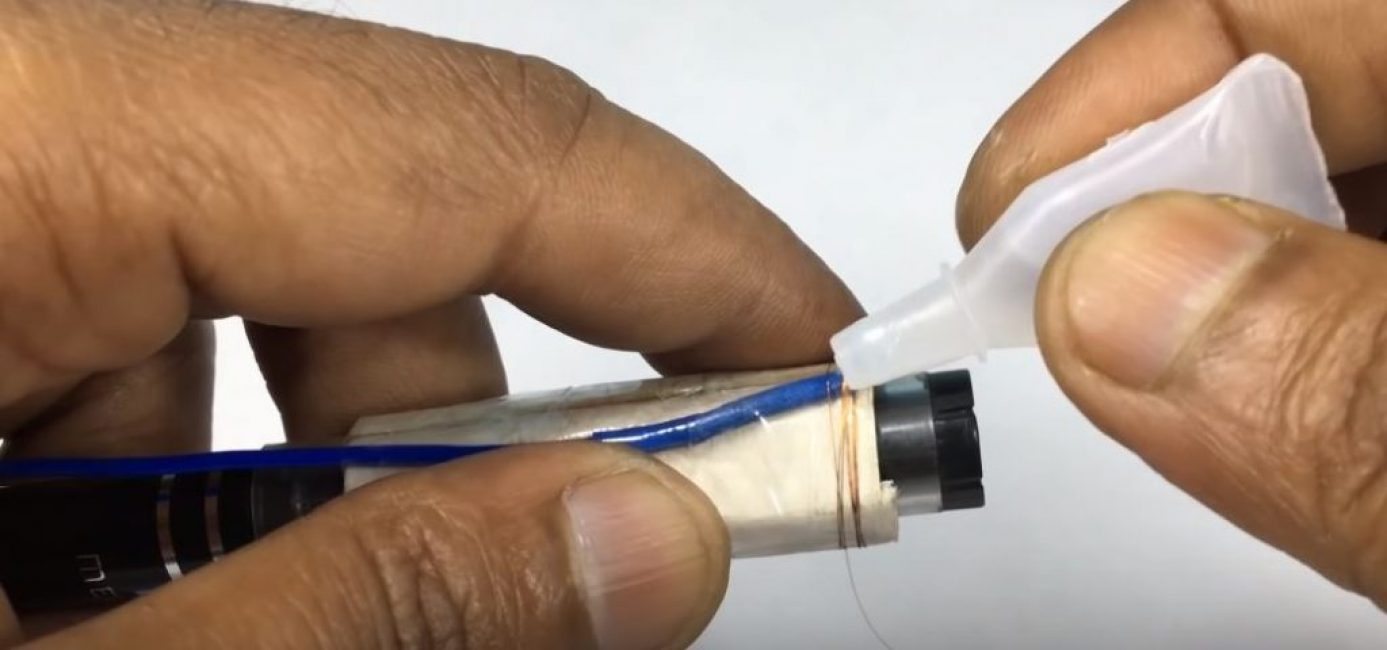
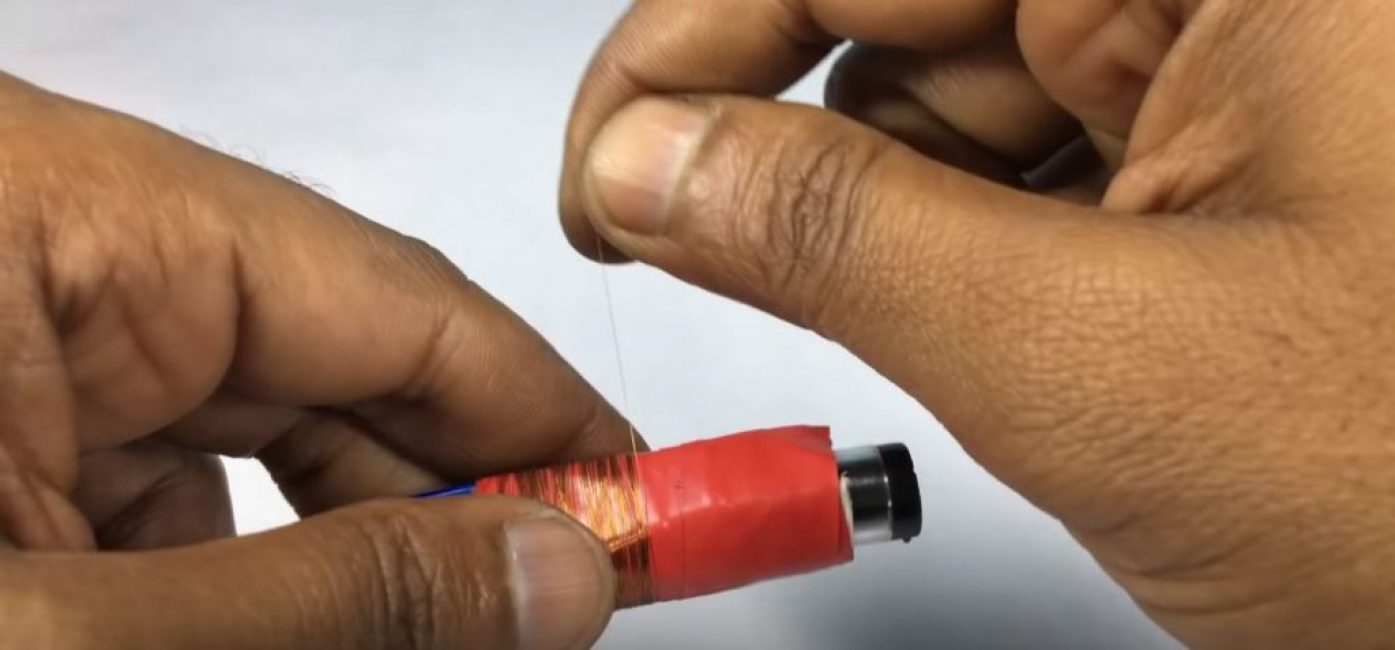
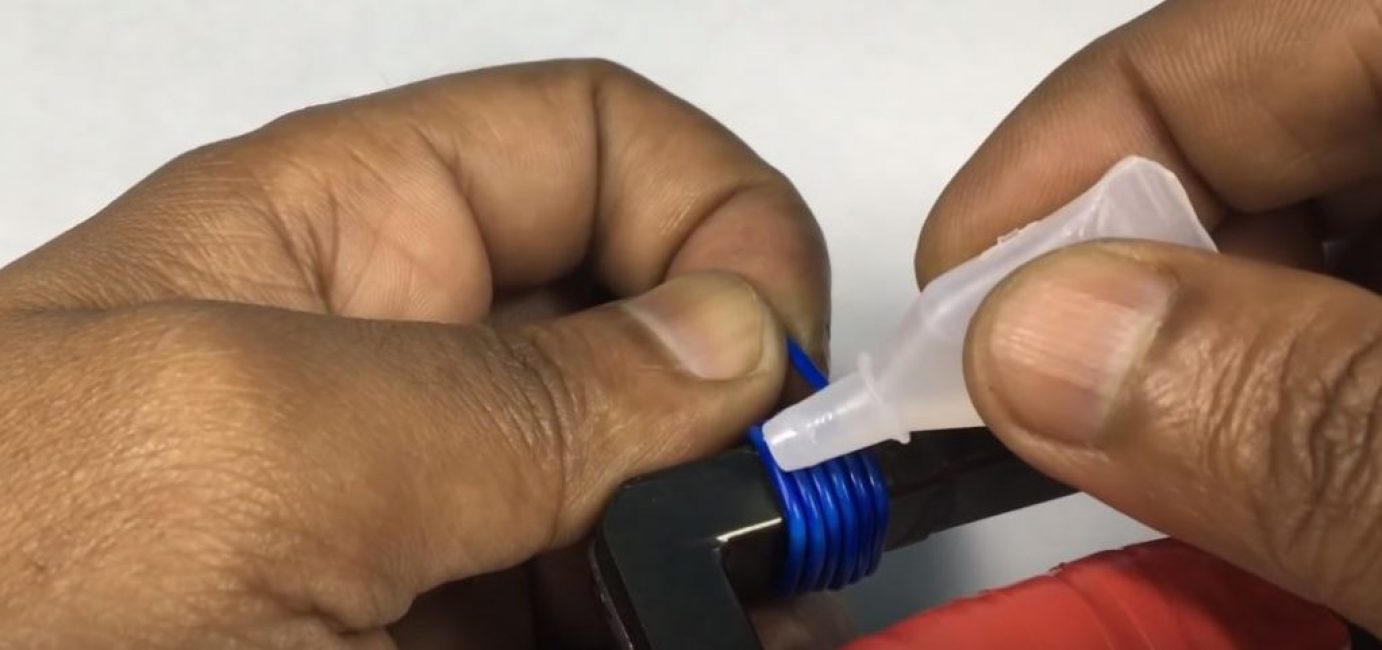
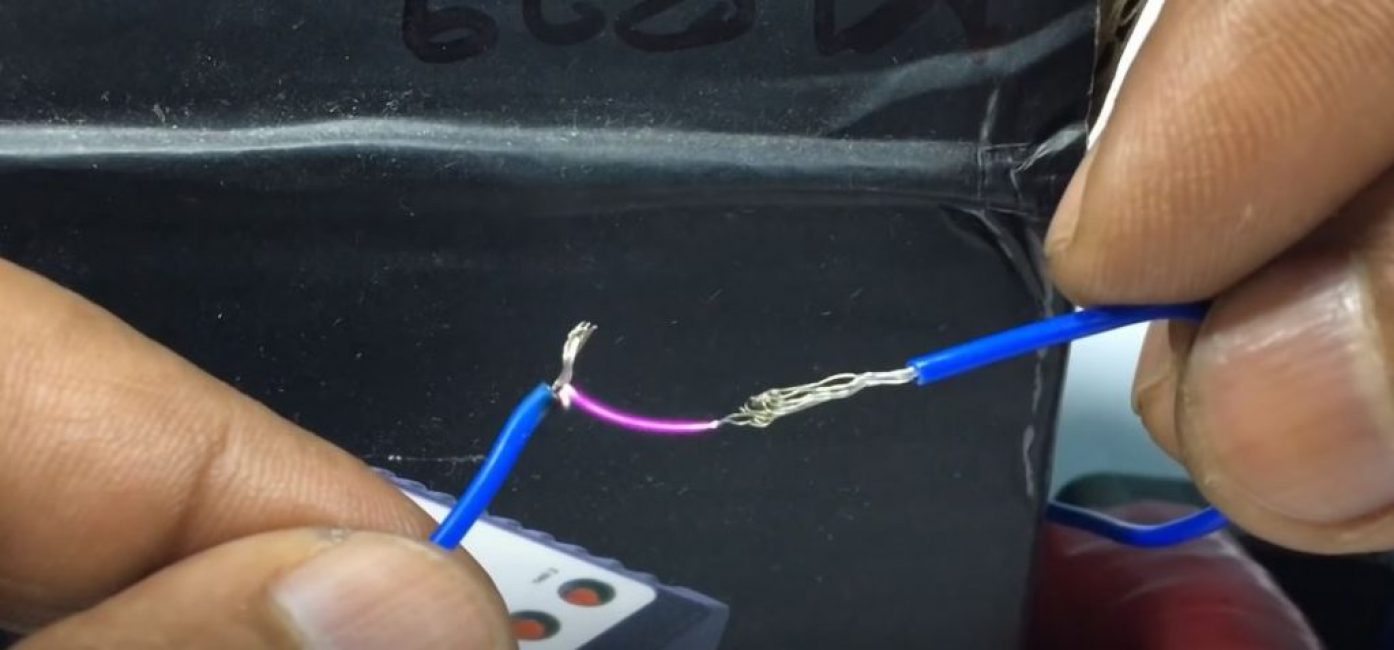
We tin the edge of the wire on the coil and solder it to the output wire of the transformer.

We isolate the place of soldering with heat-shrinkable cambric.

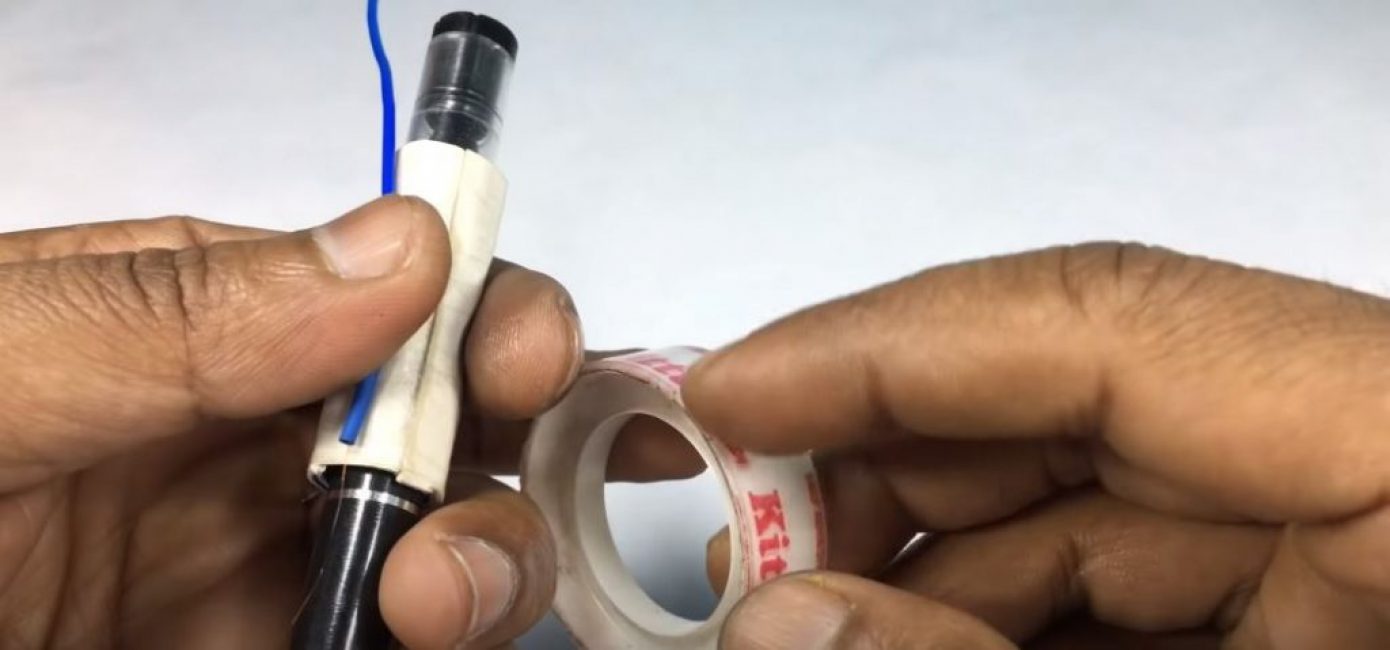
We wrap the output wire with adhesive tape to the sleeve.
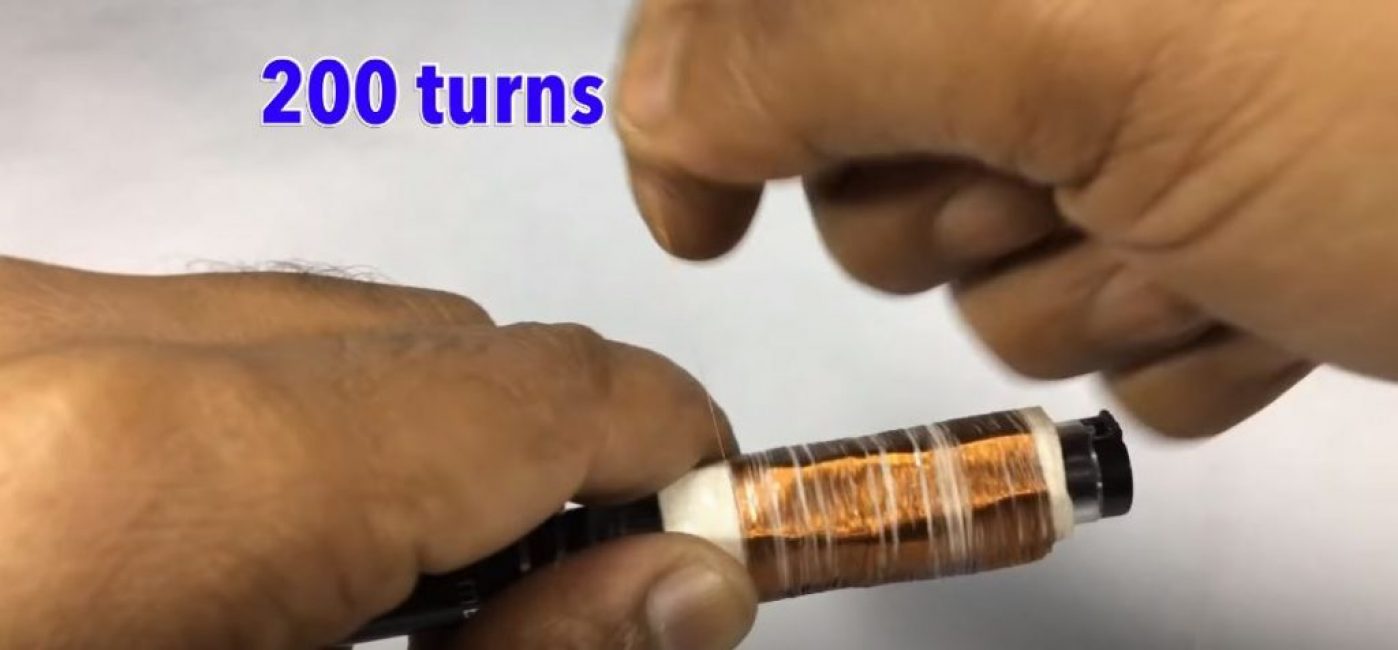
We wind a winding of copper wire with a cross section of 2 mm. We do it carefully, because. the wire is thin and can break. After winding the first 5 turns, we fix them with superglue.
We make the first winding layer of 200 turns.
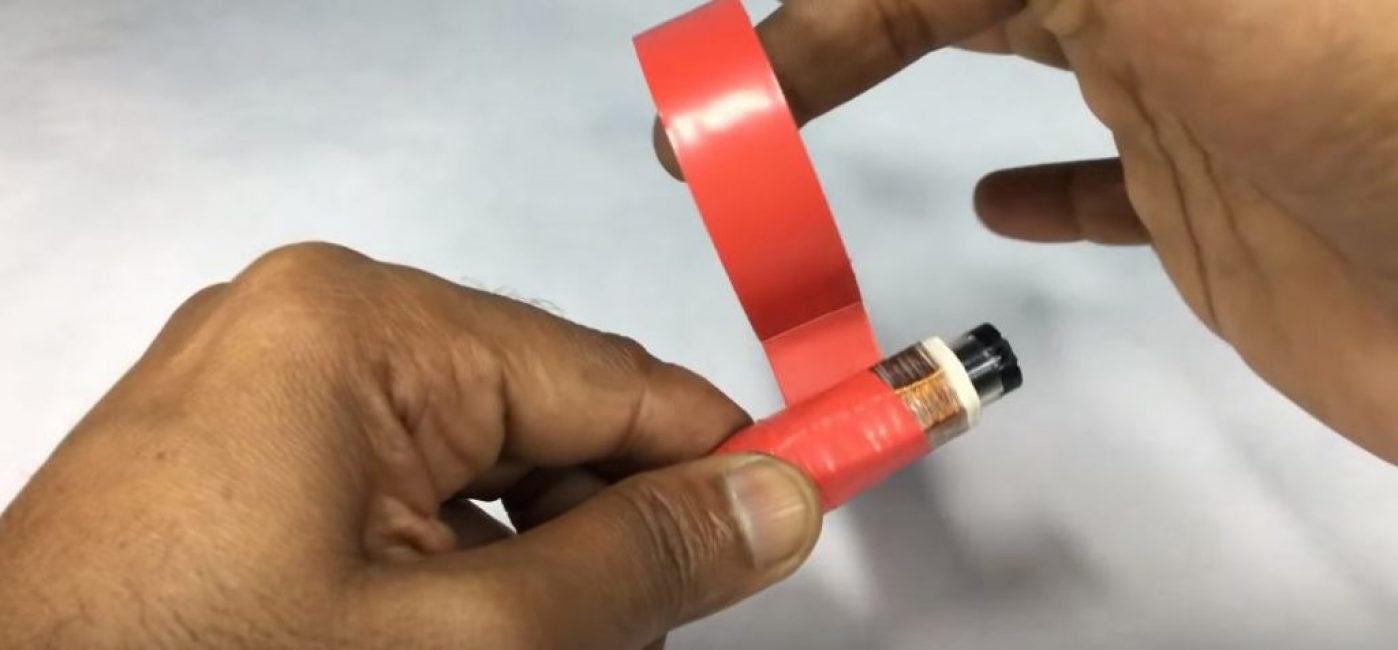
We wrap them with tape.
Add 3 layers of electrical tape.
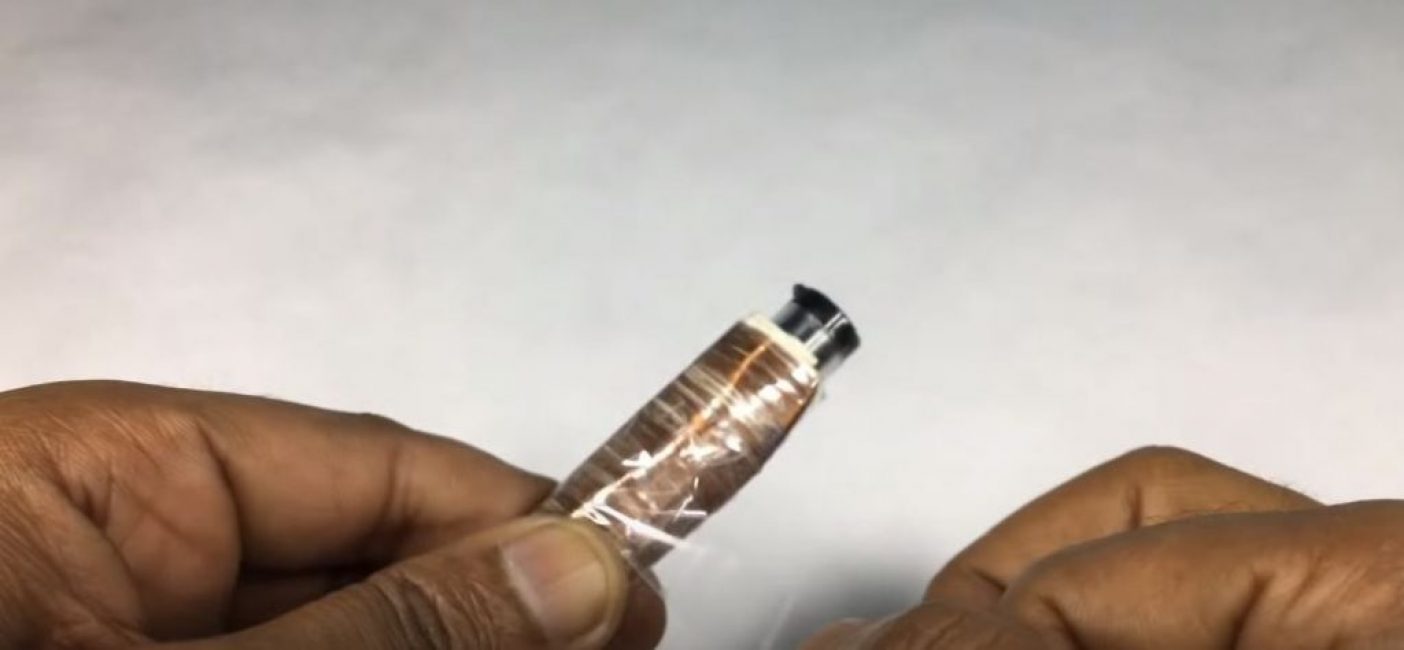
We repeat the process of winding winding layers of 200 turns and insulating them 4 more times. The total number of turns of secondary wire should be 1000.
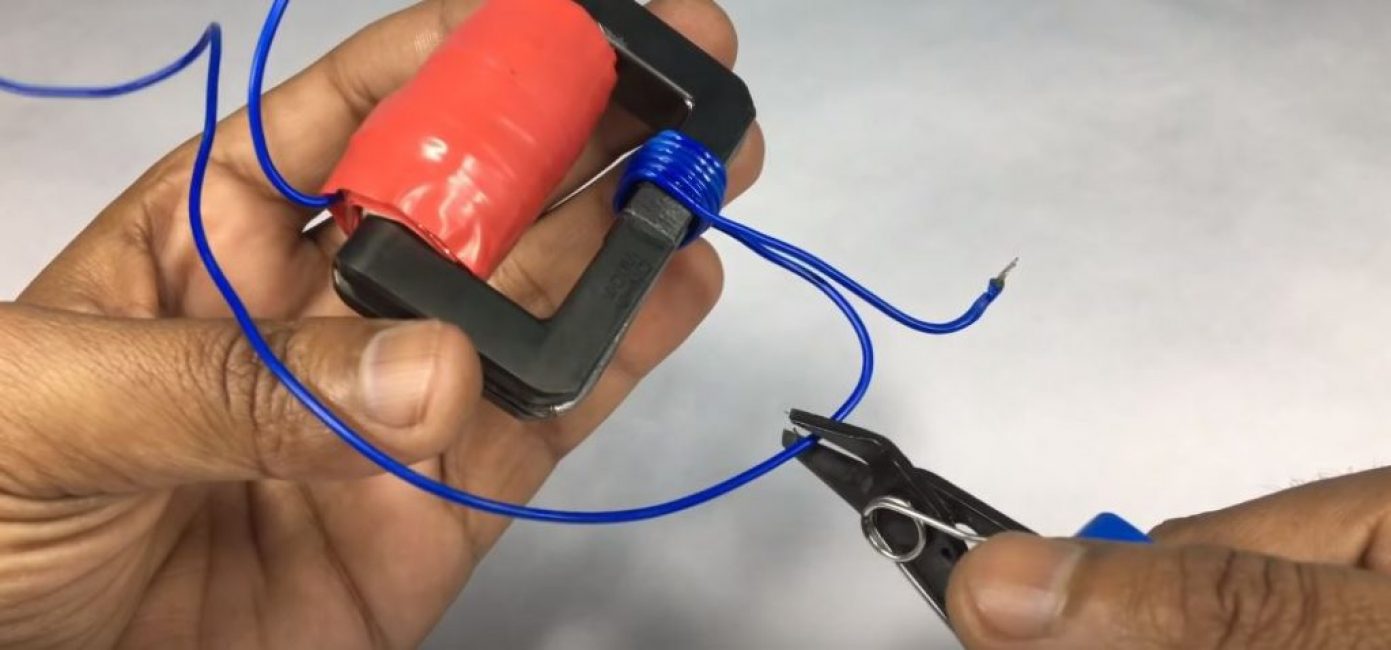
We cut off the copper wire, tin it and solder it to the second output wire of the transformer. We isolate the junction with a thermocambric.
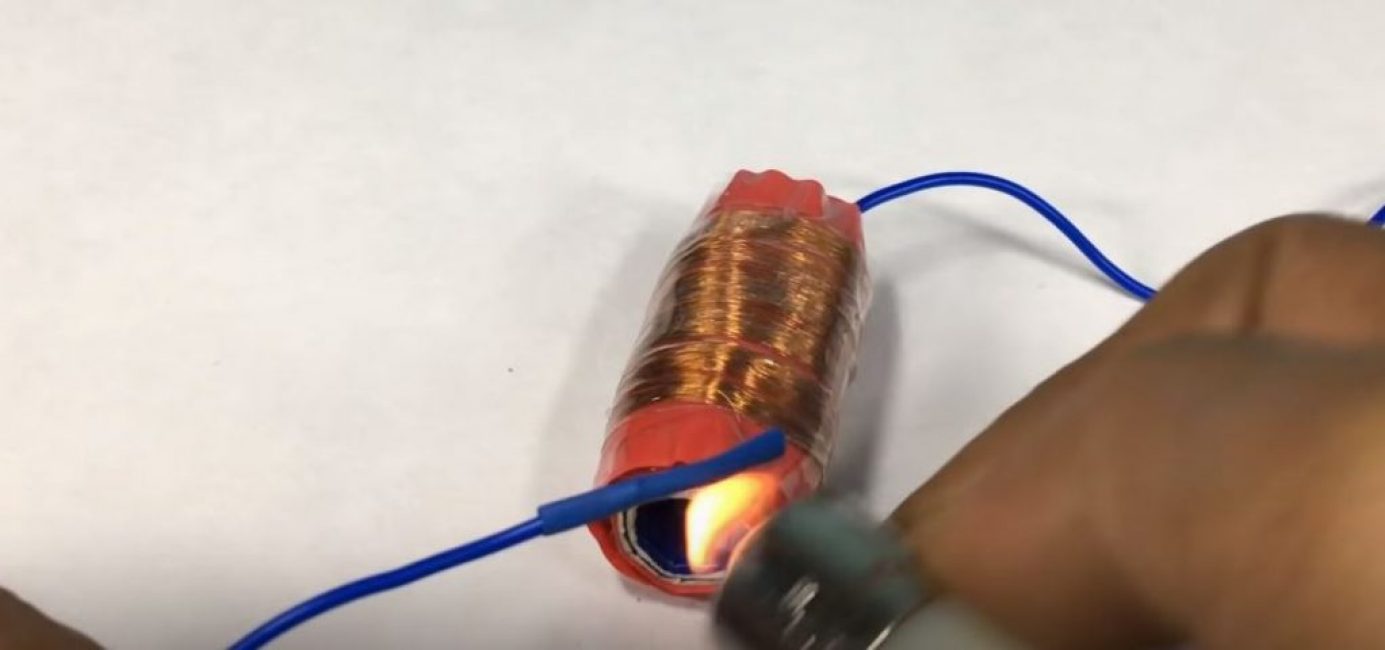
We wind the output wire to the sleeve and wrap it with electrical tape. The secondary winding is ready.

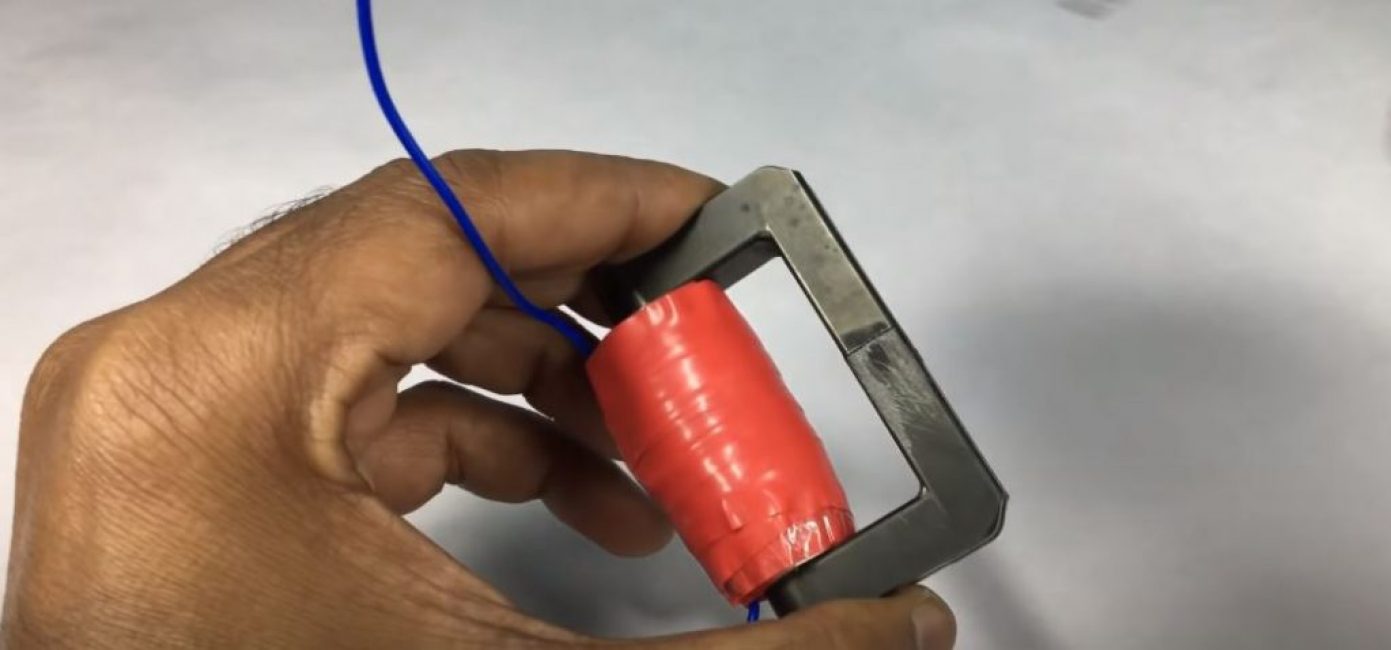
We put the sleeve on the core of the transformer.
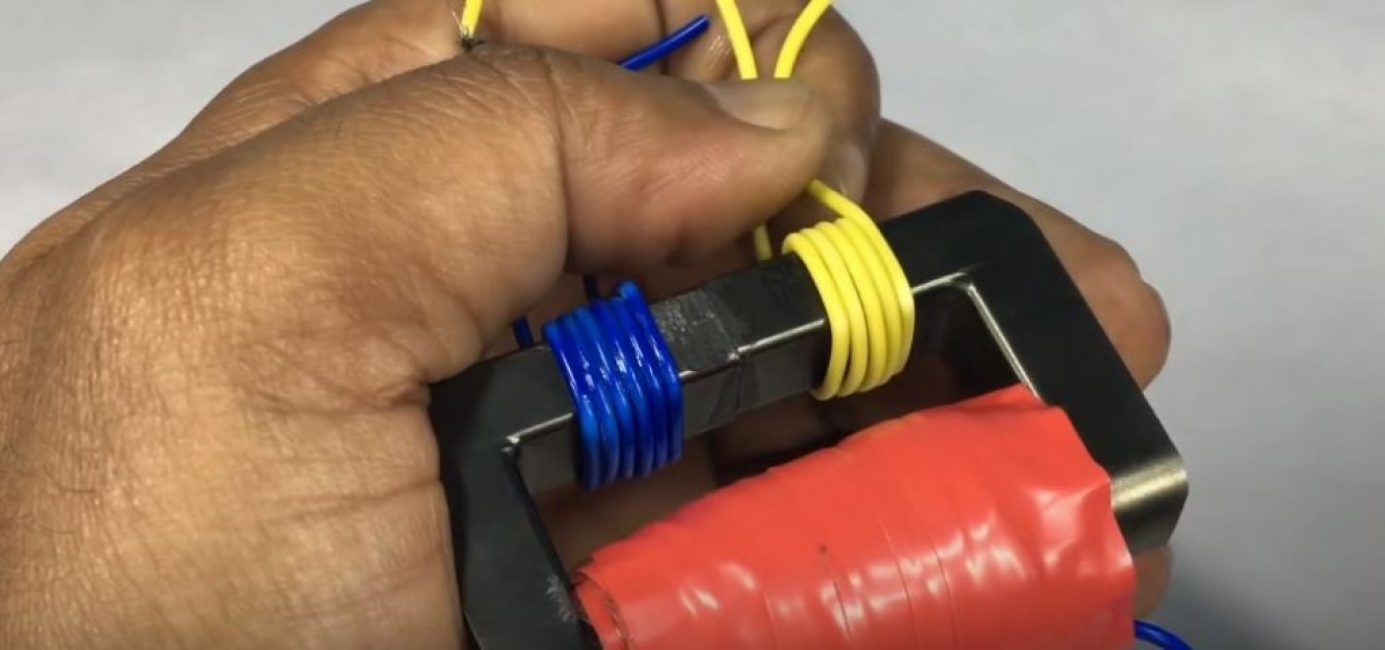
Step 2. Making the primary winding
On the opposite side of the transformer core, closer to the edge, we wind 6 turns with an ordinary wire (blue wire).
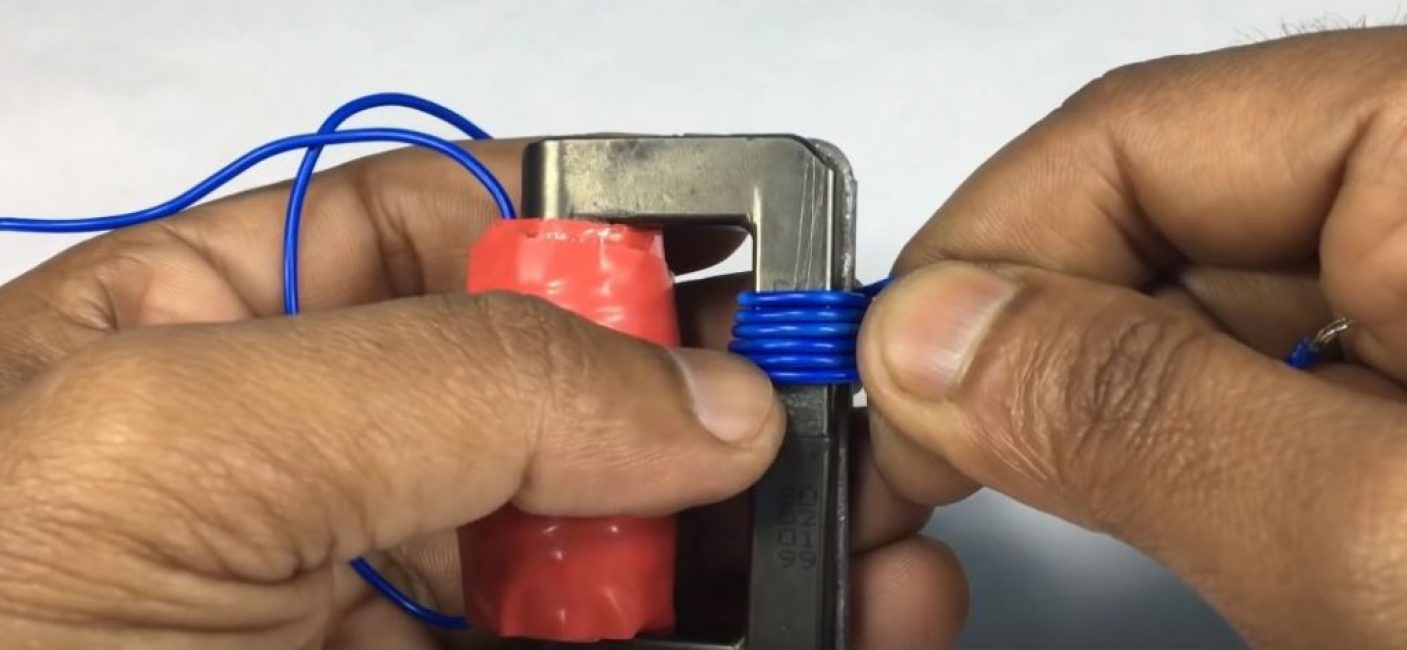
Fix with superglue.
We bite the excess edge of the wire.
With a wire of a different color, but of the same section (yellow), we wind 5 turns closer to the opposite edge. Fix with superglue.
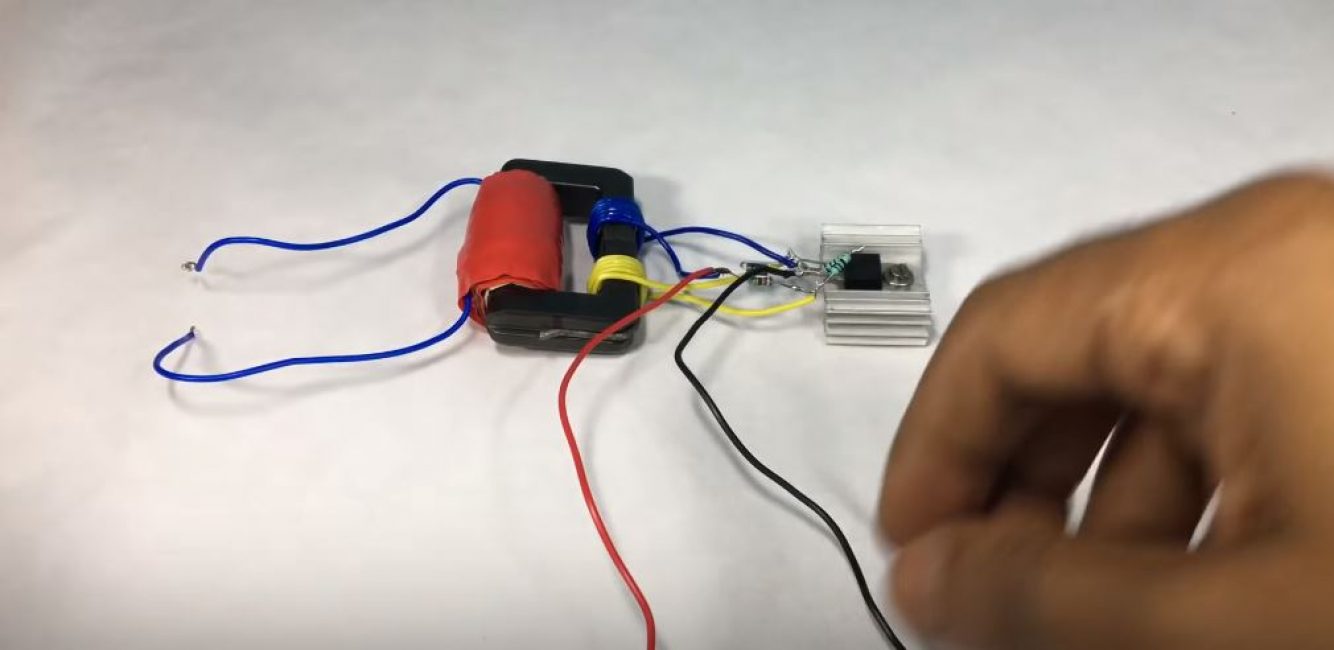
Step 3. Assemble the pulse converter
Assembly is carried out according to the scheme.
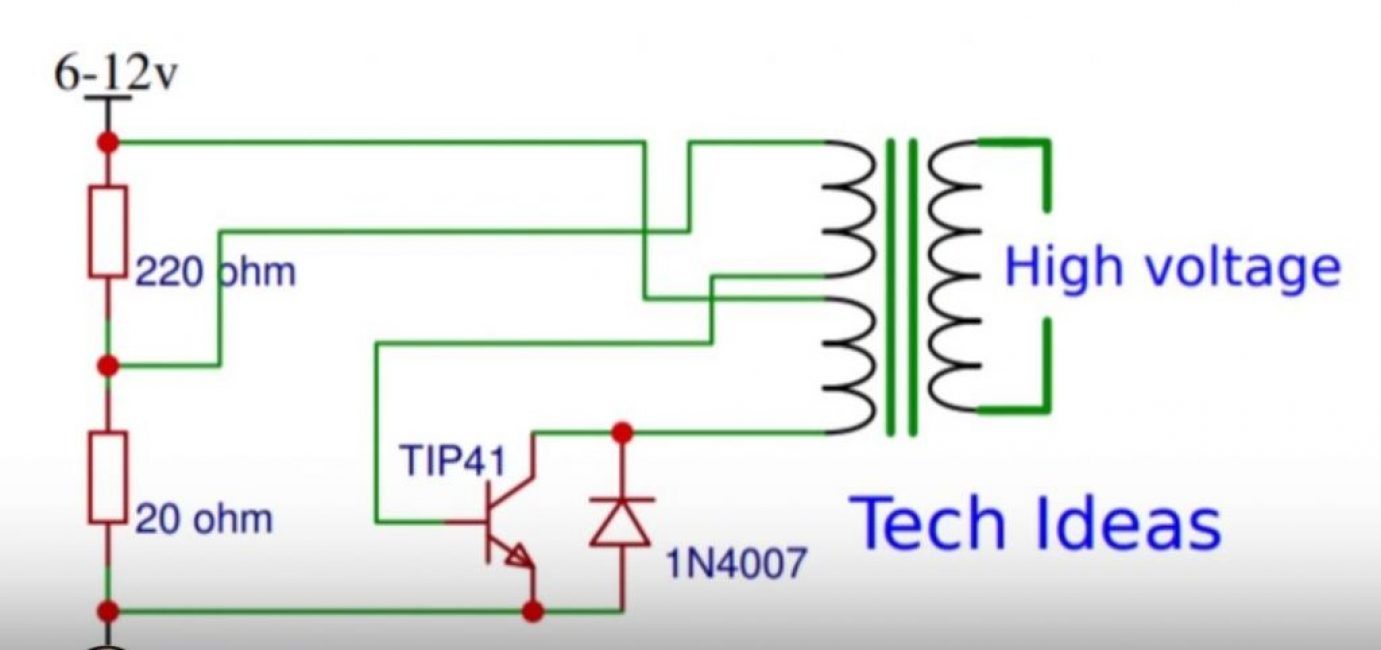
First, solder the diode and resistors.
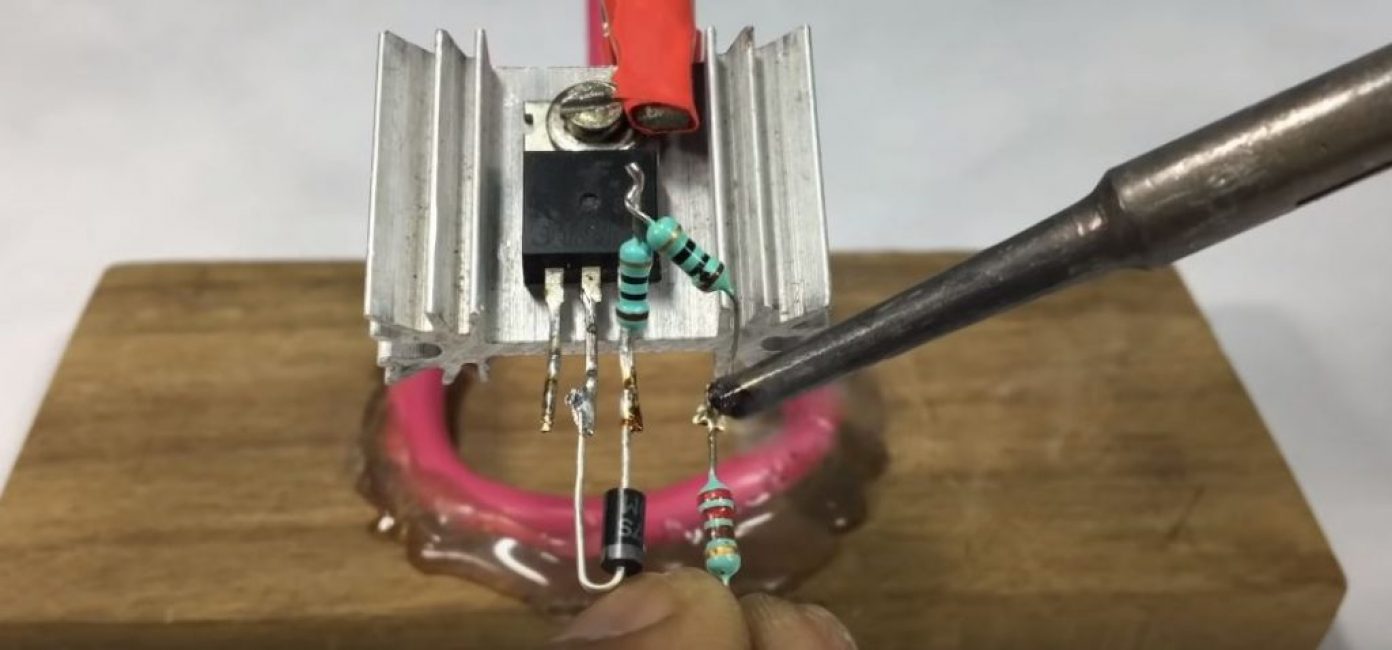
Then we solder the wires of the primary winding of the transformer to the corresponding contacts.
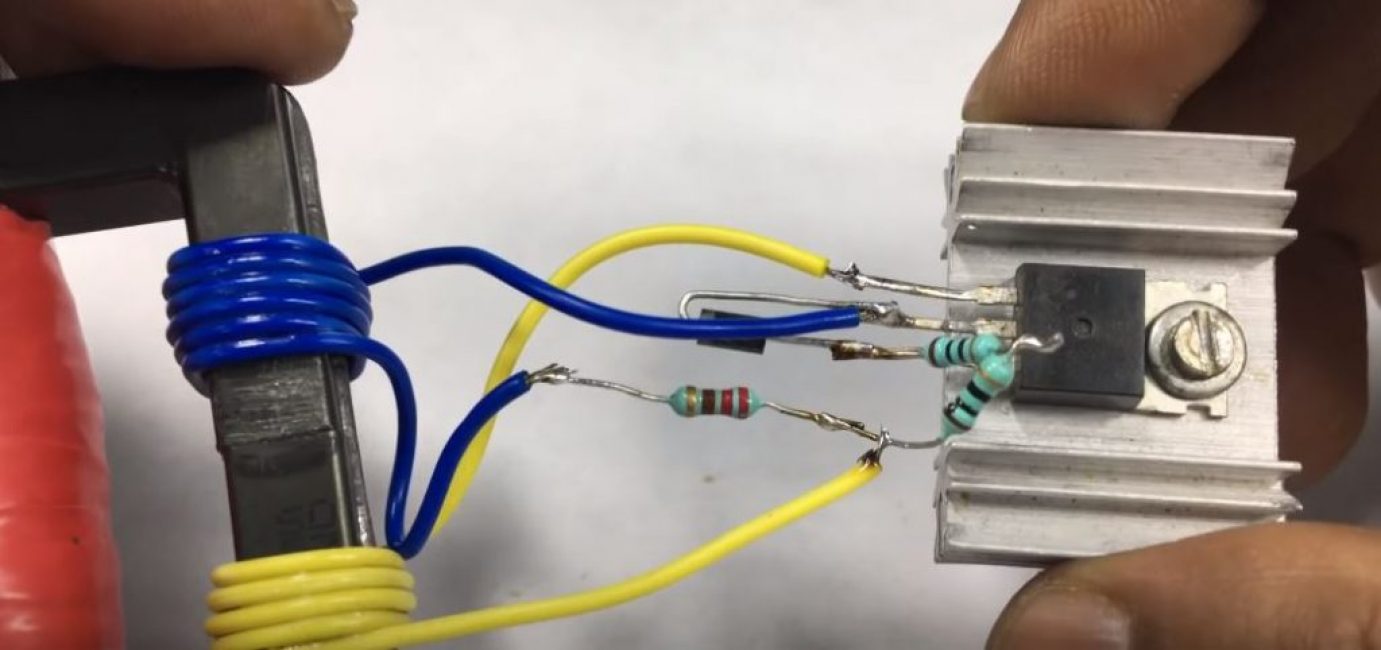
And, finally, we solder two wires, to which we will supply an input voltage of 6 V. For convenient connection to a power source, the second ends of the wires are equipped with special alligator clips.
 Read also: Drywall partition: step-by-step instructions on how to do the installation yourself | (Photo & Video)
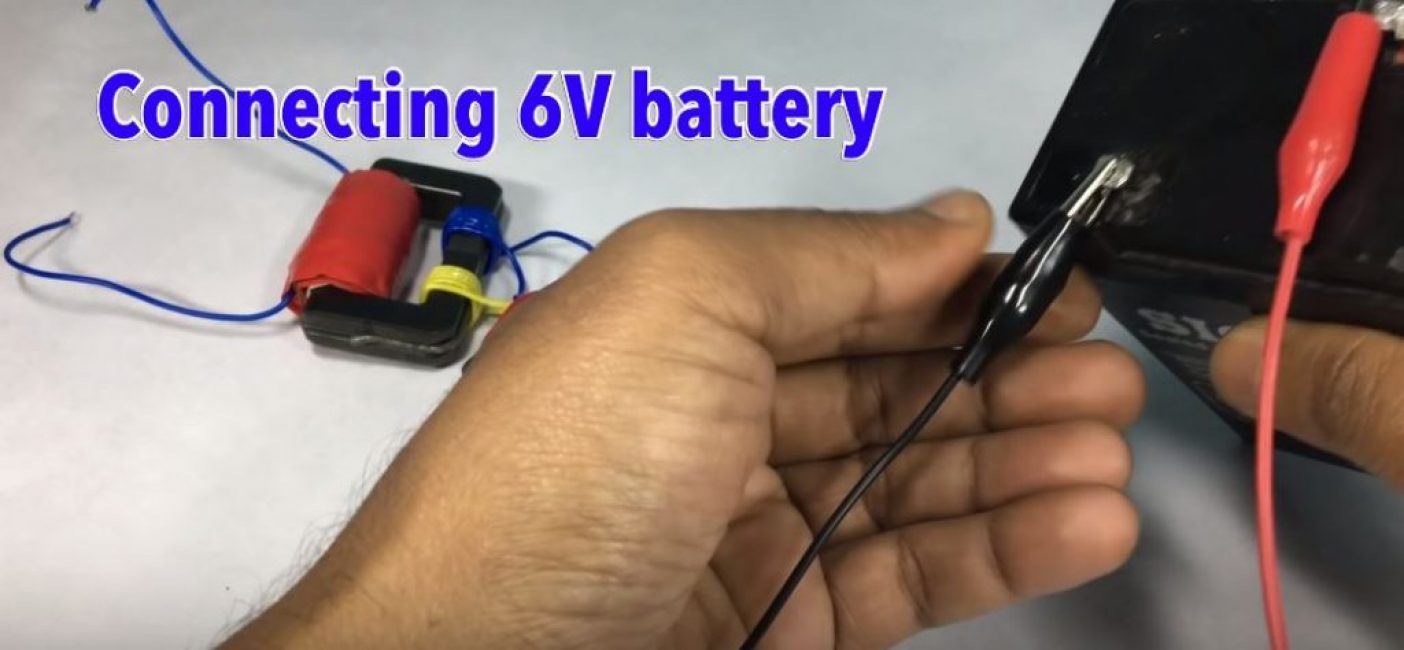
 Testing
We connect our transformer to a 6 V battery.
We close the wires of the secondary winding and see the arc formed on them.

As you can see, the power of the electric arc is enough to melt the wire insulation.
Video: Homemade step-up transformer

Homemade step-up transformer
Homemade step-up transformer: increase the voltage ⚡⚡⚡ at the output by 5000 times!


