
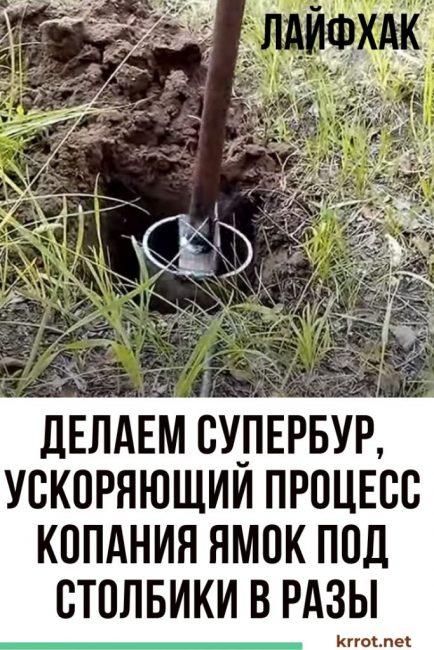
Almost every summer resident faced the fence of a summer cottage. One of the problems that arise in this case is digging a large number of holes for posts. In the article we will tell you how to make a drill from a pipe. It is much easier to drill holes with such a drill. When using it, the pits are even and much smaller than when digging with a conventional shovel. A removable handle will allow you to make holes near the walls. Are you interested? Then read our article to the end.
Content:
 Read also: Do-it-yourself furniture and other wood products: drawings of benches, tables, swings, birdhouses and other household items (85+ Photos & Videos)
Materials for manufacturing
To make Boer, you will need:
- steel pipe of large diameter (in example 128);
- welding;
- Bulgarian;
- steel corner;
- ¾ inch metal pipe;
- metal round timber ø20 mm;
- vise;
- hammer.
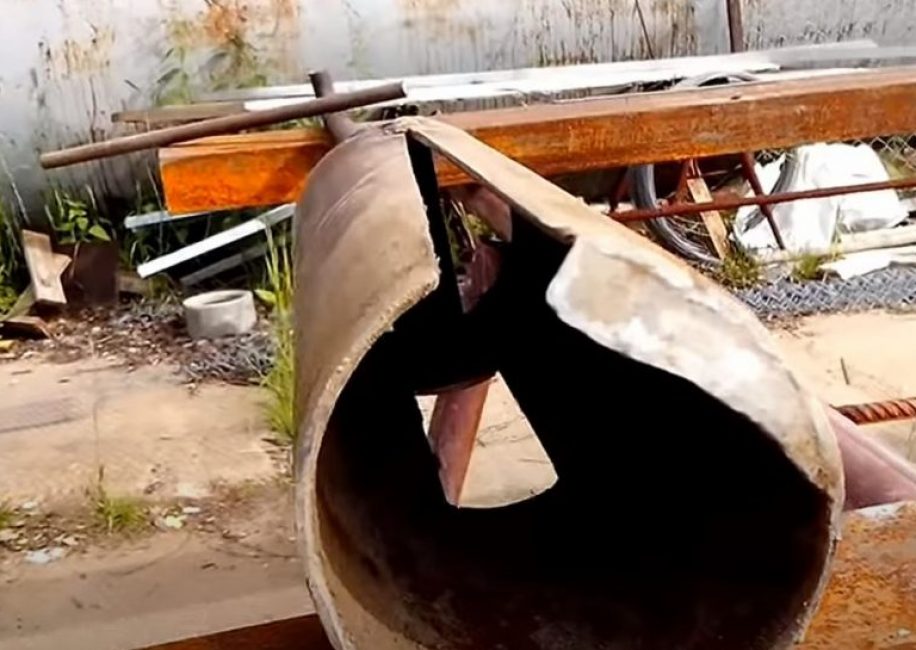
Step 1. Making the cutting part of the drill
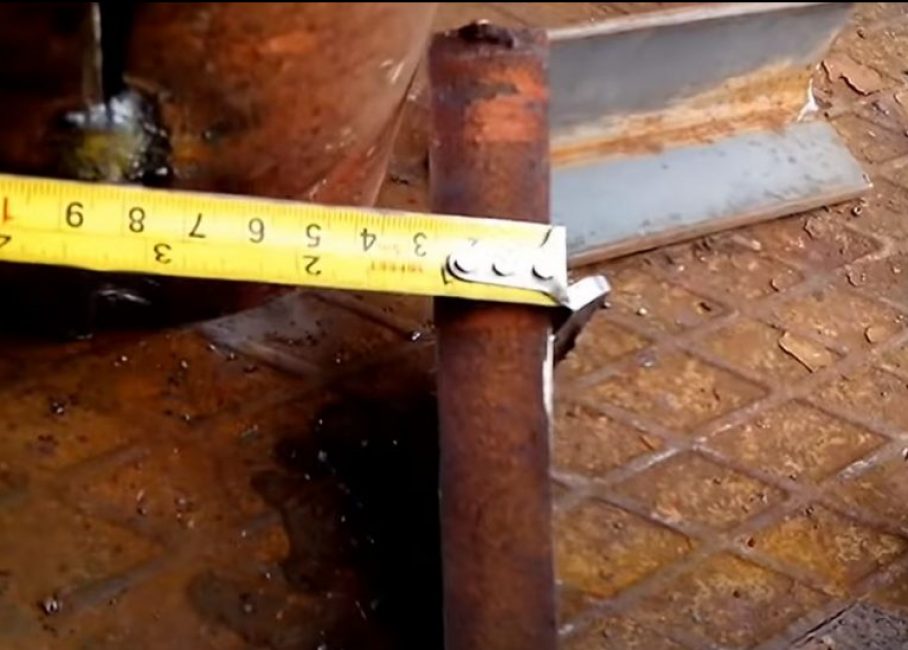
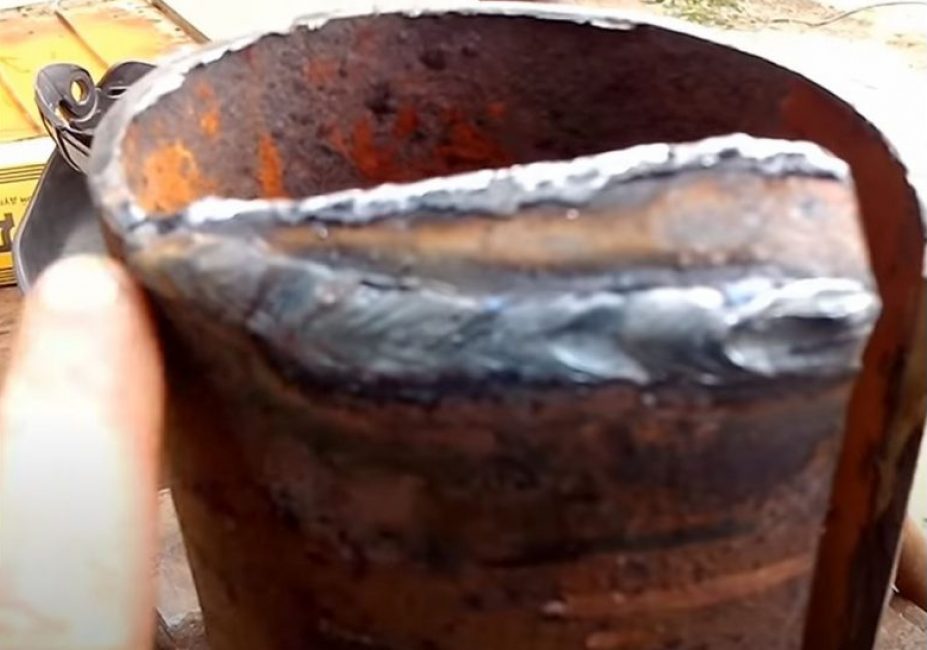
From a steel pipe, the diameter of which is slightly smaller than the diameter of the proposed pits, we cut off a piece of 40 cm. We cut out a longitudinal segment from it, the width of which along the cutting edge is 2.5 cm and is reduced to nothing on the opposite side.
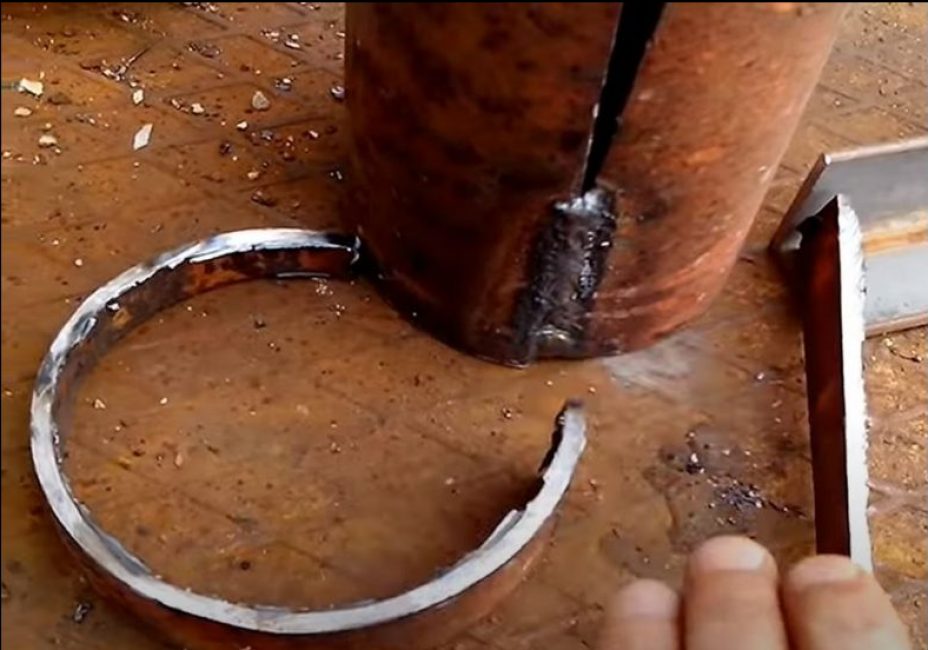
From the cutting side, we cut out a spiral segment, leaving at its beginning a part of the pipe for gripping.
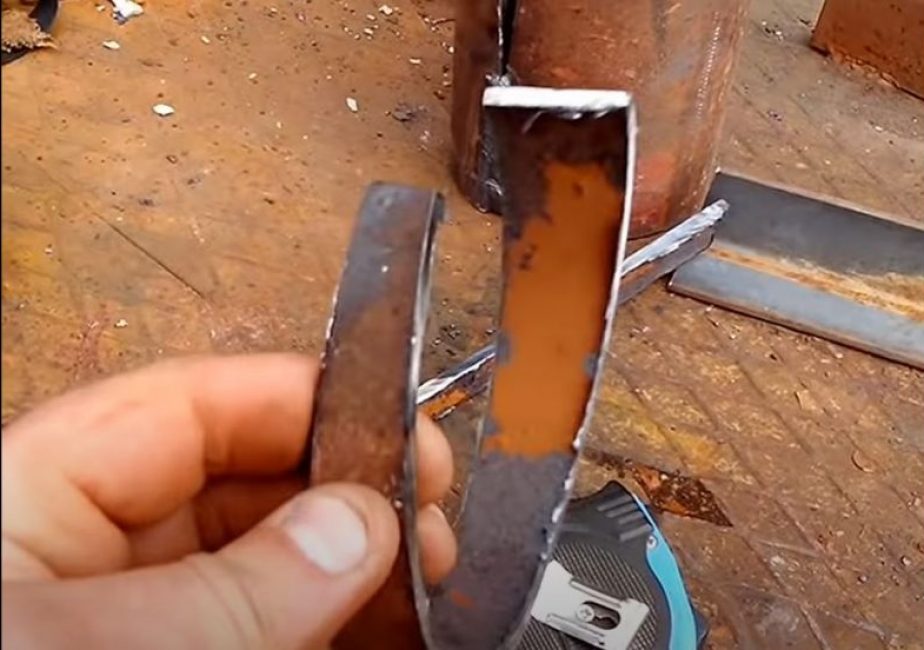
The upper part of the longitudinal cut was slightly parted, and the lower part, on the contrary, was clamped in a vice and welded 4-5 cm by welding.
In order to bend the grip inside the drill, we make a shallow file along the bend line.
We bend with a hammer and boil the bend line and the edge of the grip, hardening it.
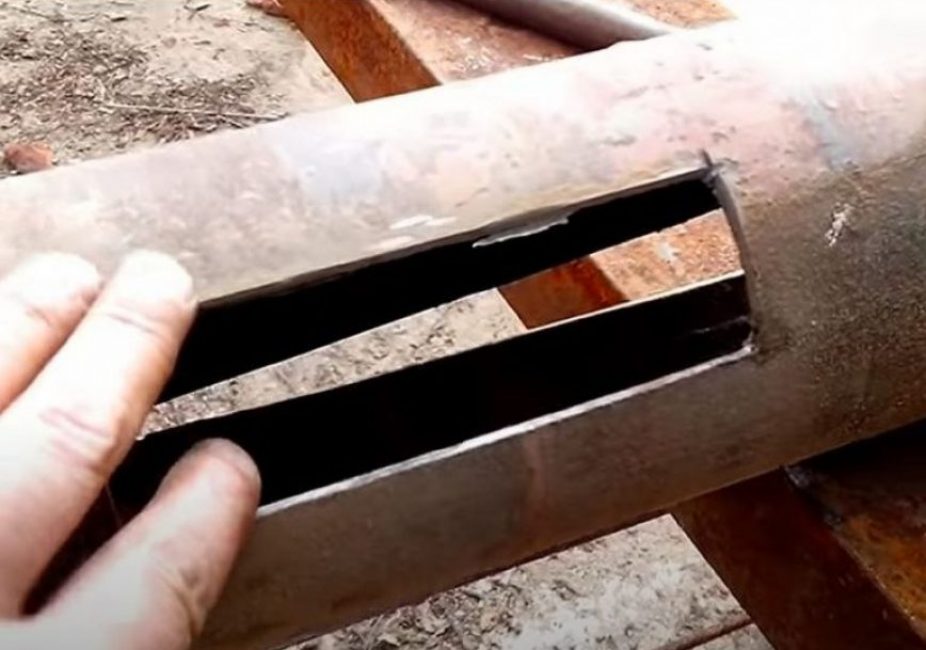
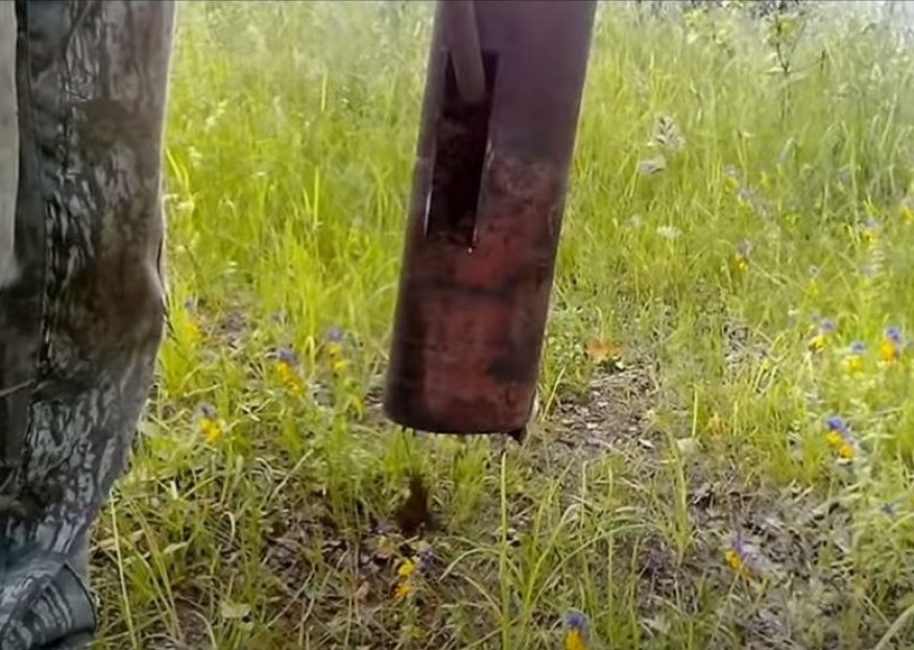
From the side opposite to the longitudinal section, we make a window through which we will push the selected soil out of the drill.
Step 2. Making the handle of the drill
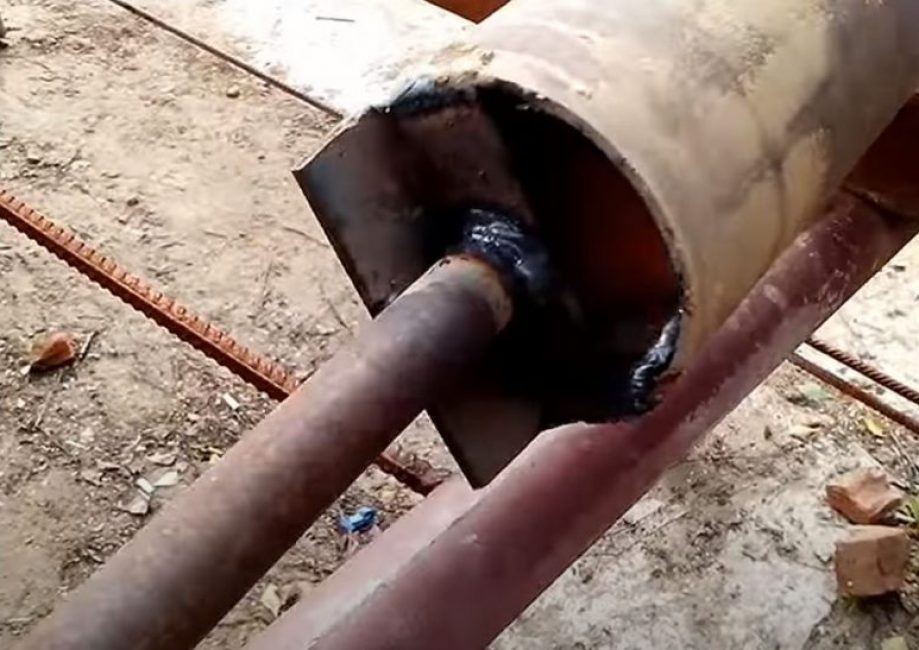
We weld a metal corner to the side opposite the cutting edge of the drill.
We weld a handle from a metal pipe perpendicular to the corner.
On the second end of the handle we weld a metal knob, cut off from the same pipe. (How to weld pipes at an angle of 90 degrees, we told in the article “TOP-5 Life hacks for a welder that will greatly simplify the welding process”). To drill, we insert a piece of metal round timber into the knob.
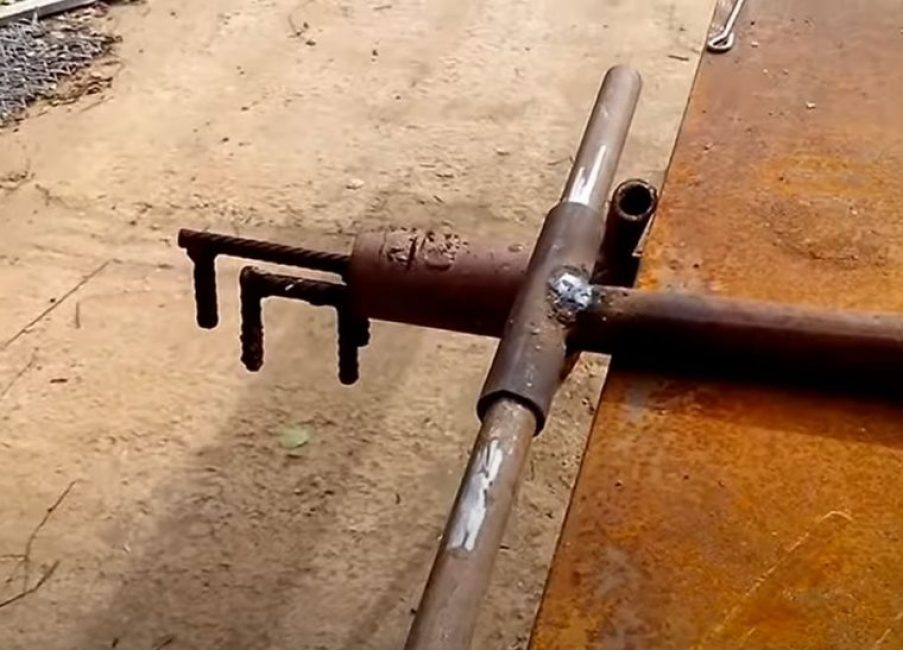
We sharpen the cutting edge of the grip. This will make it possible to cut small roots directly during drilling. The drill is ready for operation.
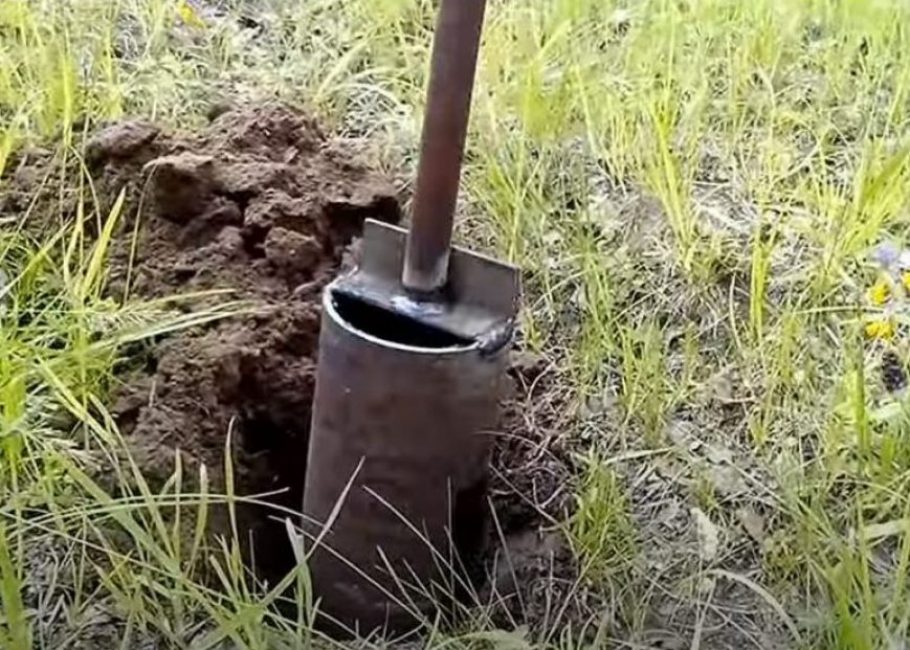
Step 3. Testing
Before drilling, it is necessary to dig a hole in the intended place in the floor of a shovel bayonet.
We insert the drill and begin to rotate it. It enters the ground quite easily.
As the drill fills with earth, we take it out and push the earth out through the previously made window.

Do-it-yourself superdrill from a pipe
How to make a drill from a pipe with your own hands


